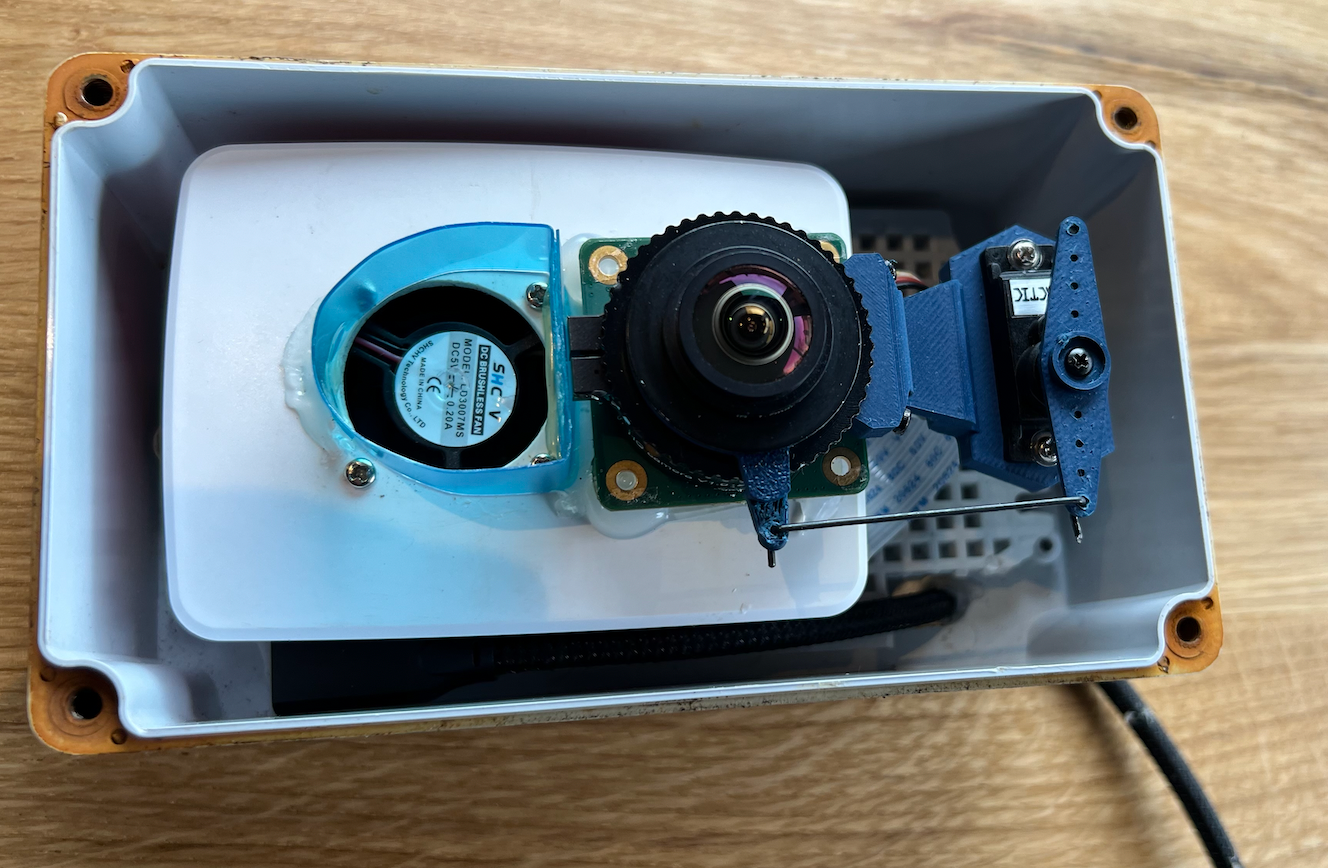
About this 3D model
This is my adaption of the Allsky camera from Thomas Jacquin - https://www.instructables.com/Wireless-All-Sky-Camera/ In order to allow remote focus of the lens, I used a servo driven by the PI 4. These 3D prints work with the RPi HD camera on which the servo mount is screwed in a micro servo Tactic TSX10 - https://makeitbuildit.co.uk/products/tactic-tsx10-micro-servo-digital-hi-torq-metal-gear-1bb . The 3D servo mount should work with any servo of a size 12mmx24mm a C mount adaptor for the lens on which the lens horn will fit and allow to rotate the lens. a fisheye lens. in my case I used this cctv fisheye lens: https://www.ebay.com/itm/374780361015 The servo is connected on PINs 2: 5V (red) 9: Ground (black) 12: GPIO 18 (servo command - white) I used some python code on the PI4 to operate the servo (which displays a simple slider that goes from -90 to +90) from gpiozero.pins.pigpio import PiGPIOFactory from gpiozero import AngularServo from guizero import App, Slider, Text factory = PiGPIOFactory() servo = AngularServo(18, min_pulse_width=0.0010, max_pulse_width=0.0022, pin_factory=factory) angle_base = 0 def slider_changed(angle): servo.angle=int(angle) app = App(title='Servo Angle', width=300, height=150) slider = Slider(app, start=-90,end=90,command=slider_changed, width=300,height=50) slider.text_size = 30 app.display() Note that to execute this code, you first need to run sudo pigpiod Some trial and error is needed to tune the min_pulse_width and max_pulse_width values and matching start and end values to your specific servo so that you get the correct angular motions.