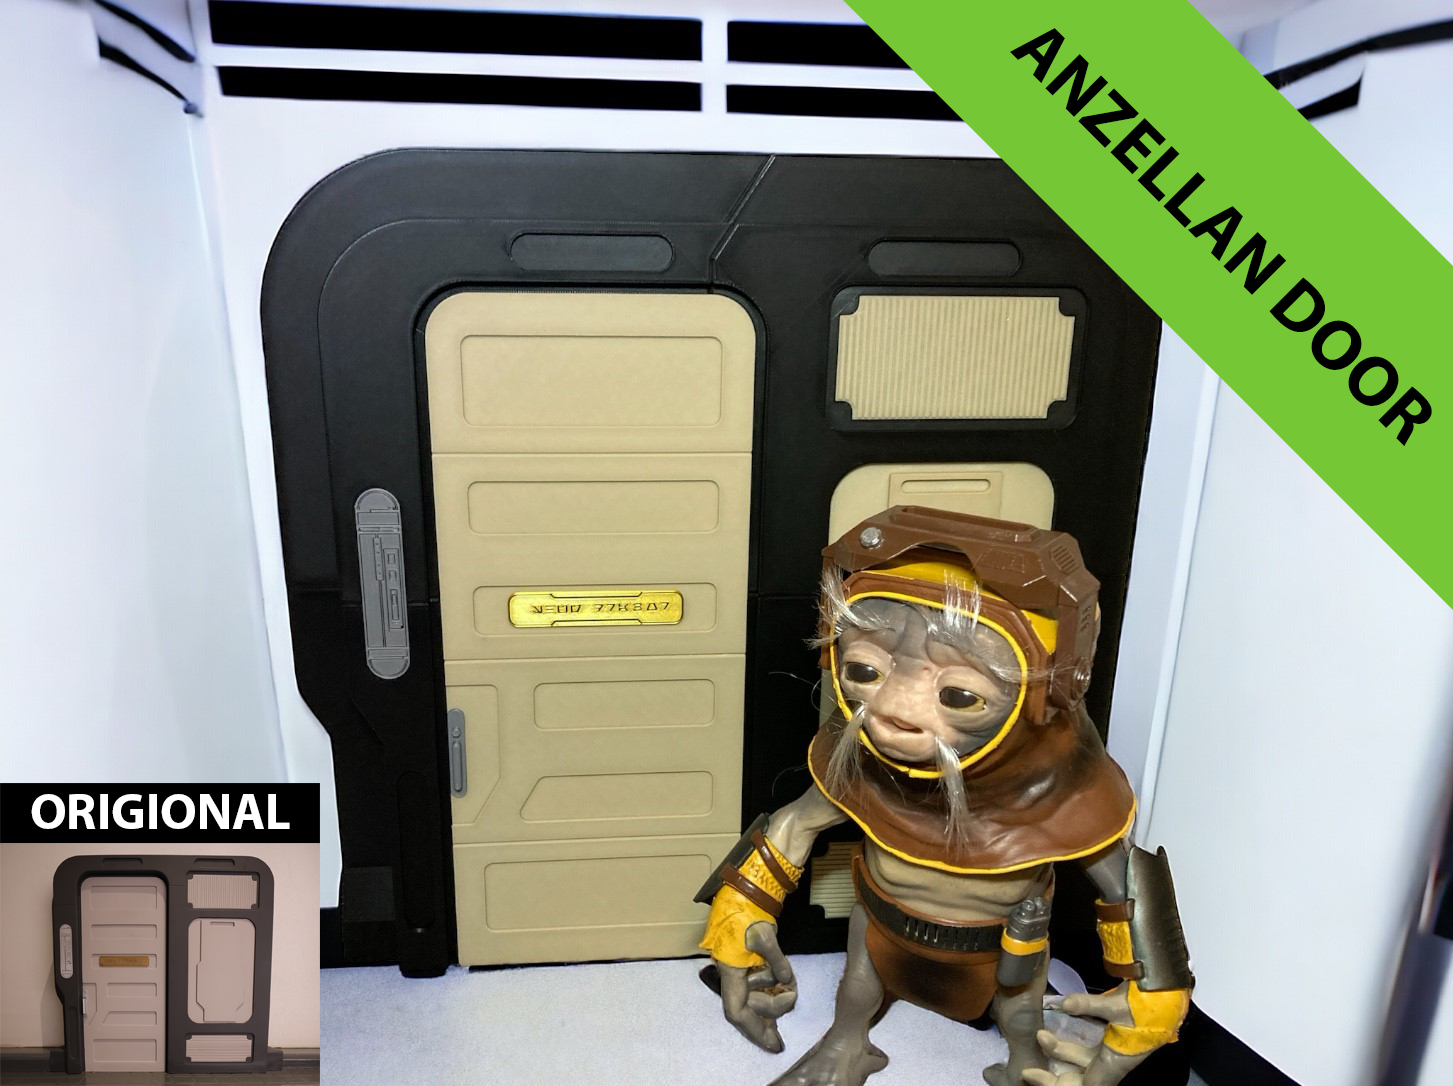
About this 3D model
This model faithfully recreates the iconic door of Shug Drabor's personal cabin from Galactic Starcruiser. Designed to be a 1:1 scale replica, this model captures the details of the original door, allowing you to bring a piece of the Galactic Starcruiser into their own homes. Overview Celebrate the rich lore and storytelling of the Star Wars universe, immerse yourself in the experience of the Galactic Starcruiser. There are three printing options available: the skirting profile cut version, the flush mount version, or the mini kit card version. Parts count: 12 main parts, 8 connectors 20 total. Key Features Faithful Recreation: The model faithfully reproduces the distinct design elements of the door, including engravings, and symbols, as seen in the Galactic Starcruiser. Emulate Tradition: Emulate the tradition of passengers knocking on the door for good luck, interact with the door just like you would onboard the Galactic Starcruiser. Dimensional Accuracy: Careful attention is paid to ensure that the dimensions of the replica match those of the original door, providing an authentic representation of Shug Drabor's personal cabin entrance. Modular Design: To maintain the scale of the original and allow for printing within the Bambu 256 × 256 × 256 mm³ build volume, the frame has been sliced into four quarters. The seams are well hidden using design elements, eliminating the need for post-processing. The four quarters are joined together using dog bone connectors, ensuring a seamless assembly without the need for glue. Printing Details Recommended filaments: eSUN PLA+ Black eSUN PLA+ Bone White eSUN PLA+ Silver SUNLU Silk PLA Plus Light Gold Hotend: 0.4mm Hardened Steel Print time: 20hrs+ Printing Tips: Use the print profile provided for the best results. Assembly Gather the four frame components and the 8 dog bone connectors (6 x 21.5 and 2 x 26) Push the 6 21.5mm dog bone connectors in to the holes in the door recess and 2 26mm dog bone connectors into the mid plate panel on the right. The tolerance here is intentionally very tight, after pushing them all in some of the way you can begin to knock them in all the way. Next take the top and bottom door components and x 4 8mm lengths of filament, these will be used as dowels to join and align the two parts. The receiving holes can be tight so be careful not to snap any filament off inside, a 1.75mm drill bit is a great investment for reaming out holes like these. Add a dab of glue and insert all four into one half. Add glue to the other hald and press together. Gather the assembled frame and door, apply glue to the door recess and place the door on top. The door will self locate into the recess. Apply glue to the top panel recess and place the top panel in to the recess the panel will self locate in to place. Apply glue to the mid panel recess and place the mid panel in to the recess, the panel will self locate in to place. Apply glue to the lower panel recess and place the lower panel in to the recess, the panel will self locate in to place. Apply glue to the room number panel recess and place the room number panel in to the recess, the panel will self locate in to place. Apply glue to the door sign panel recess and place the door sign panel in to the recess, the panel will self locate in to place. Congratulations you have now fully assembled your very own Shug Drabor's Personal Cabin Door.