About this 3D model
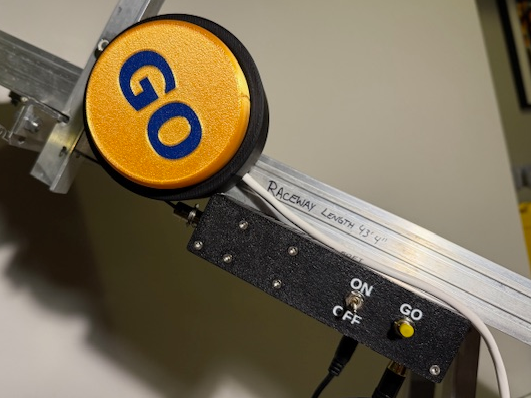
This is a work in progress, make your own solenoid starting device for Besttrack or Microwizard pinewood derby tracks. This works with a 12V source, but at 24V source will give it more kick, just do not plug the wrong source into the timer. Microwizard tracks can just use 12V power supplies. You are more likely to not need a 24V source if you file/sand/polish your latch smooth and lubricate it with some graphite or oil if you don't use graphite. WARNING: DO NOT PLUG 24V source into timer or button ports. LABEL CORRECTLY if you go with 24V!!! I used PETG for the enclosure in case the solenoid got warm and PLA warps easy. Project Spreadsheet with parts list and links to purchase: https://docs.google.com/spreadsheets/d/1RHkouUsa4QJJLdpIAVr_CffRgMpRmj-8_r__-vx91Mo/edit?usp=sharing The spreadsheet above will document all current material used, feel free to reach out to me through PM as I have been revising this thing rapidly and this project may not be fully up to date. BESTTRACK I currently have two enclosures working for Besttrack tracks, one allows you to find ¼" bolts/nuts that are standard with besttrack, I would probably put two ¼" nuts in your track permanently and get a ~1 5/8" long ¼" bolt to mount to it or you could put two ¼" bolts that long into the track and do the nuts on the outside. The second enclosure is the one I am using, it uses two M5 bolts 40mm long. I have a link to the the T slot nuts I am using with these bolt. It allows me to be able to remove the solenoid setup without making it hard to remove all the hardware as I borrow different tracks every year for putting on the council derby. This is not the most solid mounting option, but it works for me until I can find something better. MICROWIZARD I have two enclosures for microwizard tracks. The vertical enclosure is for if you start gate latch on the track itself is mounted vertically. The horizontal is just as it sounds, it is for if the start gate latch on the track itself is mounted horizontally. You will need to drill two bolt holes in the ground support bracket that is near the start gate latch to mount this enclosure. The bottom enclosure piece for both of these enclosures uses a ¼" nut that you install into the print as it is printing. There is a pause programmed into my print profile to stop the print at this point. You will need a ¼" bolt of sufficient length to go through the track support bracket, probably ½" would be more than enough. You will also need to drill a hole in your start gate latch for the solenoid to pull the start gate with a cut up coat hanger rod bent around both the solenoid and start gate latch. See pictures.