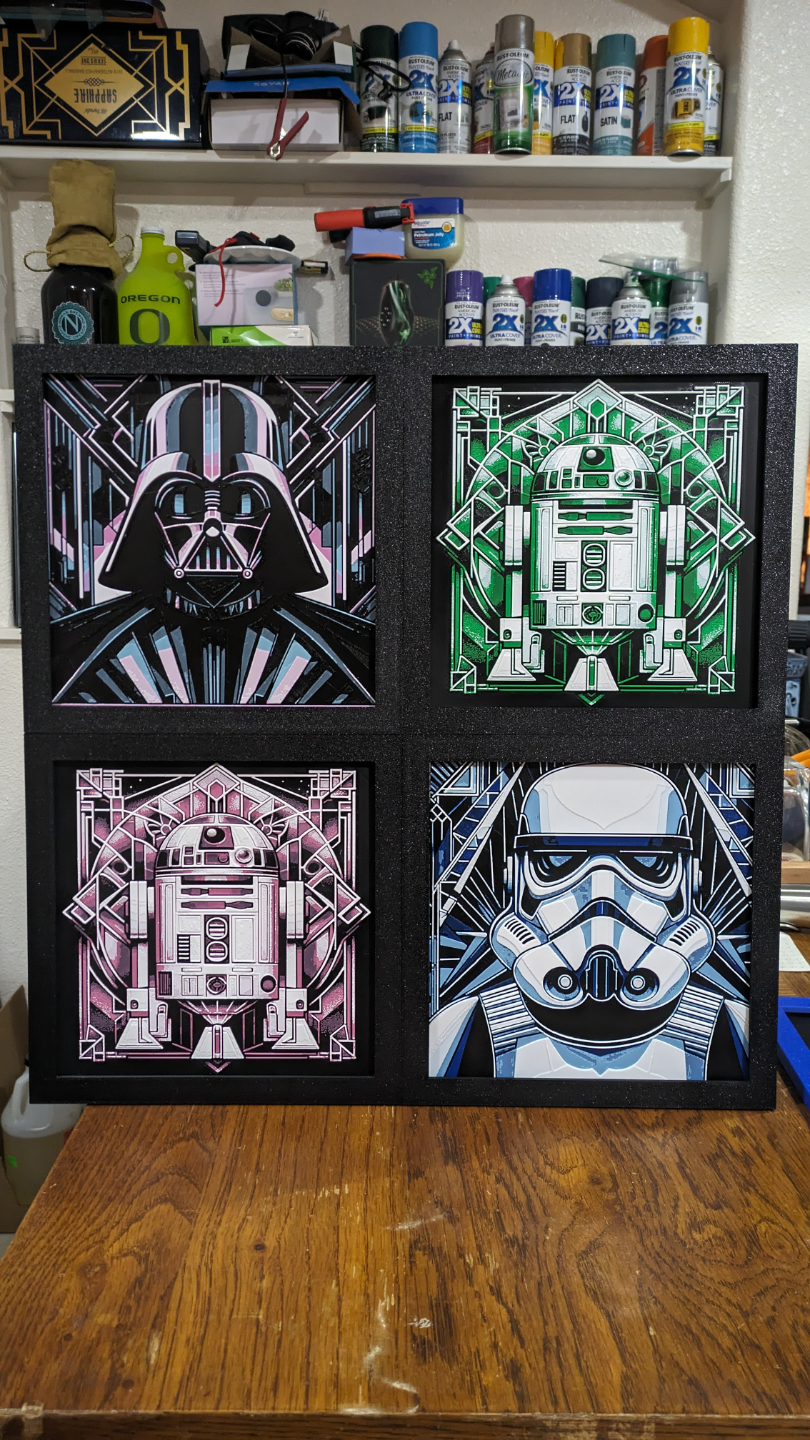
About this 3D model
Edit #3 Added a new Single Frame with Mounting holes built in for wall mounting with Screws or Nails or small hooks. Leaving the top slot open for proper orientation! If you like any of my models and feel like buying me a drink to continue my late hours of modeling, your generosity is always welcome! Membership If you are interested in a Commercial License to sell this print, be sure to join my membership! Edit #2 Added 3-Way connectors both Female and Male ends (currently only available on the 200mm frames, please comment if you'd like this feature on the smaller frames) How to Build a 3x3 Grid and Beyond Image #1 3x2 Grid Image #2 3x3 Grid With the addition of the Female and Male 3-way connectors, adding extra frames can be as simple as added one Female (yellow) and one Male (green) 3-way connector (see Image #1) or more complex as a 3x3 (Image #2) All additions can be done by rotating, feel free to rotate in Bambu Studio to match up accordingly instructions for a 3x3 below Image #1 Image #1 2x3 To create a 3x3 (Image #2) do the following (using the Male & Female Profile): Print 4 female 3-way Connectors Print 2 2Way Connectors Print 2 2way Connectors-Flipped Print 1 3way-Middle Male Connector Start by connecting the Top Row with 1 2way Connector, Female Connector and Flipped Connector. Note : some middle connectors will not connect with every keyslot on their frame, which is fine! Add the second row with 2 female connectors and the middle male connector Note : you will need to slot your hueforge image in the Middle Male connector at this time middle frames will have their access to the image blocked on larger grids and will need to be disassembled in order to be removed. One reason this set up is great with no glue and stable Lastly, connect your last 2way connector, female connector and Flipped Connector. Note : again, you will need to slot your hueforge image in the Middle female connector at this time all outer edge hueforge (minus the middle bottom) will be accessible to add or remove images as you feel free when building bigger grids, be sure to note if you need female or male connectors and their orientations, followed by adding the corresponding corner. If you need a Female Corner connector instead of a 2way Connector, print a Female Connector. All female connectors/keyslots can not be seen from the Front view and work for ALL edges! Image #2 3x3 Edit #1 added Frame only profile, no connectors or slots 200mm Interlocking Frames If you print the Top Left (TLNoS) or Bottom Left (BRNoS) no key slots protrude out and can be used as single use. Top Row picture slots come from the top down. Bottom Row Slots come from the left or right Pictures can be taken out and replaced at all times, nothing is blocked Can hold up to 3mm Thick Lithos or hueforge Be sure that hueforge print dimensions* are set to 200 x 200 to fit this frame *Do NOT change the dimensions of the Frames, they are set with specific tolerances and any adjustment large or small will effect how they slot together Hueforge files created by @3Deekes https://makerworld.com/en/u/527314672 200mm Single All-in-One Frame can be found https://makerworld.com/en/models/766355#profileId-701658 190mm Interlocking frame can be found https://makerworld.com/en/models/196749#profileId-217259 180mm Interlocking frame can be found https://makerworld.com/en/models/226156#profileId-243905 150mm (A1 Mini) Interlocking frame can be found https://makerworld.com/en/models/521019#profileId-437488 120mm Interlocking frame Patreon Exclusive 100mm (A1 Mini) Interlocking frame can be found https://makerworld.com/en/models/553996#profileId-472586