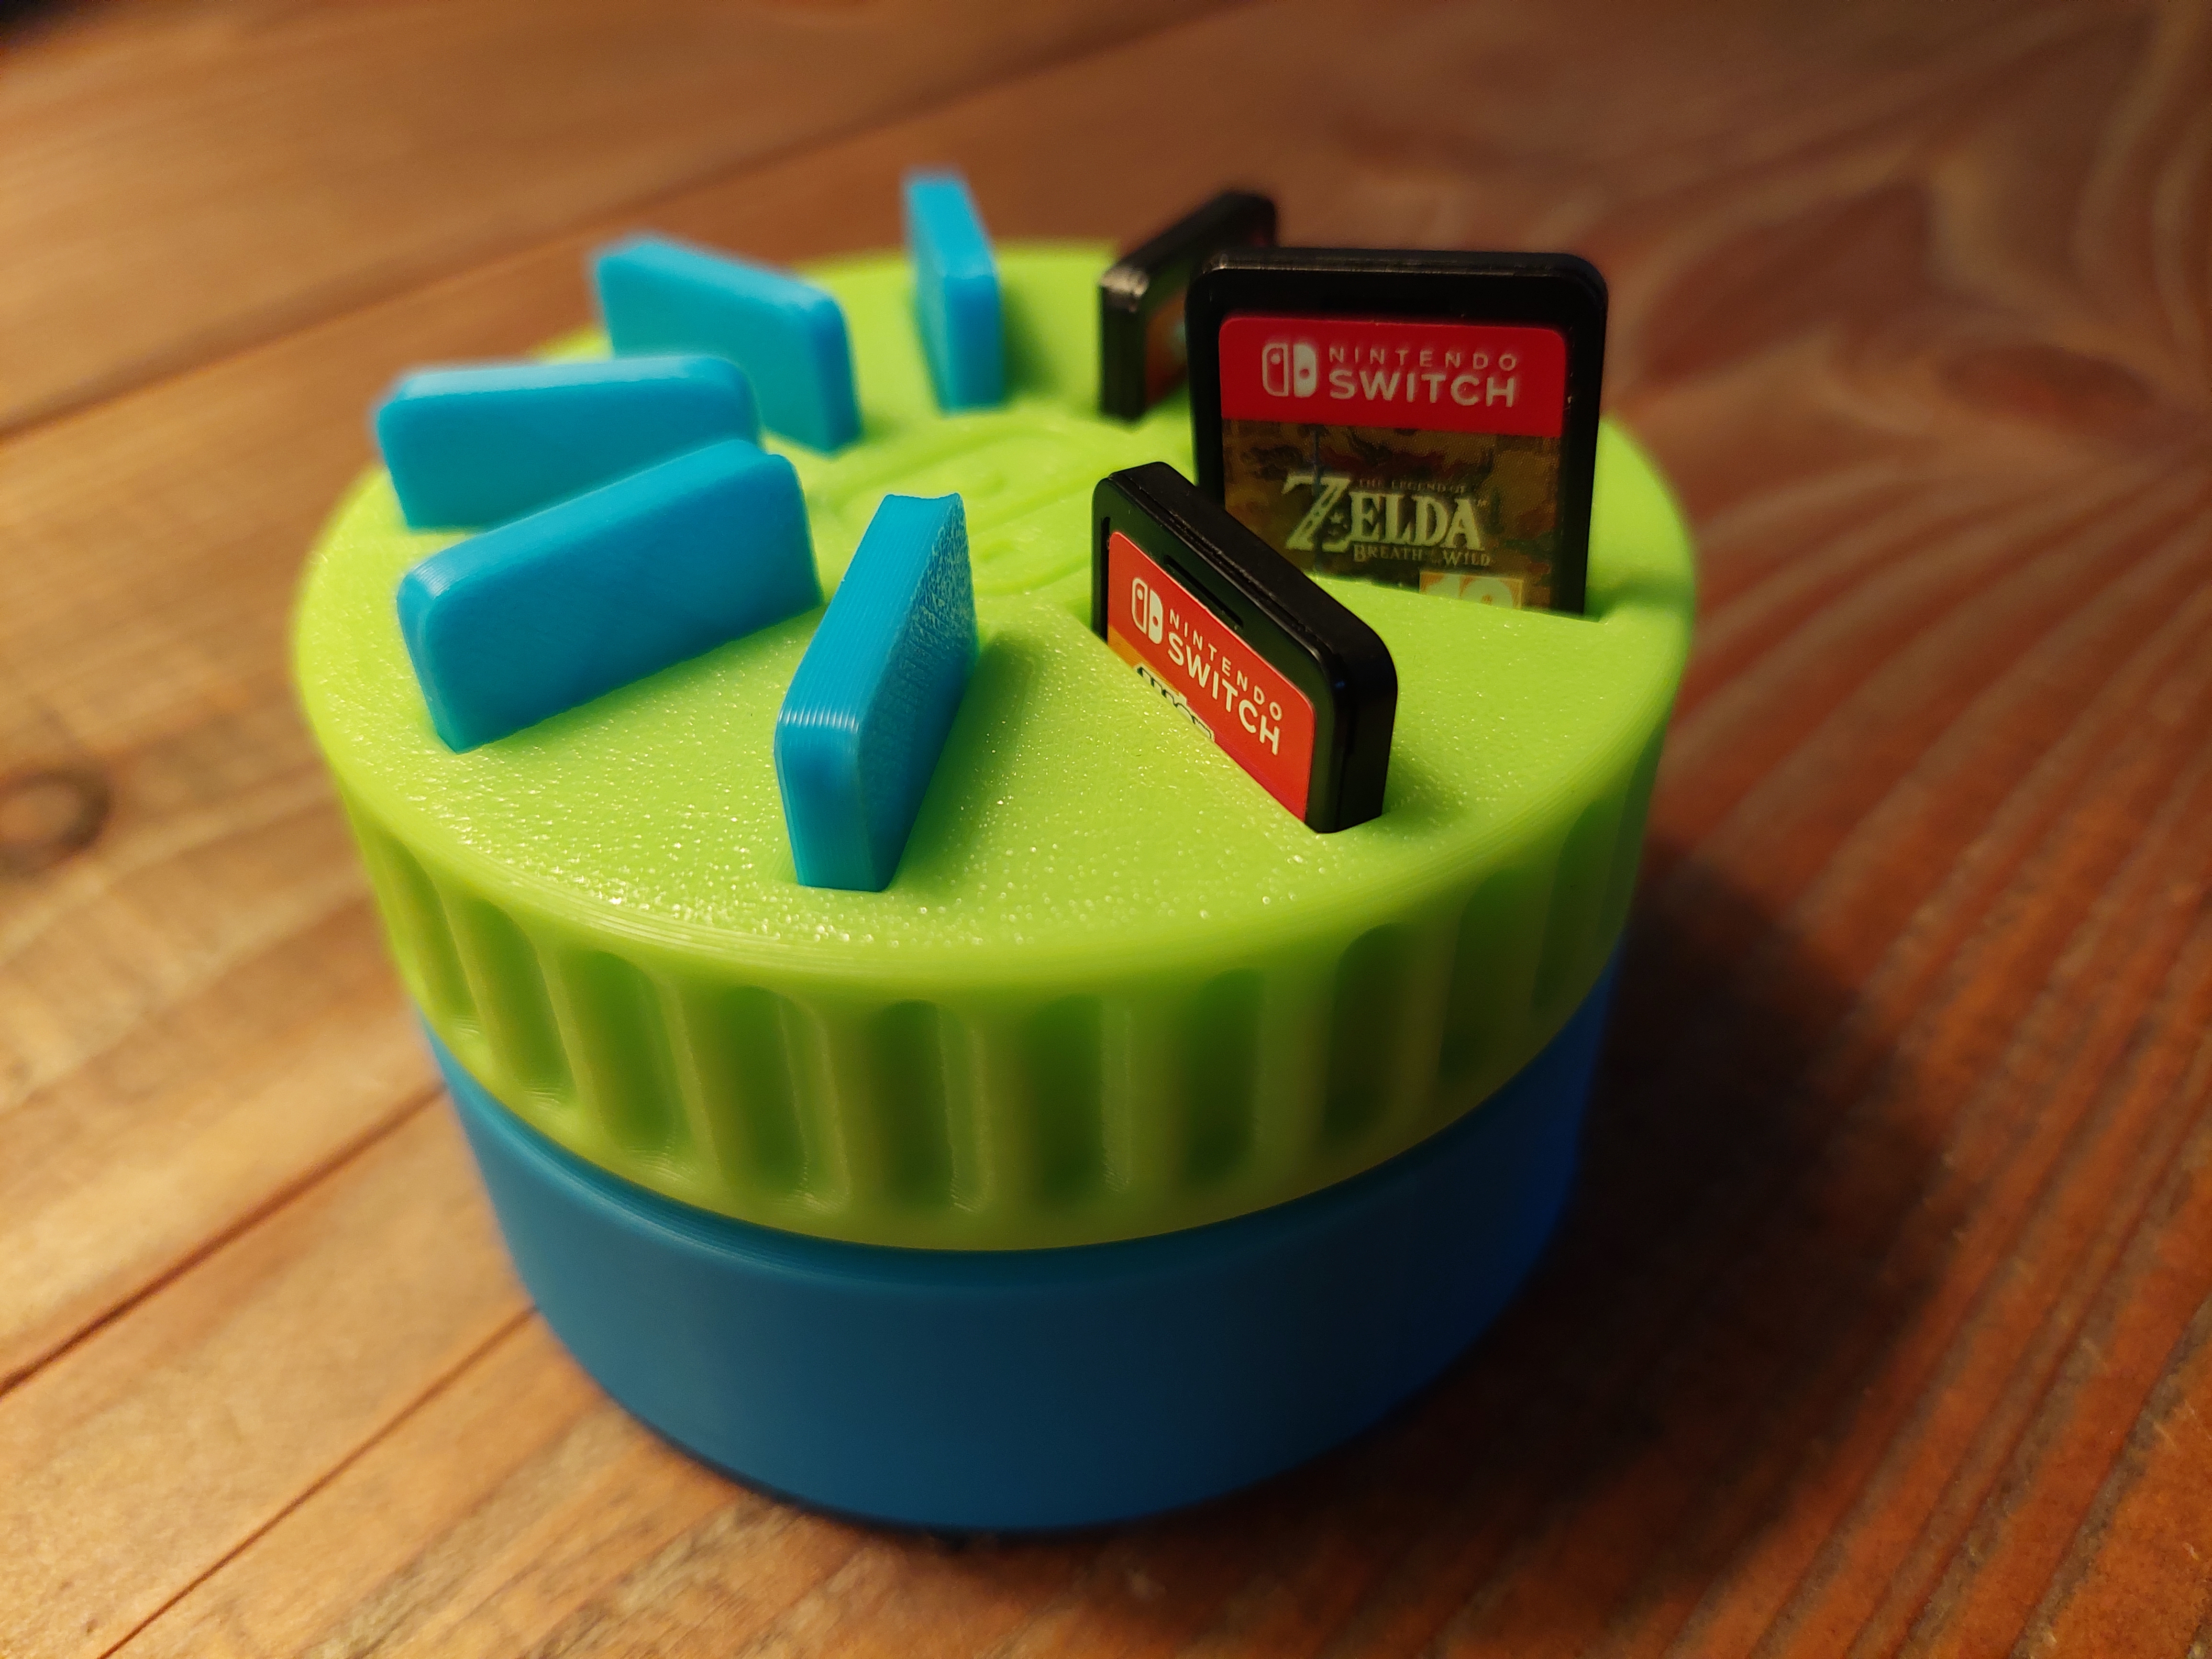
About this 3D model
Hi all! I made this for my friend for Christmas, and thought you guys might dig it! Long story short. I saw a similar design somewhere on the internet and wanted to make one for my friend. It it uses the POWER!!!! of magnets to lift the games, one at a time, for easy game-picking. The magnets shouldn't be of any harm to the gamecards (Some guy on Reddit said so :) ) as they aren't a magnetized storagetype, like HDDs and floppy disks I made who versions. One for a 608 type bearing (22mm OD, 8mm ID and 7mm thickness) (Haven't tested the bearingless one yet) BOM (Bill of materials) 1x Top 1x Bottom 9x Plug 9x Magnet sleeve 12x 5x5 mm rod (disc) magnets 1x M3x16 or M3x20 1x 608 Bearing (optional, use NO_BEARING files) Printing instructions Supports: All parts CAN be printed without support, but support is advised in the Bottom part, at the countersunk screwhole. Materials: Plug should be done in PETG for improved flexibility (Haven't tested with PLA) Assembly BEAWARE OF THE ORIENTAION OF THE MAGNETS ! Magnets for top. Needed: 9x 5x5 mm magnets 9x Magnet sleeve Put a dab of quick setting glue into one of the magnet sleeve Put the magnets into the sleeve, paying attention to having the same polarization for all the magnets. Repeat for all nine parts Top assembly Needed: 9x magnets in sleeves 9x Plug Top 608 bearing (optional) Put all the magnets, now inserted into the sleeves, into the top part. Orientation of magnets should be that the magnet should be visible from the TOPSIDE of the part. The plugs should be able to be pressed into position, in the bottom of the hole for the magnets. (I made mine from PETG for better flexibility) If you have issues, try getting one side of the plug into the hole first, then usin a small scredriver to flex the plug. If issues still persist, try scaling it down a bit (ONLY X and Z directions) Press bearing into place in the centerhole The plugs can easily be removed, and sometimes even reused, if need be. Bottom Needed: 1x Bottom 3x 5x5 mm magnets The orientation of the magnets is SUPER important here! The magnet in the middle should PUSH the magnets in the top part away and the ones on the side should PULL them. You might be able to use just one or none of the side magnets, as they are mostly for making an “indexing” feeling for the gameholder. They might add more to the “pulling games down” than i am aware of. Last assembly Needed: Assembled top part Assemble bottom part M3x16-20 mm screw. Press the two halves together and mount the screw. The purpace of the screw is simply making sure it doesn't fall apart, and should NOT be tightened! Last words Hope you guys like it. It took me WAY more time designing this than i thought in the begging. If you have any feedback, feel free to post a make! Happy printing and gaming!