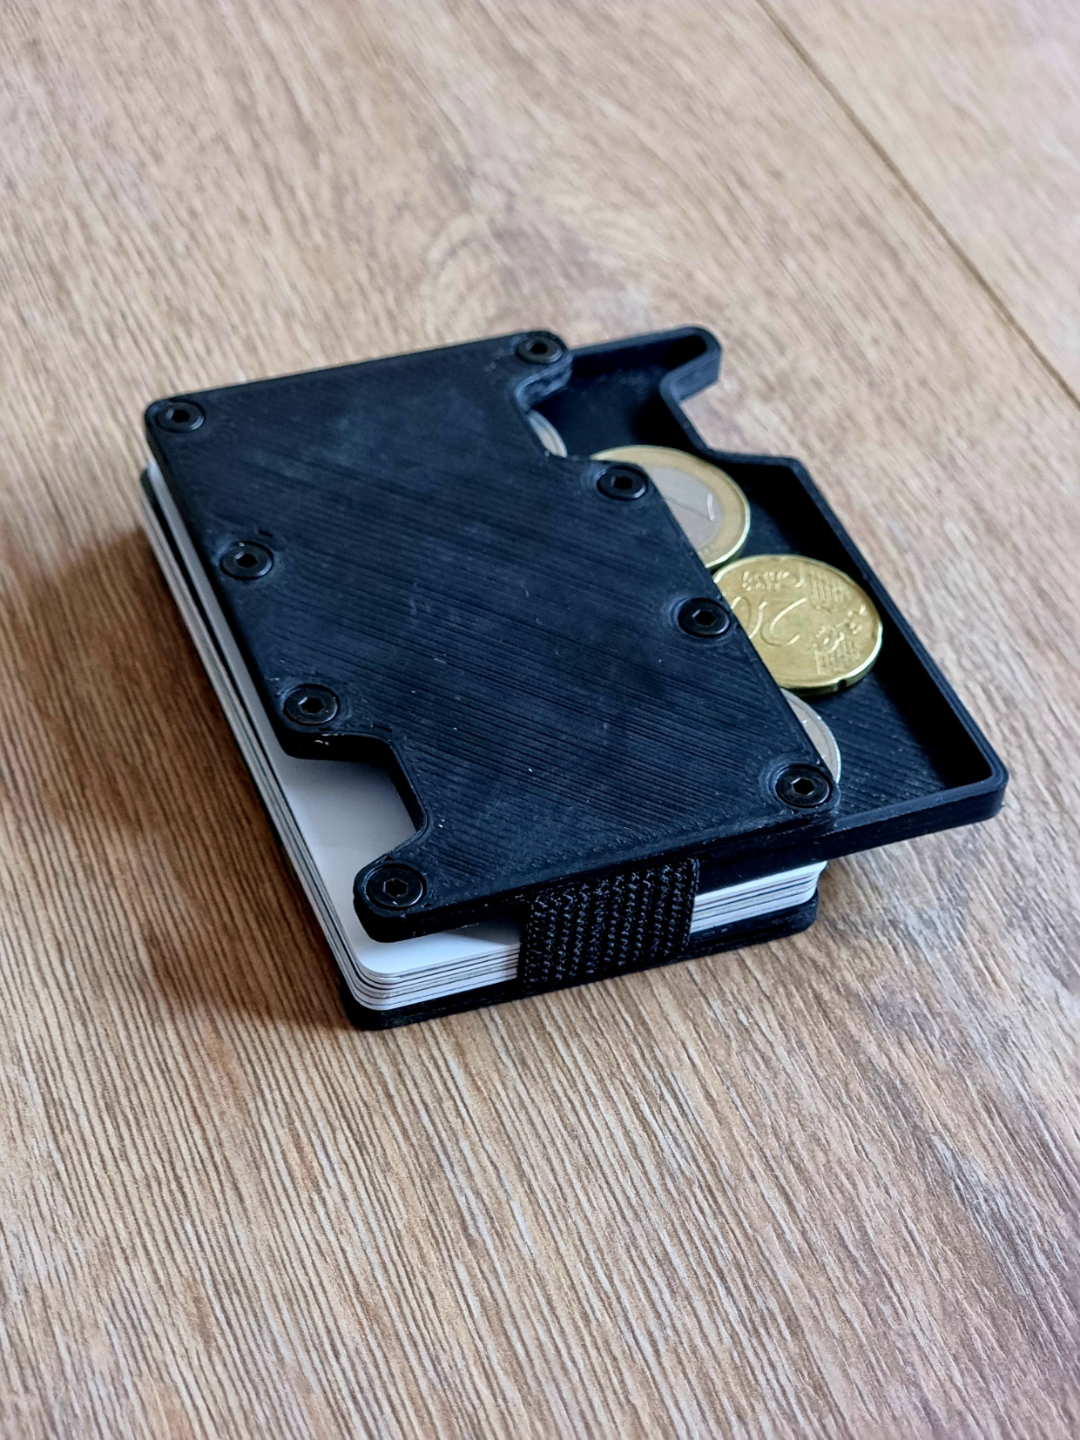
About this 3D model
Required materials M3 screws, 4mm long 8x Elastic band, 20mm wide 1x Assemble the Wallet : The wallet can be used in different configurations: One Side : Assemble using only one side. Two Sides : Use both sides for added protection. If using two sides: Place your cards between the two sides to shield them from wear and tear. Each side consists of two separate pieces screwed together with eight M3 screws. Make sure the screws are short enough not to protrude from the other end. Choose between countersunk screws (for a slimmer profile) or regular screws. Elastic bands will secure the wallet components. Elastic Band Setup : Cut elastic bands to the appropriate length based on the number of cards you’ll carry. Sew the ends of the bands together to form loops. Here are the band configurations: One Side : Assemble with one or two elastic bands. Both bands hold cards or money. Two Sides : Assemble with one, two, or three elastic bands. One band holds the two sides together. The other one or two bands secure money or extra cards. Orientation and Finishing Touches : Ensure all parts are oriented correctly during printing. The sides facing the build plate should face outward. If using two sides, consider slightly sanding the edges facing the cards for easier card insertion. The screws can be inserted and removed multiple times before the threads wear out.