About this 3D model
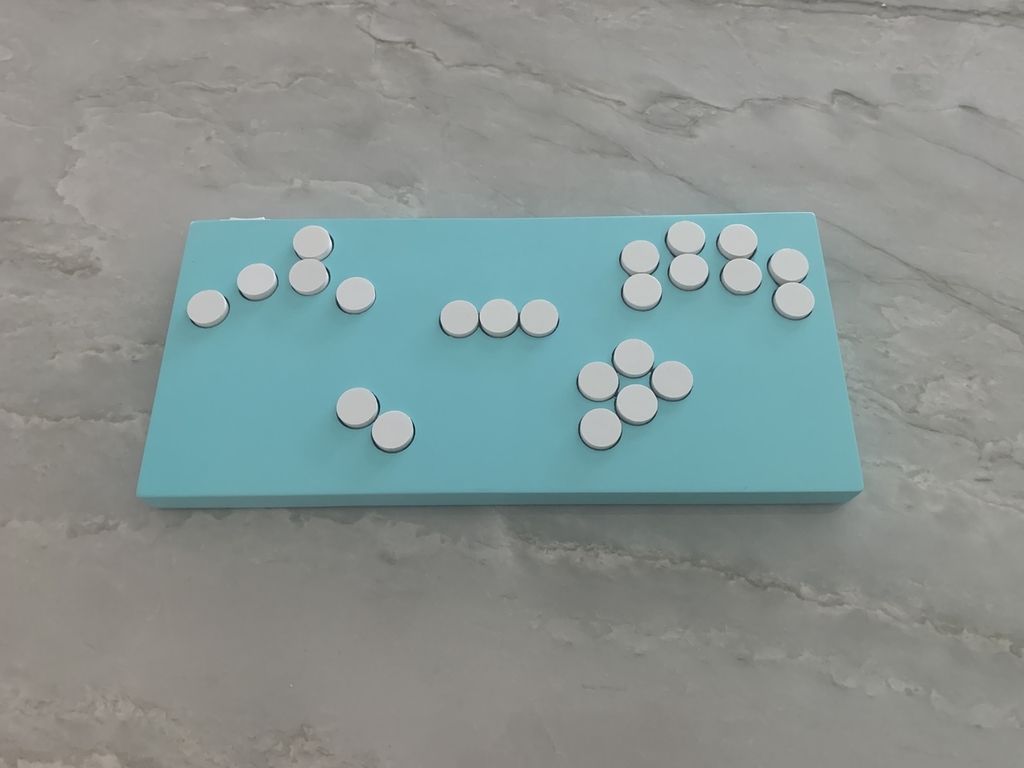
Summary Frame1 inspired box controller with dimensions of 14.2x6.5x~0.85" Estimated total cost: $31.13-$97 -Case: $10.23 -8 #6 x 5/8in. Screws: $1.28 -23 Buttons: $0.92 - .04 ea. -23 Switches: $4.83 - .21 ea. (Gateron Clears Recommended) https://flashquark.com/product/plate-mounted-gateron-switches/ -PCB Options- -Arduino Pro Micro: $13.87 -Arduino Leonardo: $15 -Arduino Micro: $16.90 (above options will require changes to the model) -Model S: $60 -Optional- -Spray Paint Primer: $4.58 -Spray Paint: $4.58 -Matte Spray Paint Clear Coat: $4.58 -SPDT on/off/on Switch: $5.99 https://www.amazon.com/gp/product/B085ZPD1FM/ The pcb in this build was designed and distributed by Crane. Join the diy box discord if you want to find out if the pcb is available :D ( https://discord.gg/TmSMErpVm2 ) The keycap model was created by TheSalitestSea and I just modified them to be the same size as the frame1 keycaps ( https://www.thingiverse.com/thing:4755246 ). Do keep in mind that you might have to modify the stem of the keycap in order to work with your printer. I modified the original model in order to have a tighter fit on the stem because they were a little loose for me, but they might work for you. I used an spdt on/off/on switch to swap between the two up buttons in order to keep this controller tournament legal. ( https://www.amazon.com/gp/product/B085ZPD1FM/ref=ppx_yo_dt_b_asin_title_o05_s00?ie=UTF8&psc=1 ) I followed this guide to fuse the two halves together (I used a soldering iron). https://www.youtube.com/watch?v=Q-PgjTYsAFY To get a smooth finish, I used bondo to fill up the spot where I fused the parts together and any areas that were warped. After that, I used wet and dry sandpaper(150, 600, 800). Then I put two coats of white spray paint primer and sanded with 600 and 800 grit sandpaper again. Once I was happy with the sanding, I spray painted two coats of light turquoise and let the paint dry for 24 hours. After the paint dried, I sanded one last time with some 2000 grit. Finally, I put two coats of some matte protective coating spray paint to give it a nice matte finish. Print Settings Printer Brand: Creality Printer: Ender 3 Rafts: No Supports: No Resolution: 200 Infill: 20 Filament: Hatchbox PLA Pink Notes: Print with a brim and add tape to the walls once they're built up high enough to hopefully avoid any lifting or warping.