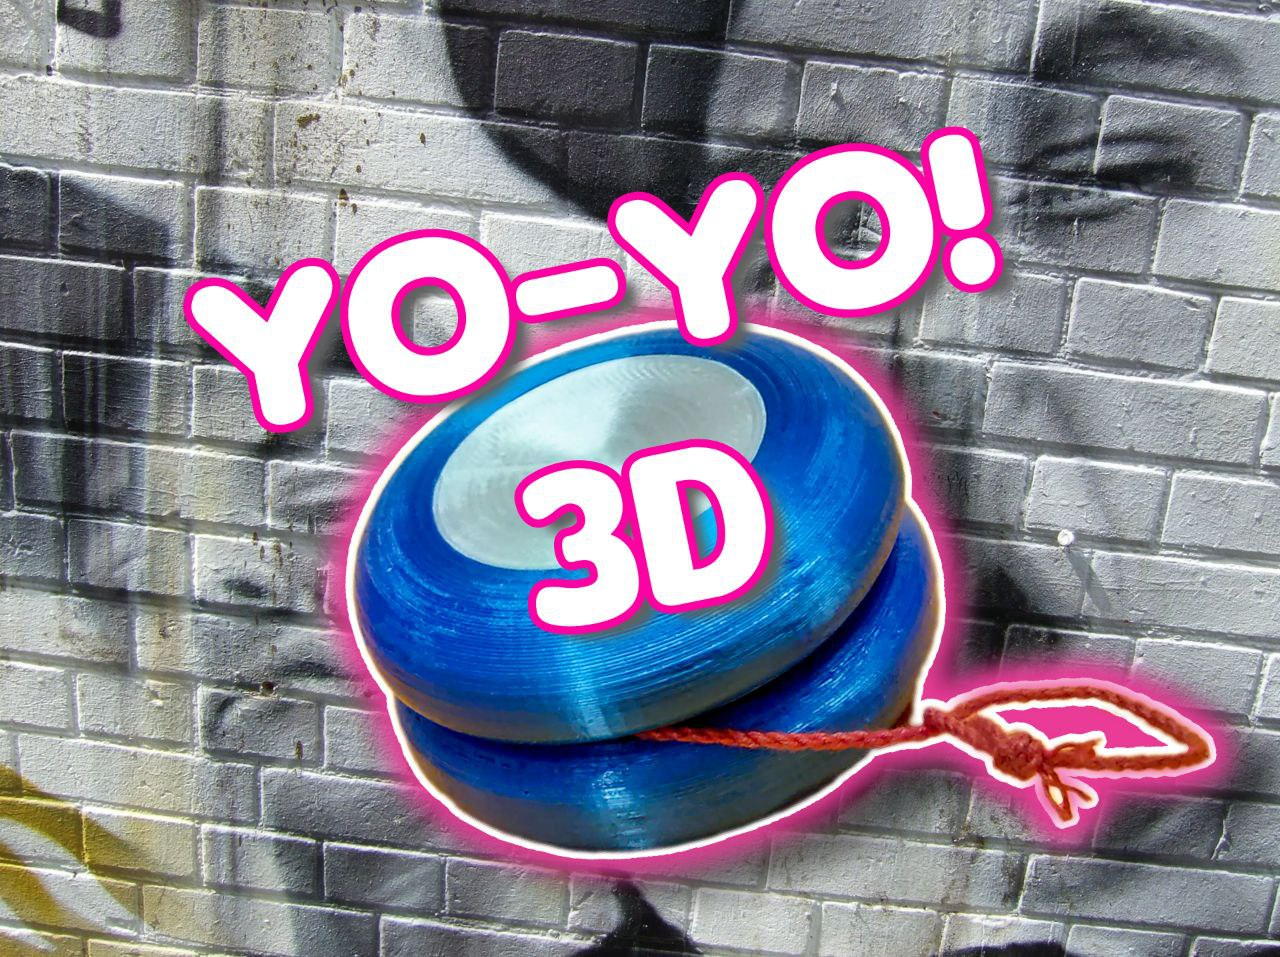
About this 3D model
design for balanced YoYo, loosely inspired by the legendary BC Blackbird No.17 , maple wood competition YoYo, Imperial style of the 1990s ASSEMBLY INSTRUCTIONS: Body/Halves: each side should weigh about 25gr; I suggest an infill around 80-85% Pins/Axles: to optimize lightness and elasticity, I designed the YoYo to be mounted on a carbon arrow fragment with an outer diameter of 5.x mm; archers normally cut the arrows to fit the correct length, and discard the leftover part; the pin length must be between 18 and 32mm However, I have included in the project a 2cm long Pin to be printed (horizontally!) Assembly: the Pin is to be glued perpendicular to the two Bodies; the distance between the two Bobys must be 2.2mm; to facilitate assembly you can use the assembly tool, as shown in the drawing between the two Bodies (especially if you are not using the Carbon Pin) it is useful to mount the 2mm thick washer that MUST RUN FREE on the axis of the Pin. this "simulates" the ball bearing (not present BC Blackbird No.17) - clarification for newbies: the string is NOT anchored to the Yo-Yo, but must run free Covers/Hubs: the sides snap on, and are optional Rope: I highly recommend purchasing a set of YoYo-specific ropes; they cost little and last a long time. the rope is assembled only AFTER the YoYo is assembled; the YoYo rope consists of a strand twisted on itself; just untwist it to widen the loop and thread the YoYo into it. enjoy! [ITA] progetto per YoYo bilanciato, liberamente ispirato al mitico BC Blackbird No.17 , YoYo da competizione in legno d'acero, stile Imperial degli anni '90 ISTRUZIONI DI MONTAGGIO: Body/Halves: ogni lato deve pesare circa 25gr; suggerisco un infill intorno al 80-85% Pin/Axles: per ottimizzare leggerezza ed elasticità, ho progettato lo YoYo per essere montato su un frammento di freccia in carbonio del diametro esterno di 5,x mm; gli arceri normalmente tagliano le freccie per adattarle alla corretta lunghezza, e buttano la parte avanzata; la lunghezza del pin dev'essere compresa tra 18 e 32mm Ho comunque inserito nel progetto un Pin lungo 2cm da stampare (in orizzontale!) Assemblaggio: il Pin va incollato perpendicolarmente ai due Body; la distanza tra i due Boby dev'essere di 2,2mm; per facilitarne il montaggio potete utilizzare l'attrezzo di montaggio, come indicato nel disegno tra i due body (soprattutto se non si usa il Pin in carbonio) è utile montare la rondella di spessore 2mm che DEVE GIRARE LIBERA sull'asse del Pin. questo "simula" il cuscinetto a sfere (non presente BC Blackbird No.17) - chiarimento per i neofiti: la corda NON è ancorata allo Yo-Yo, ma deve girare libera Cover/Hubs: i fianchetti si inseriscono a pressione, e sono opzionali Corda: consiglio vivamente di acquistare un set di corde specifiche per YoYo; costano poco e durano tanto. la corda si monta solo DOPO aver assemblato lo YoYo; la corda per YoYo è composta da un filo attorcigliato su se stesso; basta srotolarlo per allargare l'occhiello e infilarci dentro lo YoYo. buon divertimento!