About this 3D model
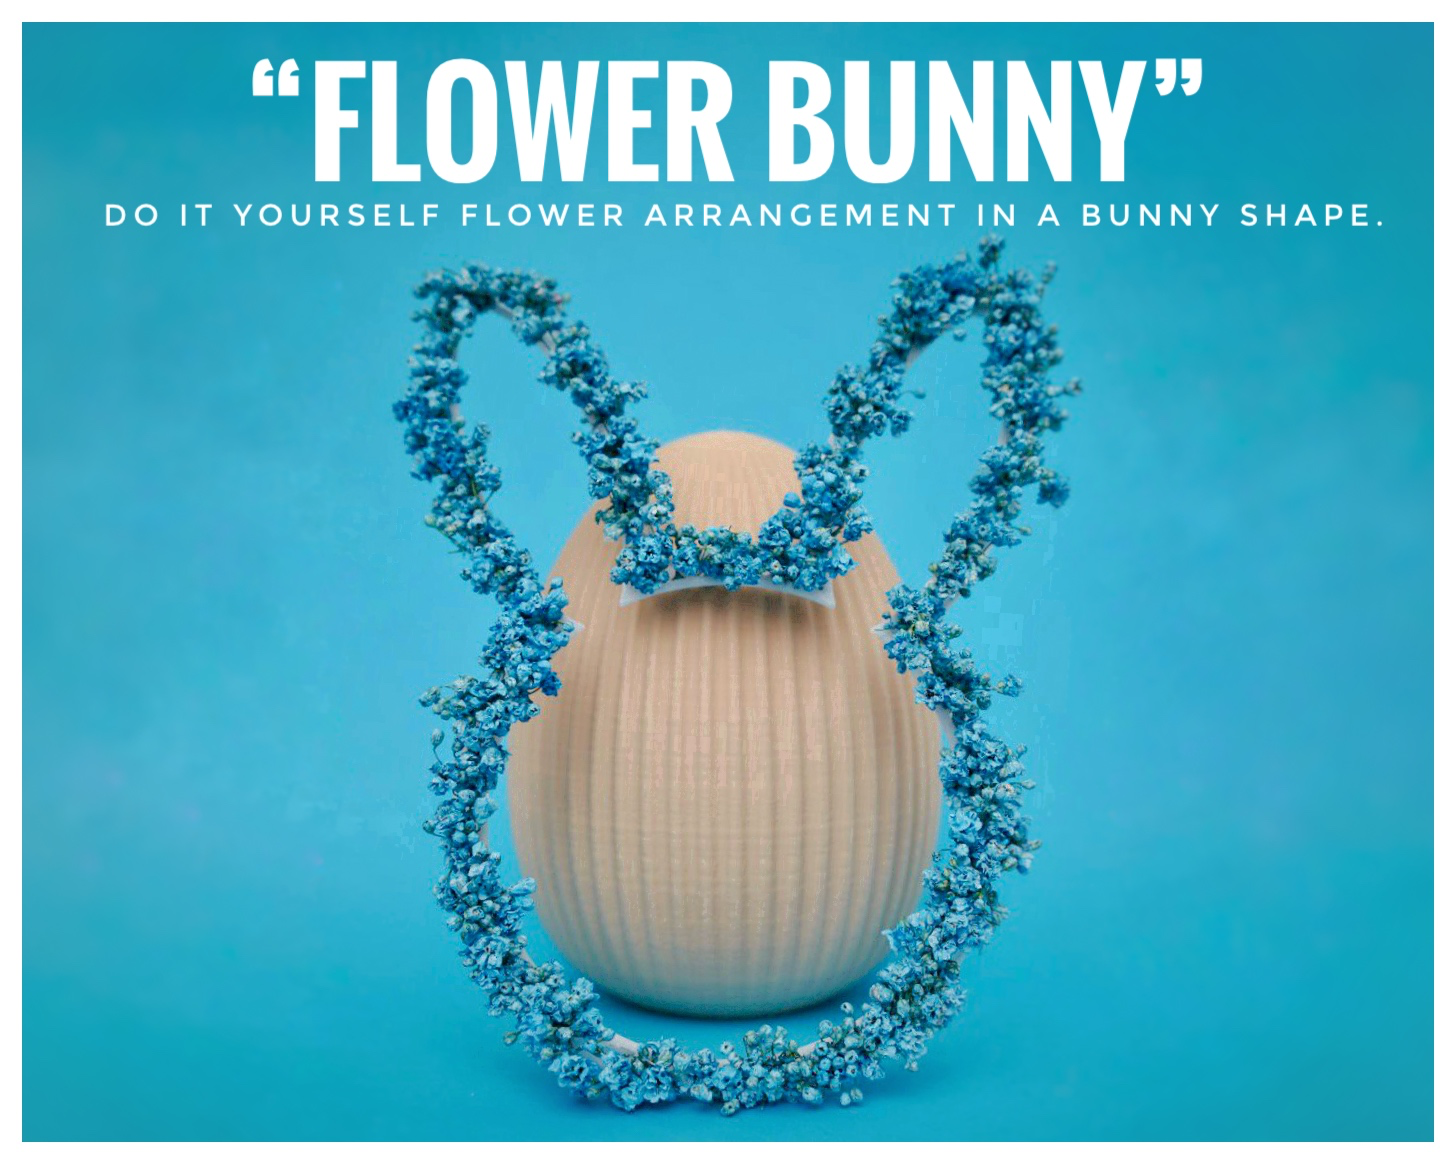
“Flower Bunny” Easter Decoration Introducing my “Flower Bunny Frame”, a delightful way to bring the beauty of nature into your home decor! This unique design serves as a frame for arranging flowers , allowing you to create a charming bunny-shaped display . Crafted with simplicity and elegance, the frame features a bunny silhouette with clamping mechanism where you can insert your favorite small flowers e.g. gypsophila . As you arrange the flowers within the frame, they seamlessly come together to form the shape of a bunny, creating a whimsical and enchanting piece of art. Perfect for adding a touch of natural beauty to any space, the Flower Bunny Frame is ideal for celebrations, home decor, or as a thoughtful gift for loved ones. Download the model today and let your creativity bloom! Printing Instructions So far I only tested PETG! To achieve optimal results with the “Flower Bunny Frame”, please follow these printing instructions: Set the top and bottom shell layers to 0. Infill should be set to "Grid" with a density of 20%. Configure wall loops to 2. Once these settings are applied, the preview in the slicer should resemble the following image: bottom view of sliced flower bunny model Following these instructions will ensure a smooth and successful printing process, resulting in a beautiful Flower Bunny Frame ready to be decorated with your favorite flowers. Decoration Instructions To decorate your Flower Bunny Frame, please follow the steps below. Please note that assembly may require some time and patience. Stay motivated, as the end result will be worth it! 1. Cut straight pieces from a gypsophila ostrich as depicted in the pictures below. 1.1 1.2 2. Insert the stem of the cut piece through the grid pattern and pull it out on the back side of the frame. If you encounter difficulty pushing the stem through the slot on the back side, gently open the slot with a slim plastic spudger or toothpick. 2.1 2.2 2.3 2.4 3. Repeat steps 1 and 2 until the entire bunny shape is filled with flowers. 3.1 3.2 4. Carefully trim the stems on the back side of the frame. 4.1 4.2 5. Hang the Flower Bunny Frame using the eyelet located at the bunny's head. 5.1 5.2 Have fun and stay tuned for future variations of this 3D model. Until then checkout my other easter decoration models on MakerWorld! Cracking Easter Egg Gift https://makerworld.com/en/models/242947 Easter Egg with Straight Vertical Lines (⌀ 13 cm x H 16,5 cm) https://makerworld.com/en/models/213080