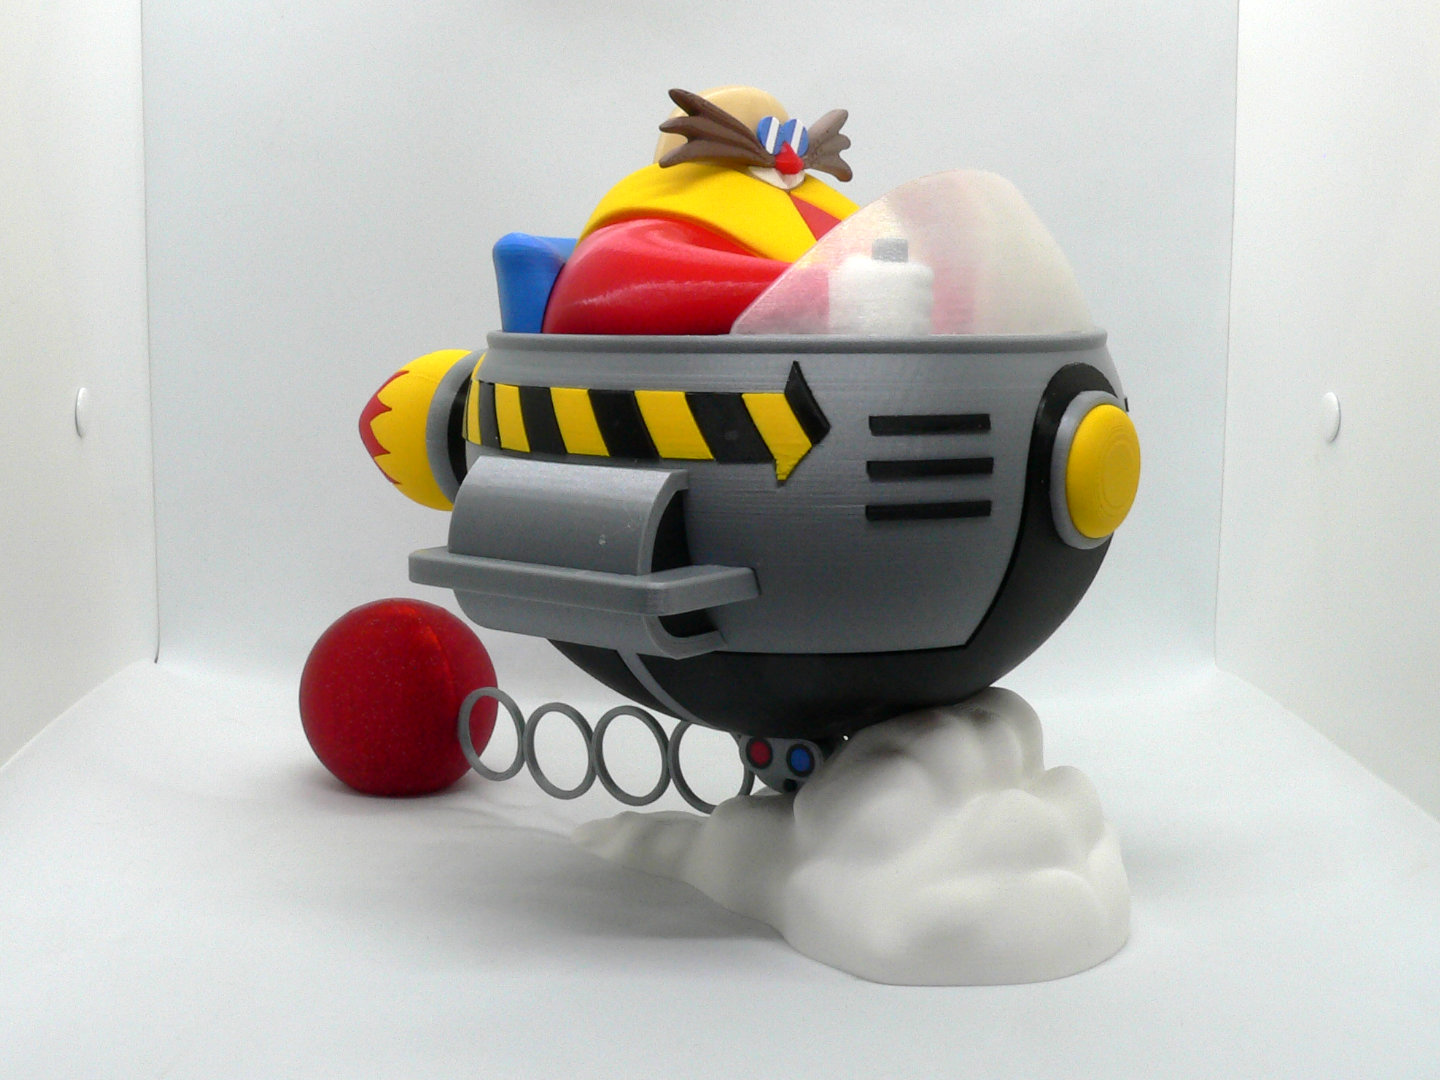
About this 3D model
Dr Eggman, a character from Sega's Sonic the Hedgehog series. Doctor Ivo "Eggman" Robotnik is the main antagonist of Sega's Sonic the Hedgehog franchise. Eggman is a mad scientist who seeks to steal the mystical Chaos Emeralds, defeat Sonic the Hedgehog, and conquer the world. I chose to model the earliest classic version of him, as he has changed quite a bit over the years. No supports are required. See notes for printing considerations, considering that this is larger than my typical model. If you have the proper filament colors, no painting is needed. As presented, Dr Eggman is mostly in proportion to my previous Sonic and Tails models. The assembled model with the base is 270mm long x 225mm tall x 220mm wide. All individual parts fit on smaller print beds, using the Prusa Mini as a guide. Enjoy! ........................................................................................................... Special shoutout to maker Benoît Lussier for providing QA printing and quality feedback.Special thanks to Jason McMillan (makerworld ID Gatekeeper) for creating the Bambu Print Profile. ........................................................................................................... **Print Instructions:**Supports: NoResolution: .2mm (see below for printing tips)Infill: 15% Notes:** Refer to the notes below for a few important printing and assembly instructions. ........................................................................................................... **Building the model** Colors Black: (Devil Designs PLA - Black)ship_body_front_blackship_body_back_blackbody_blackengine_black_1engine_black_2ship_wing_barrel_leftship_wing_barrel_rightsteering_top (contains two identical pieces)steering_bottomsmall_lights_ring (contains two identical pieces)arrow_black (**contains both left and right parts, all different sizes, see notes)arrow_extra_black (**contains both left and right parts, see notes)bomb_connector_boltship_stripes_top (contains two identical pieces)ship_stripes (contains four identical pieces.. Yellow: (Devil Designs PLA - Bright Yellow)collarflame_yellowarrow_yellow (**contains both left and right parts, all different sizes, see notes)ship_lightengine_hoodsmall_lights (only need one of the two identical pieces in the file).. Red Sparkle: (Devil Designs PLA - Galaxy Red)bomb.. Blue: (BambuLabs PLA - Blue)seatglasses_bluesmall_lights (only need one of the two identical pieces in the file).. Red: (Hatchbox PLA - True Red)body_redflame_rednosesmall_lights (only need one of the two identical pieces in the file).. White: (Devil Designs PLA - White)cloudhand_righthand_leftmouthglasses_white (contains two identical parts).. Aluminum/Silver: (Devil Designs PLA - Aluminum)ship_body_silverengine_silver_1engine_silver_2engine_silver_3ship_light_rimship_strapbomb_connectorsmall_lights_holder (contains two identical pieces)ship_body_floorship_wing_rightship_wing_leftship_wing_bottom_rightship_wing_bottom_leftship_wing_top_rightship_wing_top_left .. Brown: (PolyTerra PLA - Army Brown)moustashe_rightmoustashe_left.. Skin: (Paramount3d PLA - Universal Beige)head.. Transparent: (unknown PLA - clear)windshield.. Any color (hidden pieces)pin_bodypin_ship_strap.. ........................................................................................................... **Printing and assembly tips** Printing tips1 - This model is larger than my typical models, please note the size that is posted in the beginning of these notes. 2 - There are some pieces that may need brims: * I used brims on: hand_right hand_left arrow_black_extra If you use a brim on arrow_black and or arrow_yellow, be sure to clean the brims thoroughly for a good fit 3 -The following point is applicable to all my models, but more so for this one:When removing parts from the printer bed, it's a **VERY** good idea to place left/right parts into separate containers to help with the assembly process. Sometimes the difference between the left and right parts is very small but it is still worth keeping track of them and assembling them in their proper place. 4 -The arrow_black and arrow_yellow parts are presented in the order for assembly. They may seem similar but each part is unique. Personally I put them on a piece of tape in the order I took them off the bed. The bottoms are hidden, so you can also mark them there as well. For printability, arrow_back_extra is positioned upside down. As per the diagram, this is the black tip of the arrow. 5 -The parts ship_front_black and ship_back_black print easily but using my go-to printing parameters I had some warping off the bed. Consider typical solutions to avoid this such as cleaning your bed before printing these parts, use a higher print temp, adding helper disks to hold the corners of the parts down...Assembly tips: 1 - Take your time gluing the model together and enjoy the process. Give some thought into which parts to glue together as groups and then gluing the groups together. Let