About this 3D model
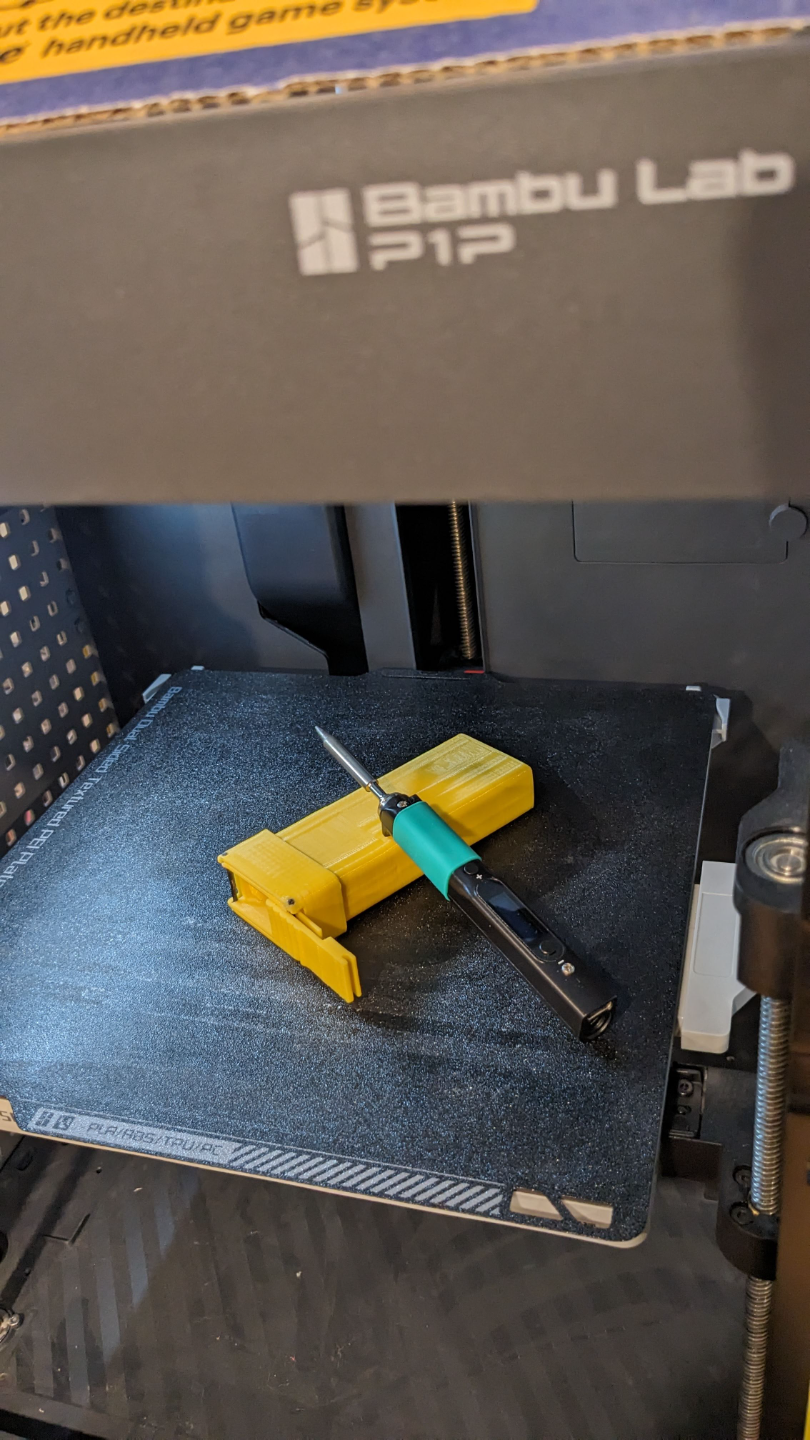
A case for your Pinecil v2 with a strong, securely latching lid Designed to be printable with fat (0.8mm) nozzles Demo: https://www.youtube.com/shorts/EIUq69howeI Notes: Print the lid with a long thin edge on your print bed Print collar and body in vertical orientation (as-is from design files) I created this in Tinkercad and made a copy public here: https://www.tinkercad.com/things/ixnVEXfQAi8-copy-of-pinecilv2-case/edit?sharecode=Lpg2z-3yCUEy58Q-9bRZjc3rv2BUtLpwAM_45SfKI_E Post-Printing Post Processing Lightly sand the edges of the lid if and as needed. Assembly Prep Cut two short lengths of filament approximately 30mm each. Cut a small piece of foam (e.g. from Pinecil retail packaging) approximately 2x10x10 mm. Super glue Wire cutters (to trim filament) Sandpaper (fine grit) A pencil or other low-cost item capable of reach the bottom of the Pinecil slot in the case Dry Fit Slide collar over body and align holes with the notches in the body Slide a length of filament through the holes to secure the collar to body Drop the prepared foam into the case body so it lays flat at the bottom of the Pinecil slot Insert Pinecil with USB connector facing into the case Insert Tip with hot end facing into the case Slide lid onto one exposed length of filament Rotate lid flush with the body top Slide lid closed, it should snap into place on the two lengths of filament Verify the Pinecil and Tip are safely stowed and don't move too much when the case is agitated Modify and/or replace the foam as needed for a safe Pinecil fit Consider adding a small piece of foam with a hole to surround the exposed portion of the Tip Final Assembly Add 1 drop of super glue to the end of each length of filament (4 in total) Wait for glue to dry Trim and sand the ends of filament as desired Remove the prepared foam from the Pinecil slot Add several drops of superglue to the bottom of the Pinecil slot Drop the prepared foam into the Pinecil slot Use a pencil or similar item to press the foam into the glue Wait for glue to dry