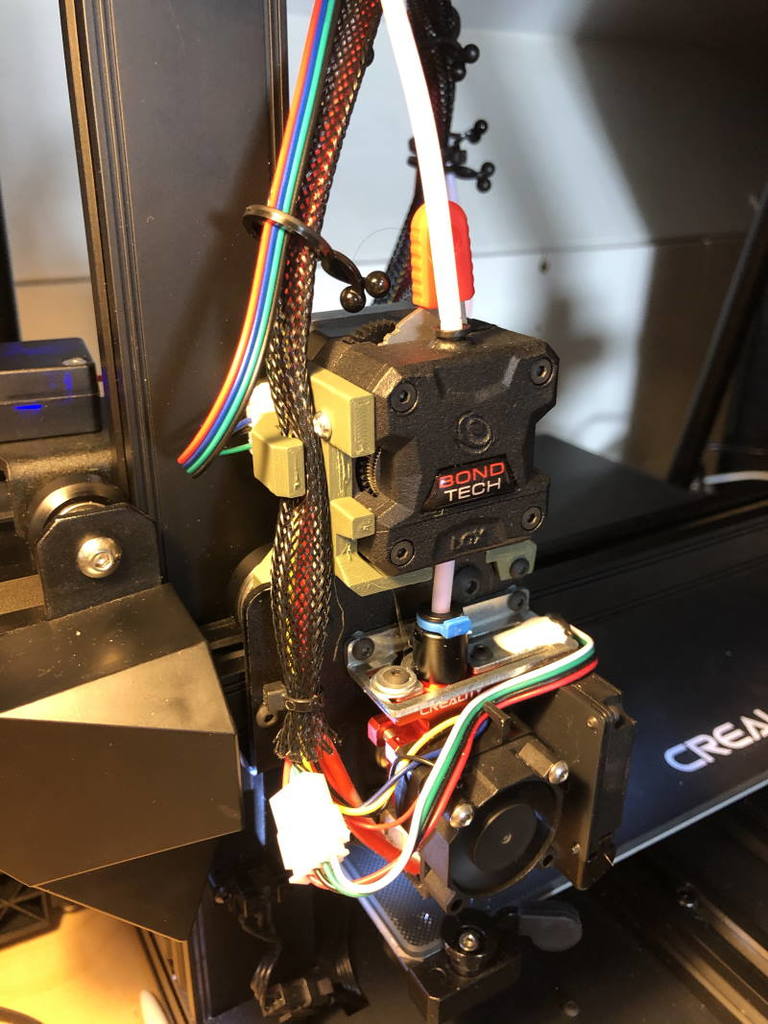
About this 3D model
This model allows you to mount a Bondtech LGX in a direct drive configuration on your Creality CR-10 Smart. This mount allows the strain gauge still to bend and allow leveling. Step file and Fusion 360 archive included. Please adhere to the license and attribute. Bill of materials One Bondtech LGX with either the direct drive or bowden interface plug attached 2x M3x14 screws 2x M3x10 screwsIf using a reverse bowden mount to feed filament (recommended): A PC2 bowden coupler 2x M3x10 screws Update 2021-09-21: I found some reliability issues with the rev1 design. Updated Print Settings Printer: Creality CR-6 SE Rafts: No Supports: Yes Resolution: 0.2mm Infill: 50 Filament: BIQU Matte PLA Olive green Notes: You need a little bit of support for the part that screws into the X-carriage. Post-Printing Assembly steps Note: Prefer to use the direct drive interface plug. 1. Mount the LGX to the mount. Remove the interface plug from the LGX. You need this later to cut the bowden tube to length. Push the mount onto the spacers of the wheels. It should snap right into place. Use the existing bolt to fixate the mount. Cut a bowden tube to length and stick it into the hotend. Leave about 2mm play so the strain gauge can push the bowden tube into the LGX a bit while leveling and homing. If you use the Bowden interface plug instead, you need to cut your bowden tube in half instead. Print and mount the reverse bowden interface, or find a solution for the filament sensor and spool location. Note: The LGX is allowed to run at 1A current maximum. You either need to decrease the vref on the stock motherboard, or install a BTT SKR CR6 motherboard Category: 3D Printer Extruders