About this 3D model
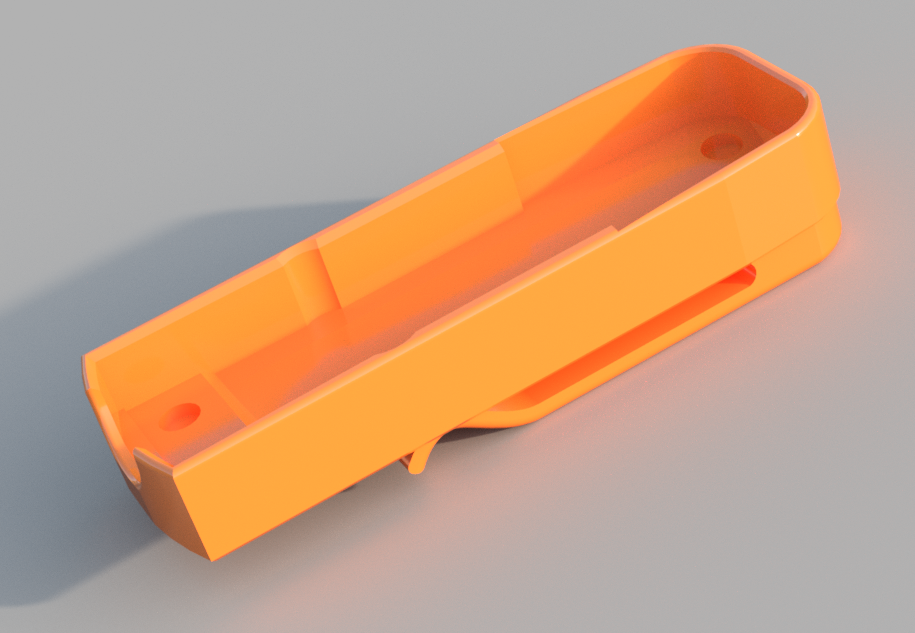
I've got to admit, working on this project was an absolute blast! My trusty Leatherman Rebar multitool deserved more than just a plain old nylon sheath. So, I went full DIY mode and crafted a lightning-fast draw sheath that matches my hyperactive spirit. Here's the scoop on what I aimed for: Instant tool access: When those 3D print supports had to go, I wanted zero delays. Locking it down: Whether I'm tinkering at home or out in the urban jungle, I needed that tool to stay put. Sleek and light: Who needs clunky when you can have sleek? Easy-peasy detachment: No wrestling needed. Oh, and just so we're on the same page, here's what I wasn't shooting for: Heavy-duty wilderness adventures: No wrestling gators in my plans! Ready to dive in? Here's the lowdown on how I did it: Opt for 6 walls in your print – that should do the trick. My vote goes to PET-G material – it's a winner. Print that loop on its side (check the pic) for some sturdy connections (support and brim for the win). Now, onto the nitty-gritty: Gently tap the Loop into the Sheath. I made it fit snugly without the need for glue. Time to supercharge it (!!!) – slot in 4 of those 6x2 round neodymium magnets. Glue isn't a must, but it's a good insurance policy. Get ready to show off your flashy new setup! Trust me, the fun in making it was just as awesome as the end result. Enjoy!