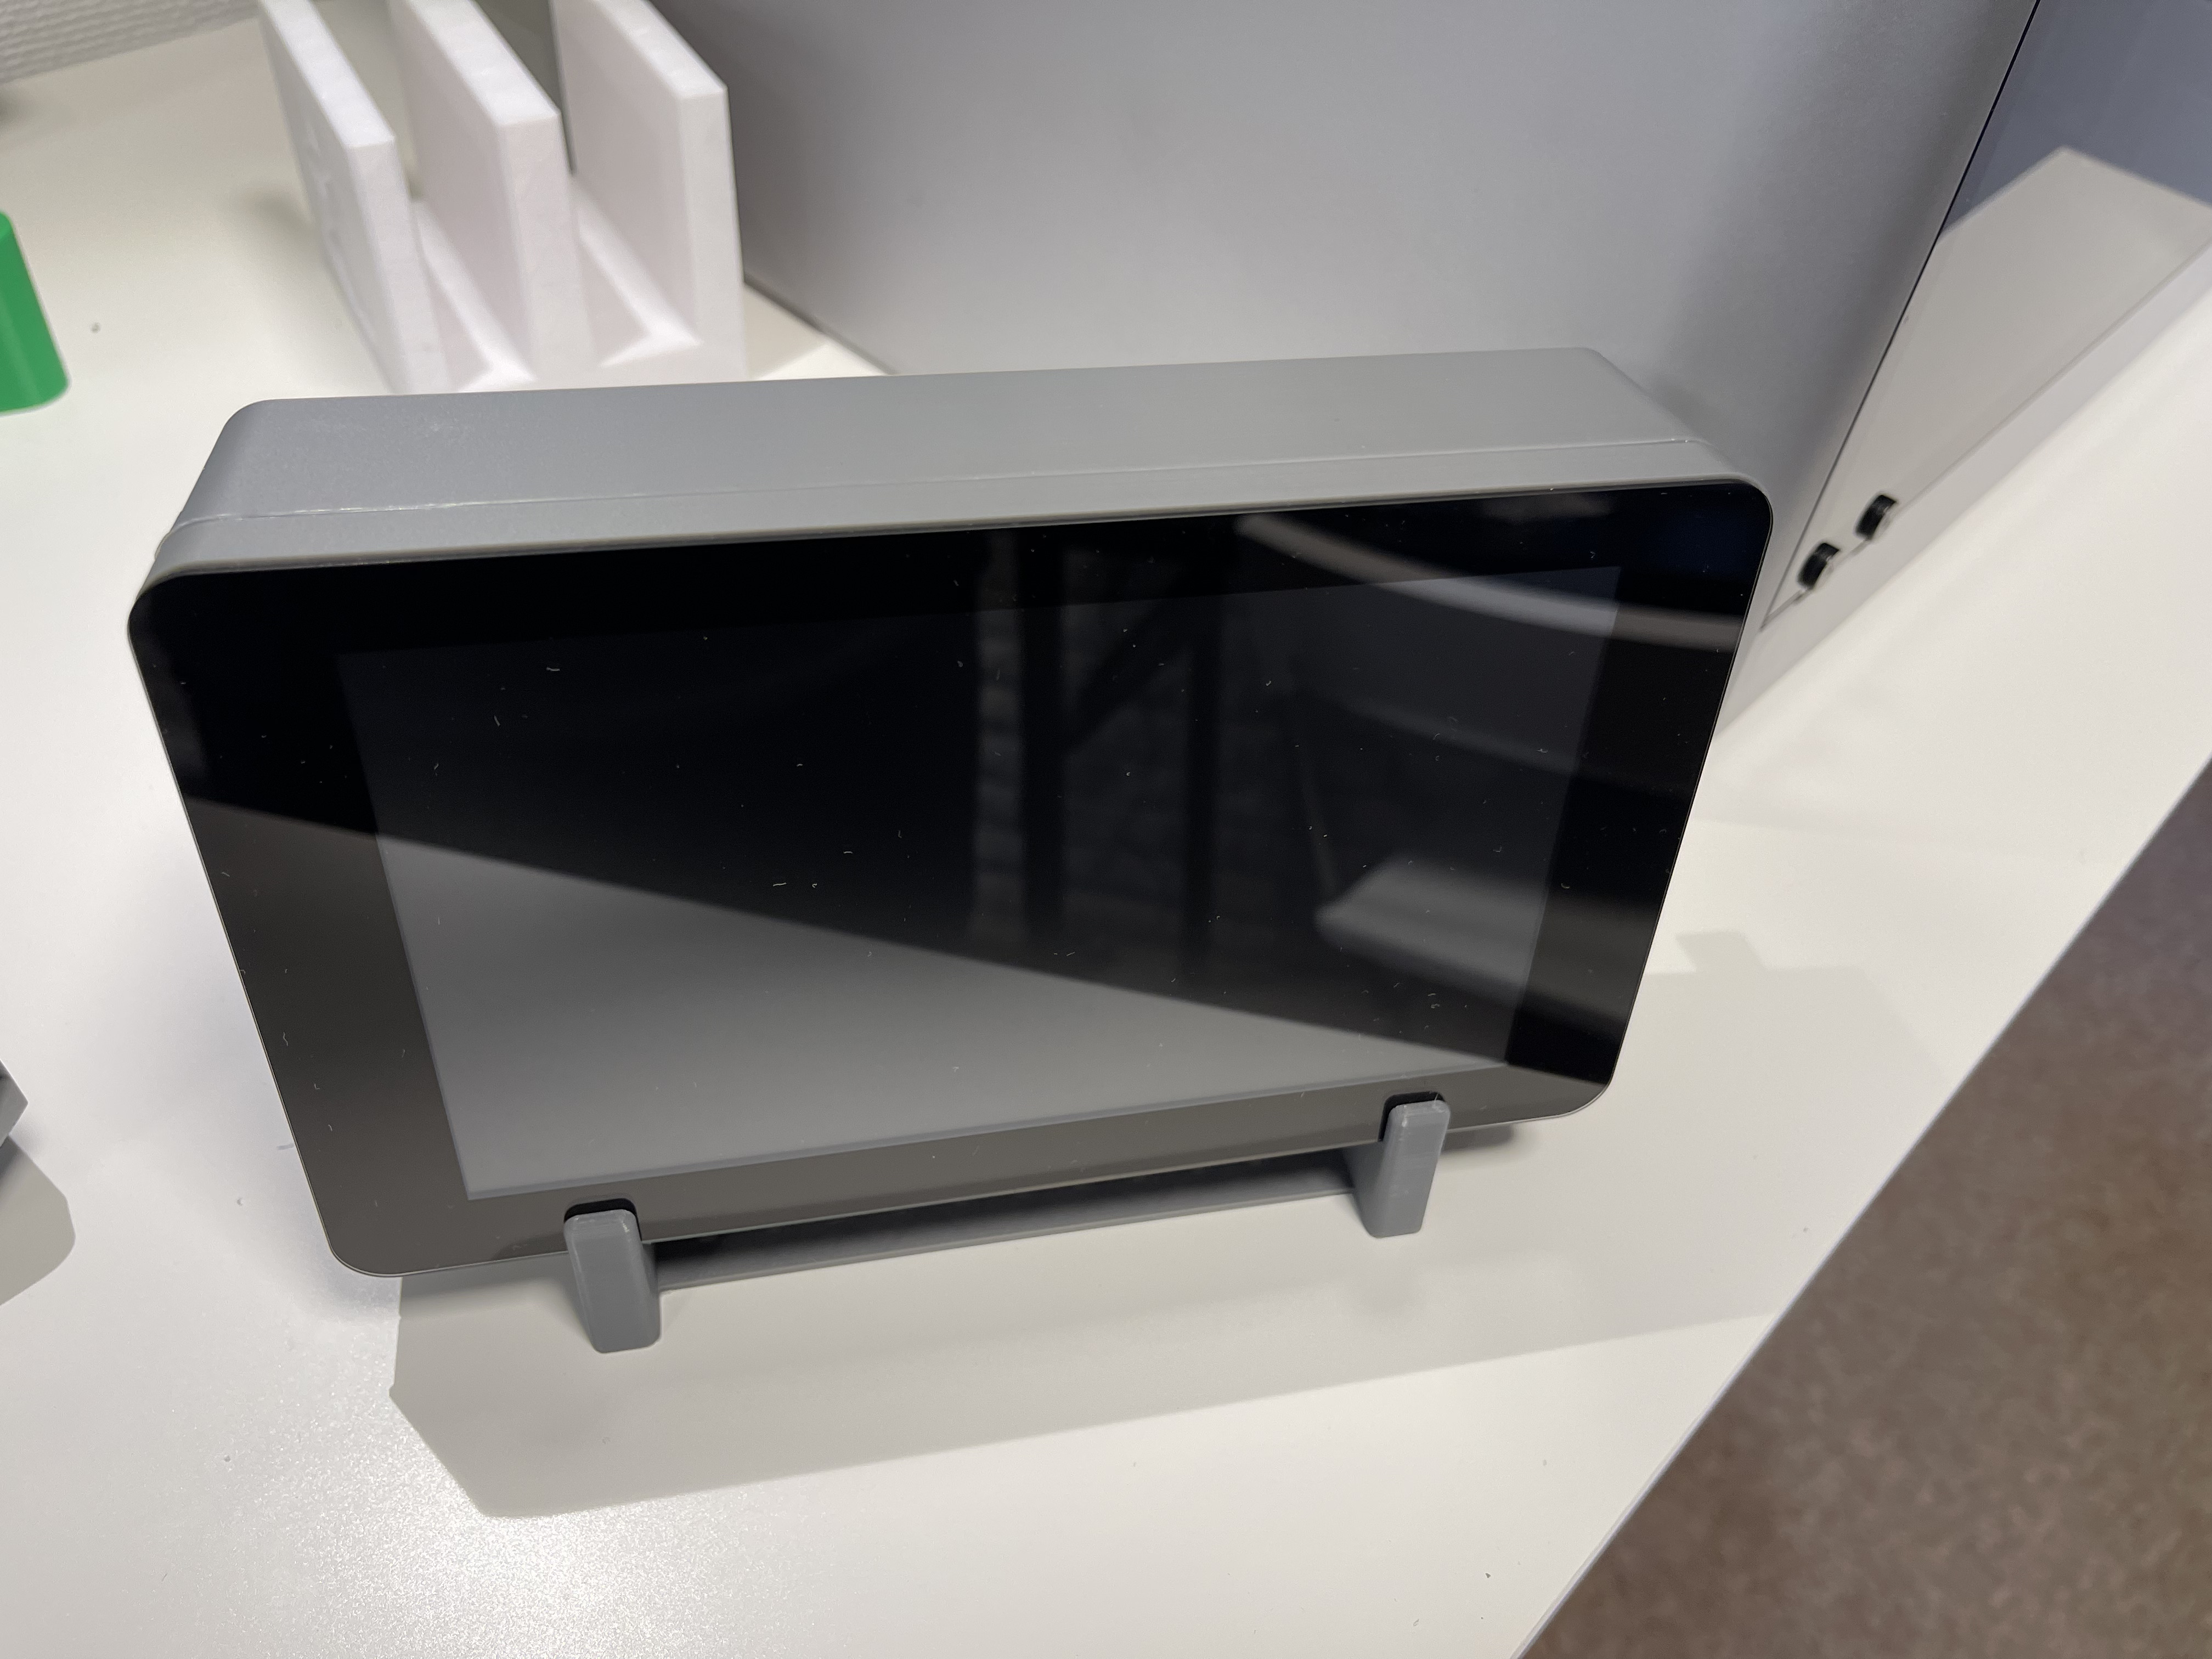
About this 3D model
This is a simple case for a Raspberry Pi (any version) with the LCD touchscreen from the Raspberry Pi Foundation. Parts needed: 4 x 3mm thread inserts 4 x screws for the LCD screen 4 x M3x6mm screws (back lid) The screws can be welded to the included knobs, or flat head screws can be used. Print settings and instructions: Easy to print, without supports. If printing in higher speeds, use a small brim to avoid warping with the big flat pieces. All parts can be printed without support, using the correct orientation. Screen frame: print with the flat side to the bed. Case: print with the tabs touching the bed. Back lid: print with the tiny screw chamfers facing up. Stand: print facing up, with the flat grid to the bed. Infill: from 8% to 15% is enough. Grid pattern fits better with the flat top layers. Suggested 3 walls and at least 3 top and bottom layers. Ironing can make the back lid look better. The other parts do not exposed top layers. Assembly: Put the LCD screen into the frame Align the case and fasten everything with the screws included with the LCD screen Connect the power lead to the RPi Fasten the back lid with the screws / knobs Source file: https://cad.onshape.com/documents/58b1cb1c5a175a42219e482a/w/c020db14da5f363e22066151/e/c59c8d60587588b3de11c0af Attribution: knurled knobs For the knurled knobs I used a template created by Jim Bixby, available at OnShape: https://cad.onshape.com/documents/87e83bfb31553d7a309567a6/w/ee08d2befdd75e06eba77038/e/9065bd461d681ac183a49787