About this 3D model
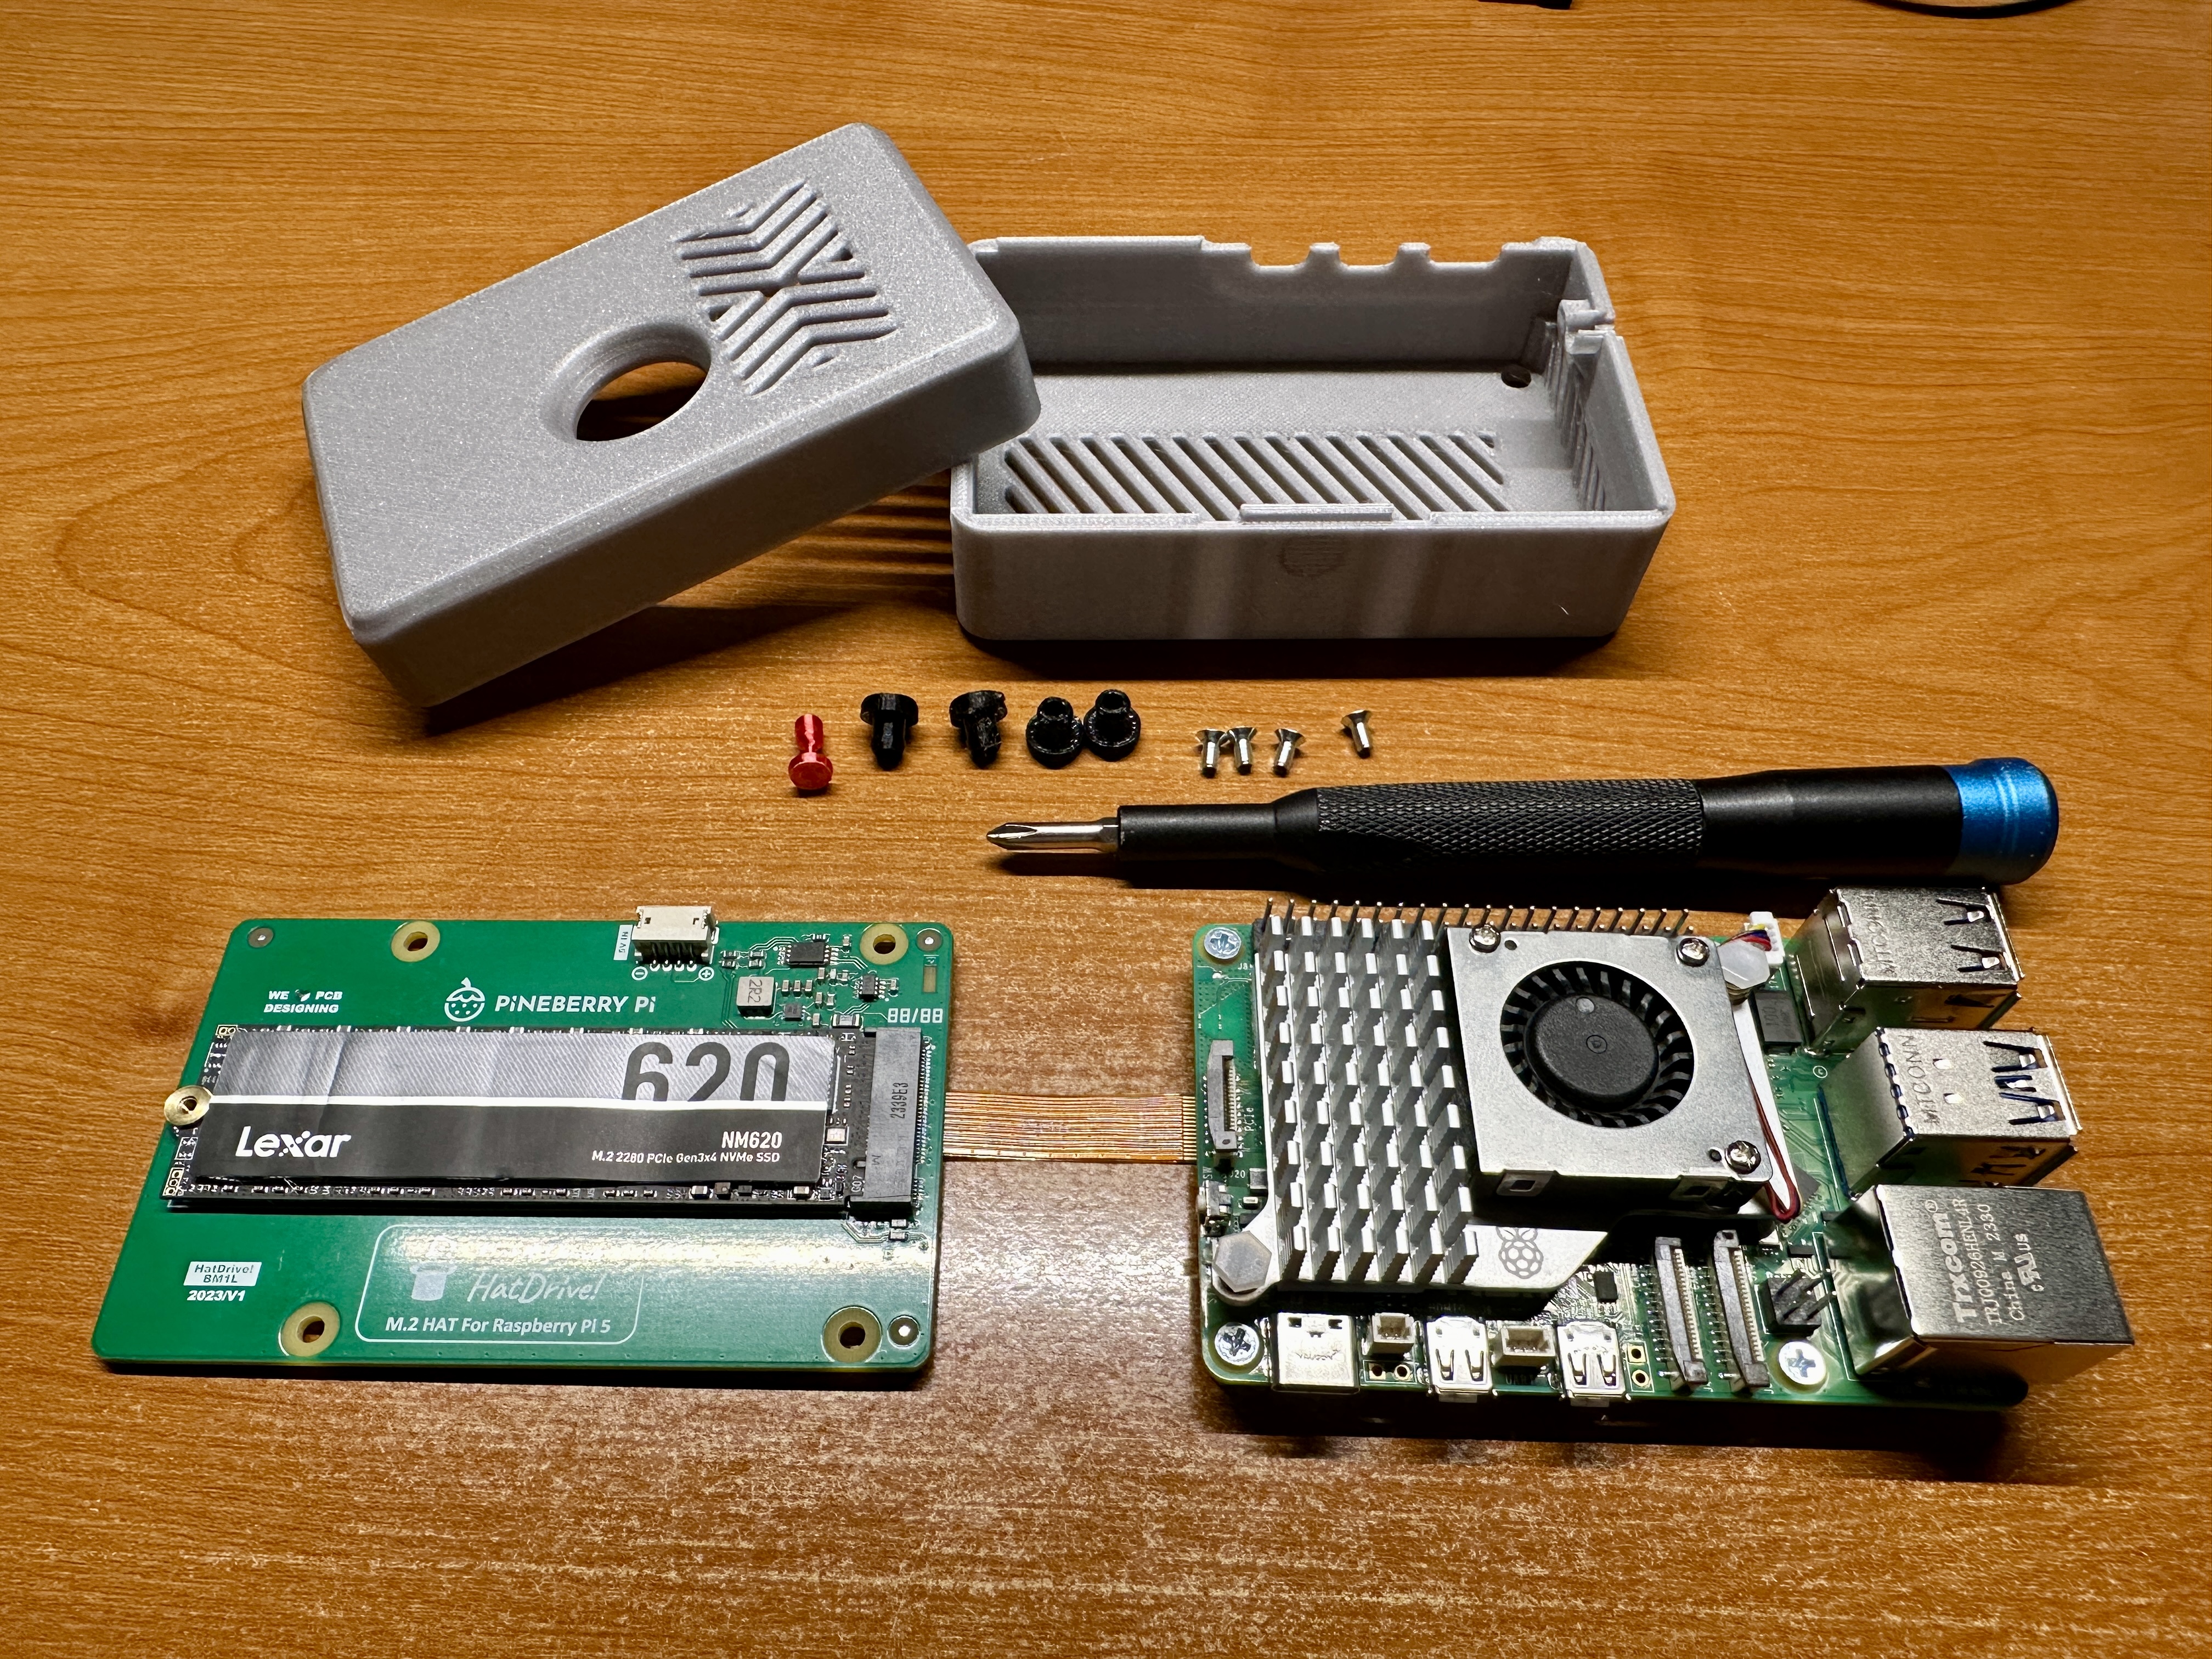
This is tool-less case designed to accommodate a Raspberry Pi5 with active cooler and a Pineberry HatDrive! bottom . Happy printing and assembly :) UPDATE : 1/20/2024 - added various top case options UPDATE: 1/22/2024 Change the power button geometry to be much more robust Updated the latches to make the two halves of the case fit much tighter TPU feet dimensions change to make them a very tight fit. Please take care when installing the TPU feet, they are meant to be very snug fit . Start with one corner of the stud and gently work the stud into the bottom of the case. Use a flat head screw drive to help work the feet into the case if needed. Case and power button print settings: Nozzle: 0.4mm Layer = 0.2mm Infill = 15% Brim = used only with power button for better stability Perimeters = 2 Filament = PLA Foot print settings: Nozzle: 0.4mm Layer = 0.2mm Infill = 15% Perimeters = 2 Filament = TPU (Overture TPU used) Once Pineberry HatDrive! bottom is assembled to the Raspberry Pi 5. Check and make sure the PCI ribbon cable is not bent at a sharp angle but gently looped over-under. Install the 4 TPU feet through the bottom of the case. Take note of the board support feature in all four corners of the bottom half of the case shown here. While holding the assembled board at a slight angle to clear the light pipe and power button holder, carefully slide the whole board into place resting on top of the support feature. Once the board is in place, carefully and install the power button as shown here. Double check to make sure the PCI ribbon cable is within the case as shown Take note of the capture groove Lower the top half of the case and tilt the top as shown to engage the capture groove Then close the top half of the case. You should hear a click when it closes properly. Test the power button and make sure it moves freely and engages against the power button on the board. All done :) To open the case gently press the thumb feature and tilt the top half of the case back and lift up.