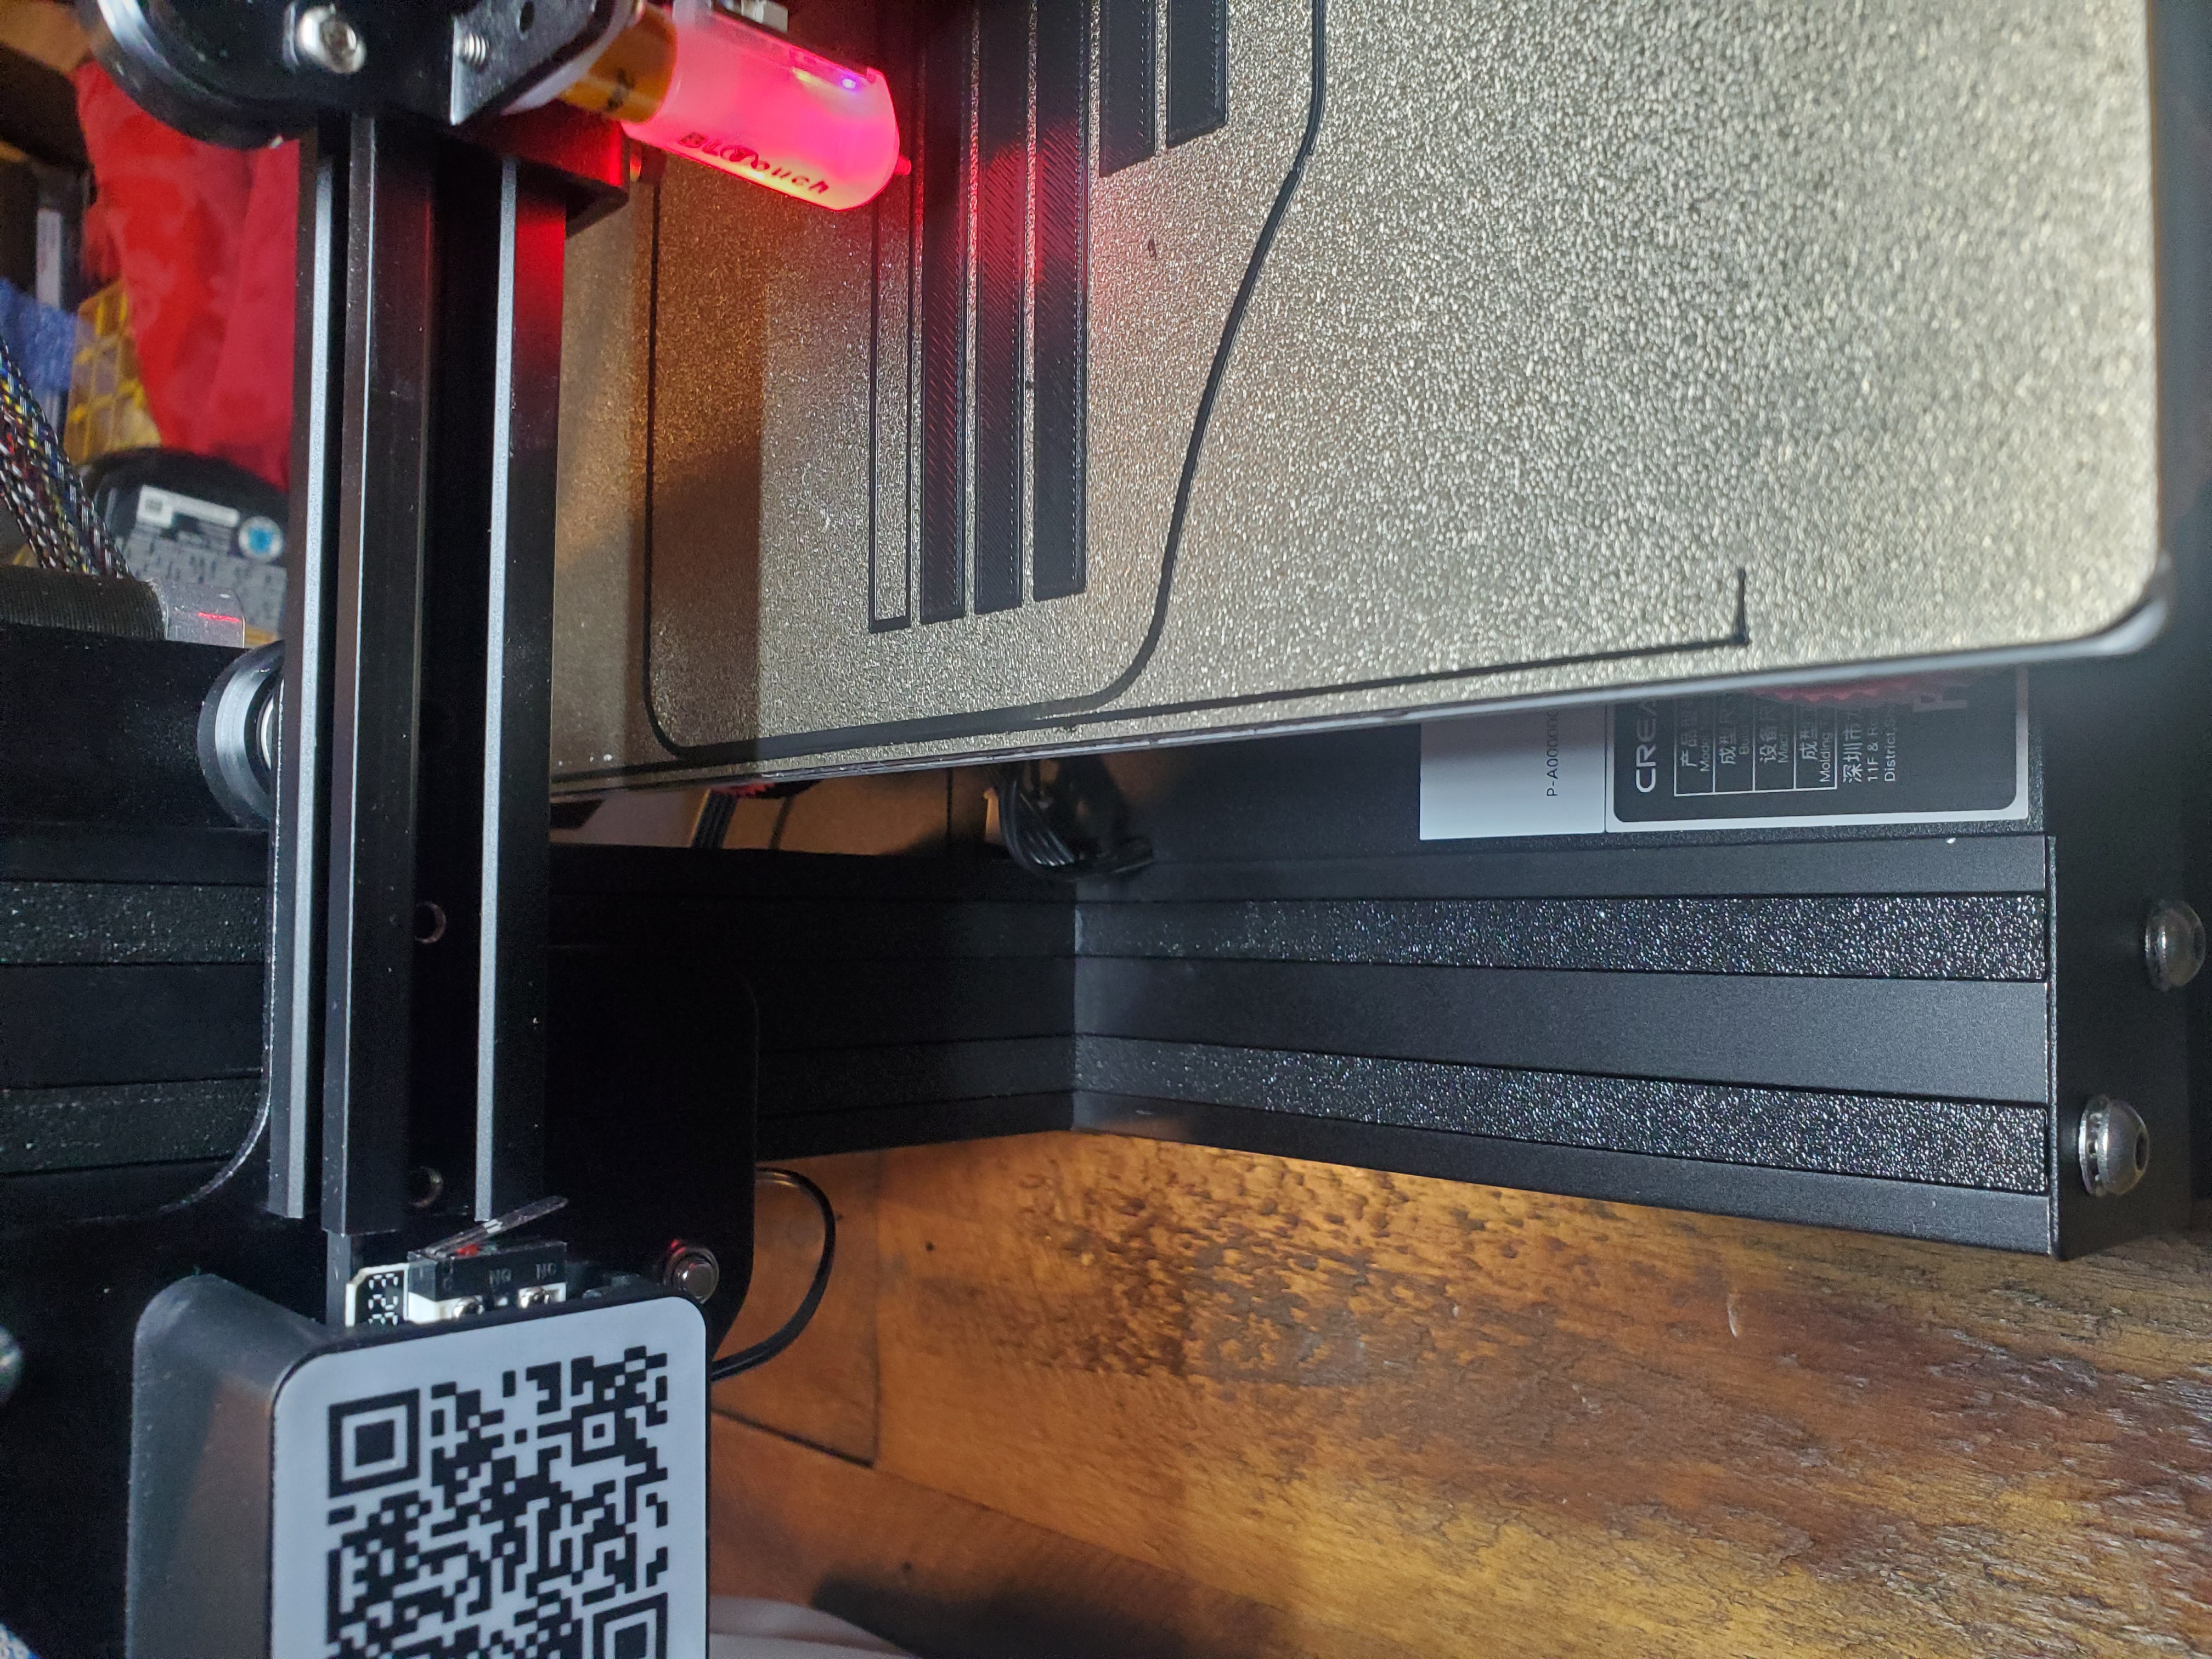
About this 3D model
I needed v-slot rail covers and wanted to be able to customize the lengths so I could work around my other upgrades. My design goals were: Flush top with the v-slot rail (others either extended over the top or were recessed into the rail) Installation and removal without removing endcaps or screws (snap-fit) A channel to be able to run wires behind the covers Fast print time with the least amount of filament required Printing Tips: These print fine at 0.20 layer height and do not require any support. Print with the wide flat top down on the bed. Ender 3 V2: You'll need to print the following pieces for a stock Ender 3 V2 complete set: Horizontal rails: Front left horizontal rail: (2) 135mm Front right horizontal rail: (2) 135mm Front top bar: (2) 165mm Back left horizontal rail: (2) 135mm Back right horizontal rail: (2) 135mm Back top bar: (2) 165mm Center horizontal rail: (2) 104mm Vertical rails: Front left vertical rail: (4) 200mm Front right vertical rail: (4) 200mm Back left vertical rail: (2) 200mm, (2) 156mm Back right vertical rail: (4) 200mm I have a dual z-axis upgrade on my Ender 3 V2 with the stabilizer bracket so the back right vertical rail matches the left and the back top bar uses (2) 122mm covers Customization: If you need different lengths the EXTRUSION_LENGTH parameter can be used to control the length of the cover. There is a suppressed “Extrude” feature for cutting the notches. The NOTCH_LENGTH parameter controls the distance of the notch. Depending on the material you print these in you should also be able to cut them to length with a hobby knife as there should be no infill in the print. Closing: I love seeing the results of people using my models so please share your makes if you print these (you get points!). If there are any sizes you feel are missing let me know and I'm happy to upload them.