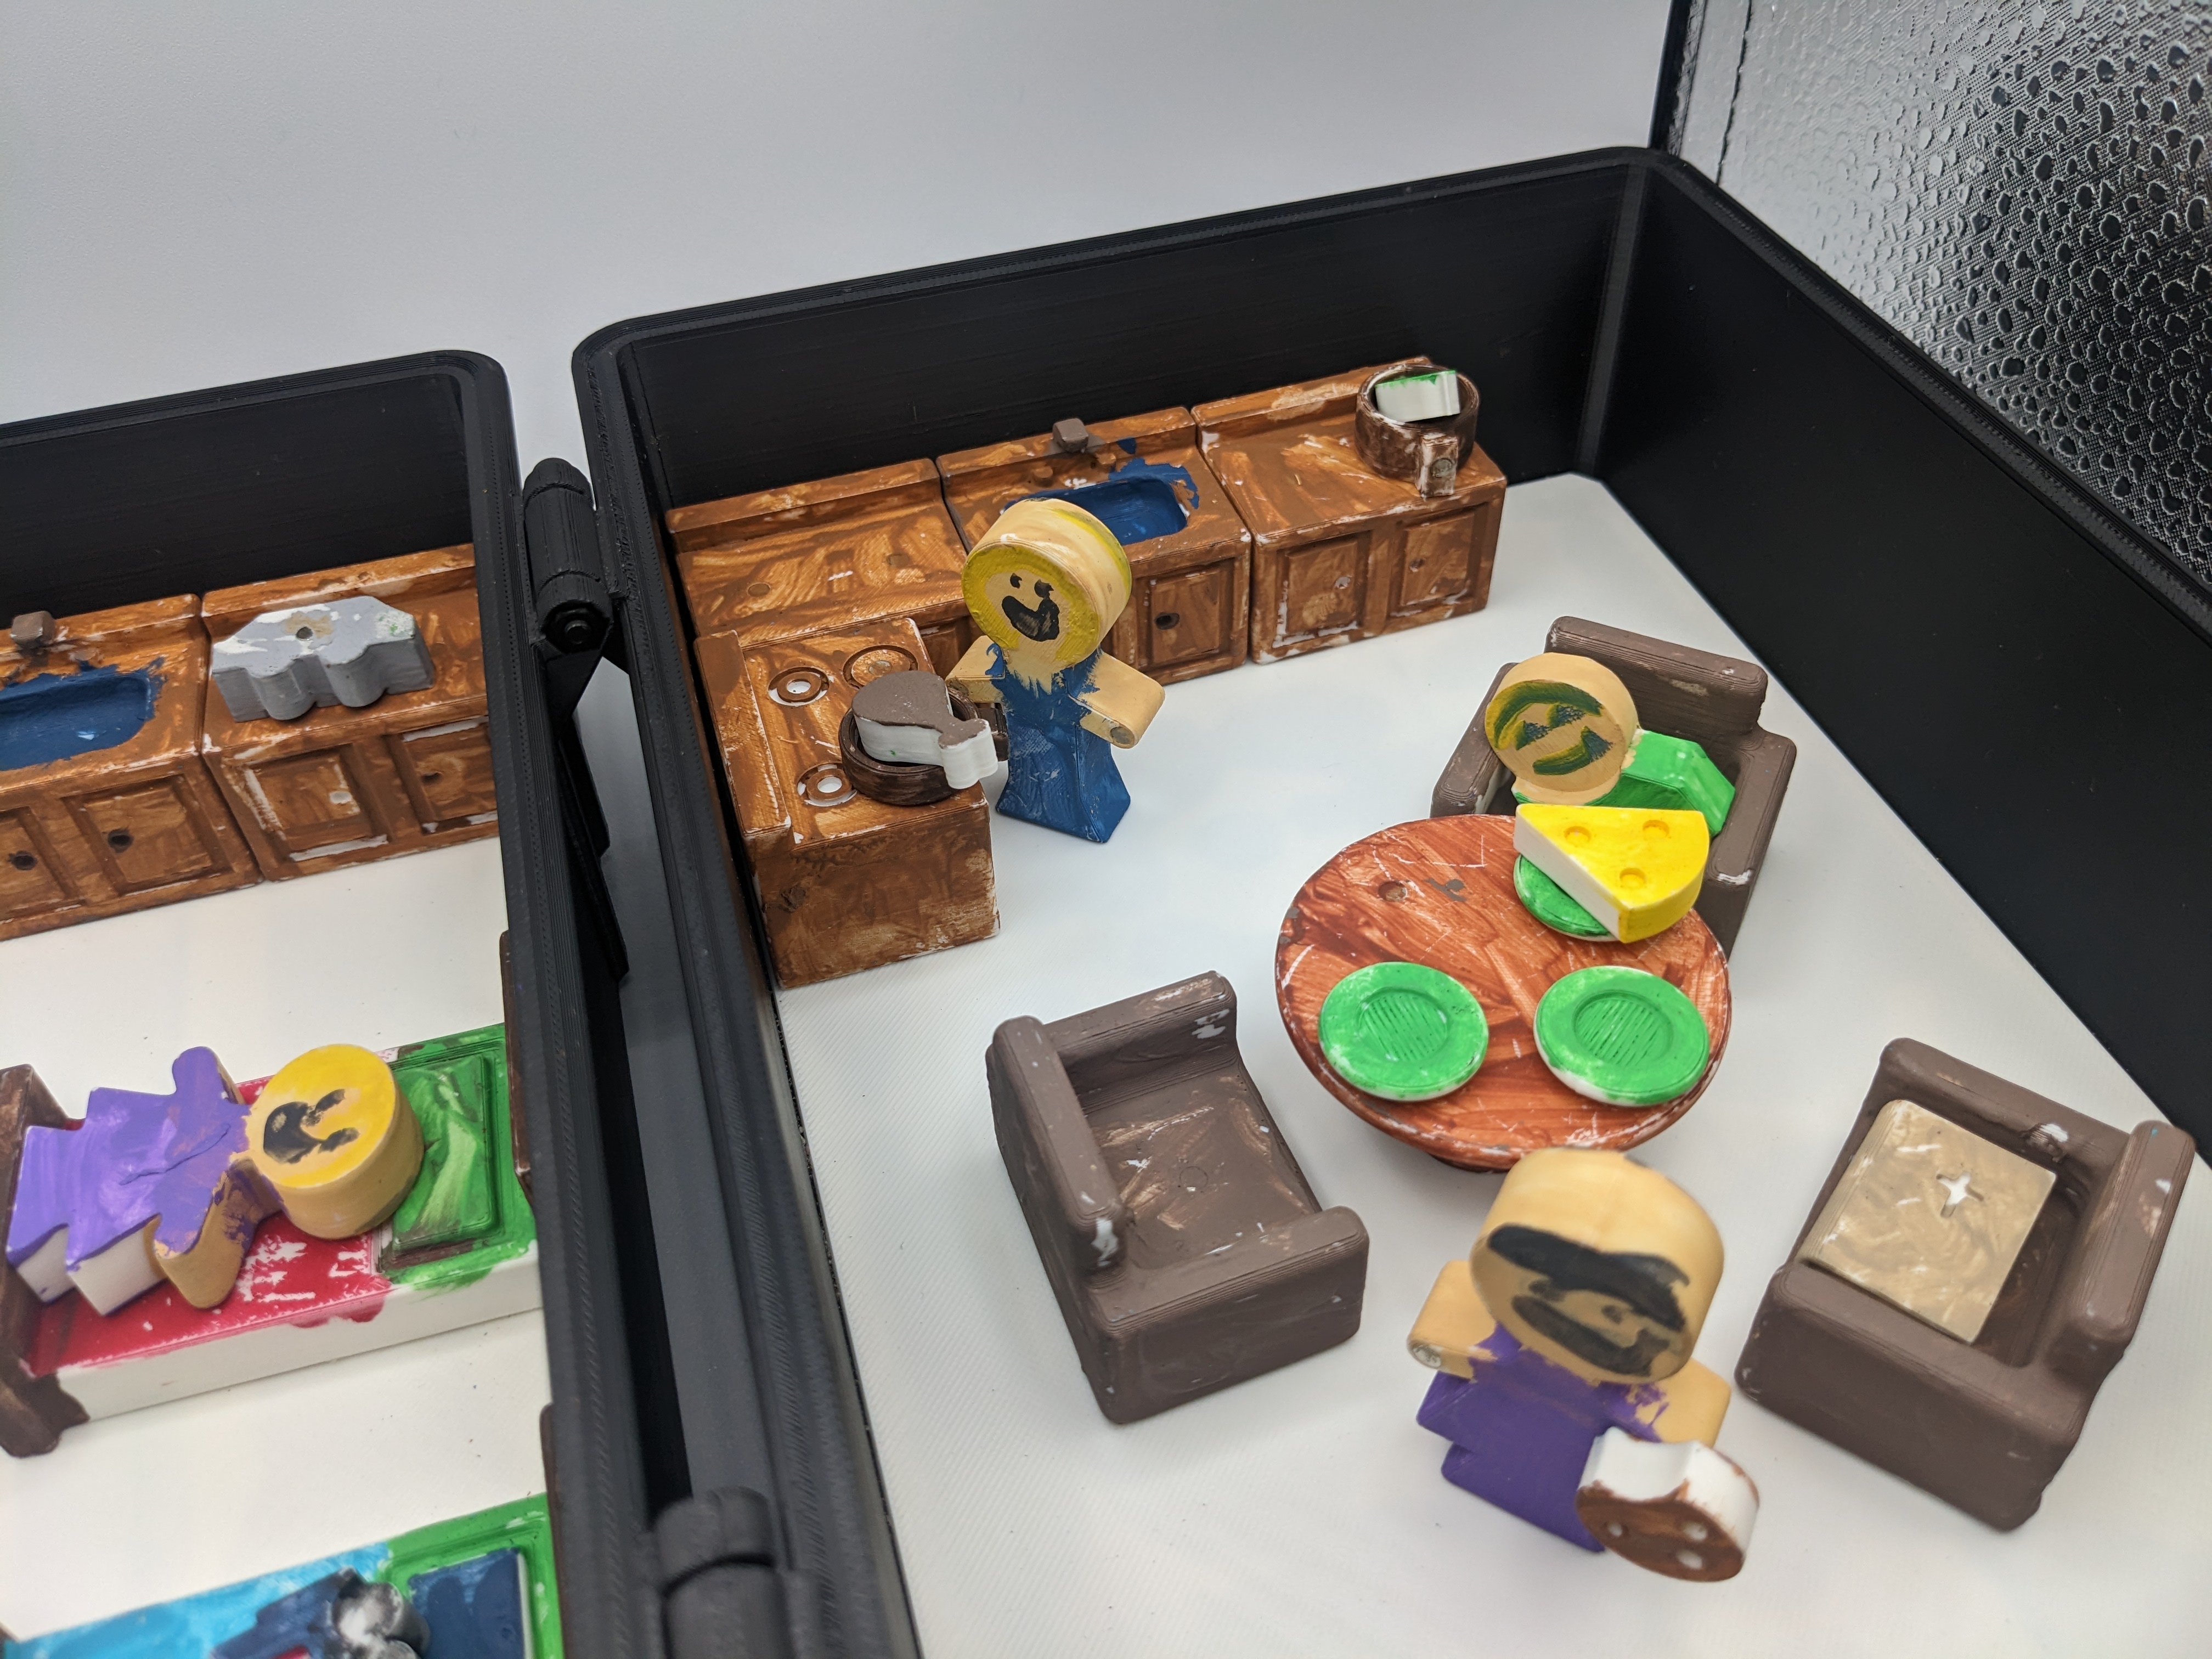
About this 3D model
Fold Open Travel Doll House (Magnetic) Custom travel doll house I made for my daughter for her 6th birthday so she could take it on road trips. She painted it herself! Designed to fit on both PRUSA i3 MK3S and Bambu Labs P1P/P1S/X1C Magnetic, paintable, and fully customizable. Portable and easy storage. Case size 240mm (Wide) x 180mm (Long) x 120mm (Tall) It's a simplistic doll house that your kid can paint and use their own imagination. No brands or predetermined colors or anything. Adding more pieces is simple. It even comes with the kitchen sink! ;) I printed it in ABS (for longevity and for heat resistance when it gets left in the car). Of course, I think PLA or PETG would work fine if you'd rather. No supports needed. 0.4mm nozzle 0.2mm layer height 10% infill density 3 wall loops for added strength. We printed all the pieces in plain WHITE so that my daughter could paint it herself (She did an fantastic job of course!). Family, Books, Toys, Dishes, and Food. Sink, Countertop, and Oven/Stove. Stairs, Bathtub, Bed, Table, and Chair. The travel case or 'house' folds open and flat and has thin metal sheets (bought at a local hobby store) glued onto the bottoms which allows the pieces to ‘stick’ and not slide around. The pieces have magnets inserted into them so small items can be held and furniture stays in place but can be rearranged. Dolls can hold the plates, the food, the toys, and the books and the baby! They can ‘sit’ in the chairs, ‘lie’ in the bed, and the tub without sliding around . Dolls and furniture stick to the floor but can be rearranged. Objects can stick to the countertops, the shelves, the table, etc. Of course, magnets are optional . You could always print the pieces and skip the magnets and they still work as a small doll set. Most of the parts have indentions for magnets to be inserted. Smaller parts, doll hands, and furniture surfaces use 3x1 mm neodymium magnets. While furniture bases and the doll's feet use 5x3 mm. ( Full Bill of Materials below ). *** WHEN GLUING IN MAGNETS, TAKE YOUR TIME AND MAKE SURE THEY ARE ALL FACING THE CORRECT DIRECTION SO THEY ATTRACT AND NOT REPEL. Parts needed for my daughter's build were… Bill of Materials: Non-Printed Parts: 2x - 1/16" metal sheets (cut to size) (Roughly 235 x 175mm) 4x - M3x30mm Socket head cap screw 4x - M3 Nuts 23x - 5x3 mm neodymium magnets (optional) - "SMALL" 37x - 3x1 mm neodymium magnets (optional) - “BIG” E6000 Craft epoxy or equivalent metal to plastic glue (optional) Acrylic Paint (optional) Case: - ( 240 x 180 x 120mm ) 1x Case Bottom 1x Case Top 1x Handle (pops in) 2x Latches (use bolts to attach) 4x M3x30mm Socket head cap screws 4x M3 Nuts 2x 1/16" metal sheets (cut to size) (optional) 2x Floor bottom inserts (optional) Dolls and Furniture: - (Mix and match as you please) 1x Mommy (1 BIG magnet in feet, 2 SMALL magnets in hands) 1x Daddy (1 BIG magnet in feet, 2 SMALL magnets in hands) 1x Boy (1 BIG magnet in feet, 2 SMALL magnets in hands) 1x Girl (1 BIG magnet in feet, 2 SMALL magnets in hands) 1x Baby (1 SMALL magnet on back) 2x Beds (2 BIG magnets on bottom, 1 SMALL on footboard) 1x Bathtub (2 BIG magnets on bottom, 1 SMALL on inside) 2x Stairs (2 BIG magnets on bottom) 2x Shelves (2 BIG magnets on bottom, 4 SMALL on shelves) 4x Chairs (2 BIG magnets on bottom, 1 SMALL on seat) 1x Table (1 BIG magnets on bottom, 4 SMALL on seat) 2x Sink (2 BIG magnets on bottom, 1 SMALL in drain) 2x Sink (2 BIG magnets on bottom, 1 SMALL in drain) 2x Oven (2 BIG magnets on bottom, 2 SMALL in top) 3x Countertop (2 BIG magnets on bottom, 2 SMALL in top) 3x Books (1 SMALL in bottom) 3x Plates (1 SMALL in bottom) 1x Pot (1 SMALL in bottom) 1x Pan (1 SMALL in bottom) 1x Food Meat (1 SMALL in bottom) 1x Food Cheese (1 SMALL in bottom) 1x Food Pear (1 SMALL in bottom) 1x Food Cookie (1 SMALL in bottom) 1x Toy Truck (1 SMALL in bottom) 1x Toy Car (1 SMALL in bottom) 1x Toy Train (1 SMALL in bottom) Assembly: Assembly is extremely simple but there are a few things I'd caution you with. Place each half of the case flat on a table and line up the hinges. Insert one M3 nut into each hinge indentions (you'll see). Then insert 2x M3x30mm screws. Tighten until fulling inserted and finger tight. DO NOT OVER-TIGHTEN SCREWS or you could crack the hinges it doesn't need a lot of torque. From there, use 2x M3 nuts and 2x M3x30 screws to attach the latches. Next is gluing in the optional metal sheet for magnetizing the bottom of the case. Use E6000 epoxy or equivalent (WARNING: if you do use E6000, because of the fumes it continues to put off as it cures, you will need to let the case sit out for a week or two to allow the smell to dissipate). Cut the sheet to size with tin snips or any other method (be aware of sharp edges). Apply glue to the bottom inside of the case (it doesn't take much) and insert the metal sheet. Next, apply glue to the top of the metal sheet and insert the thin flat printed ‘floor’ piece to hide the metal (depending on your print