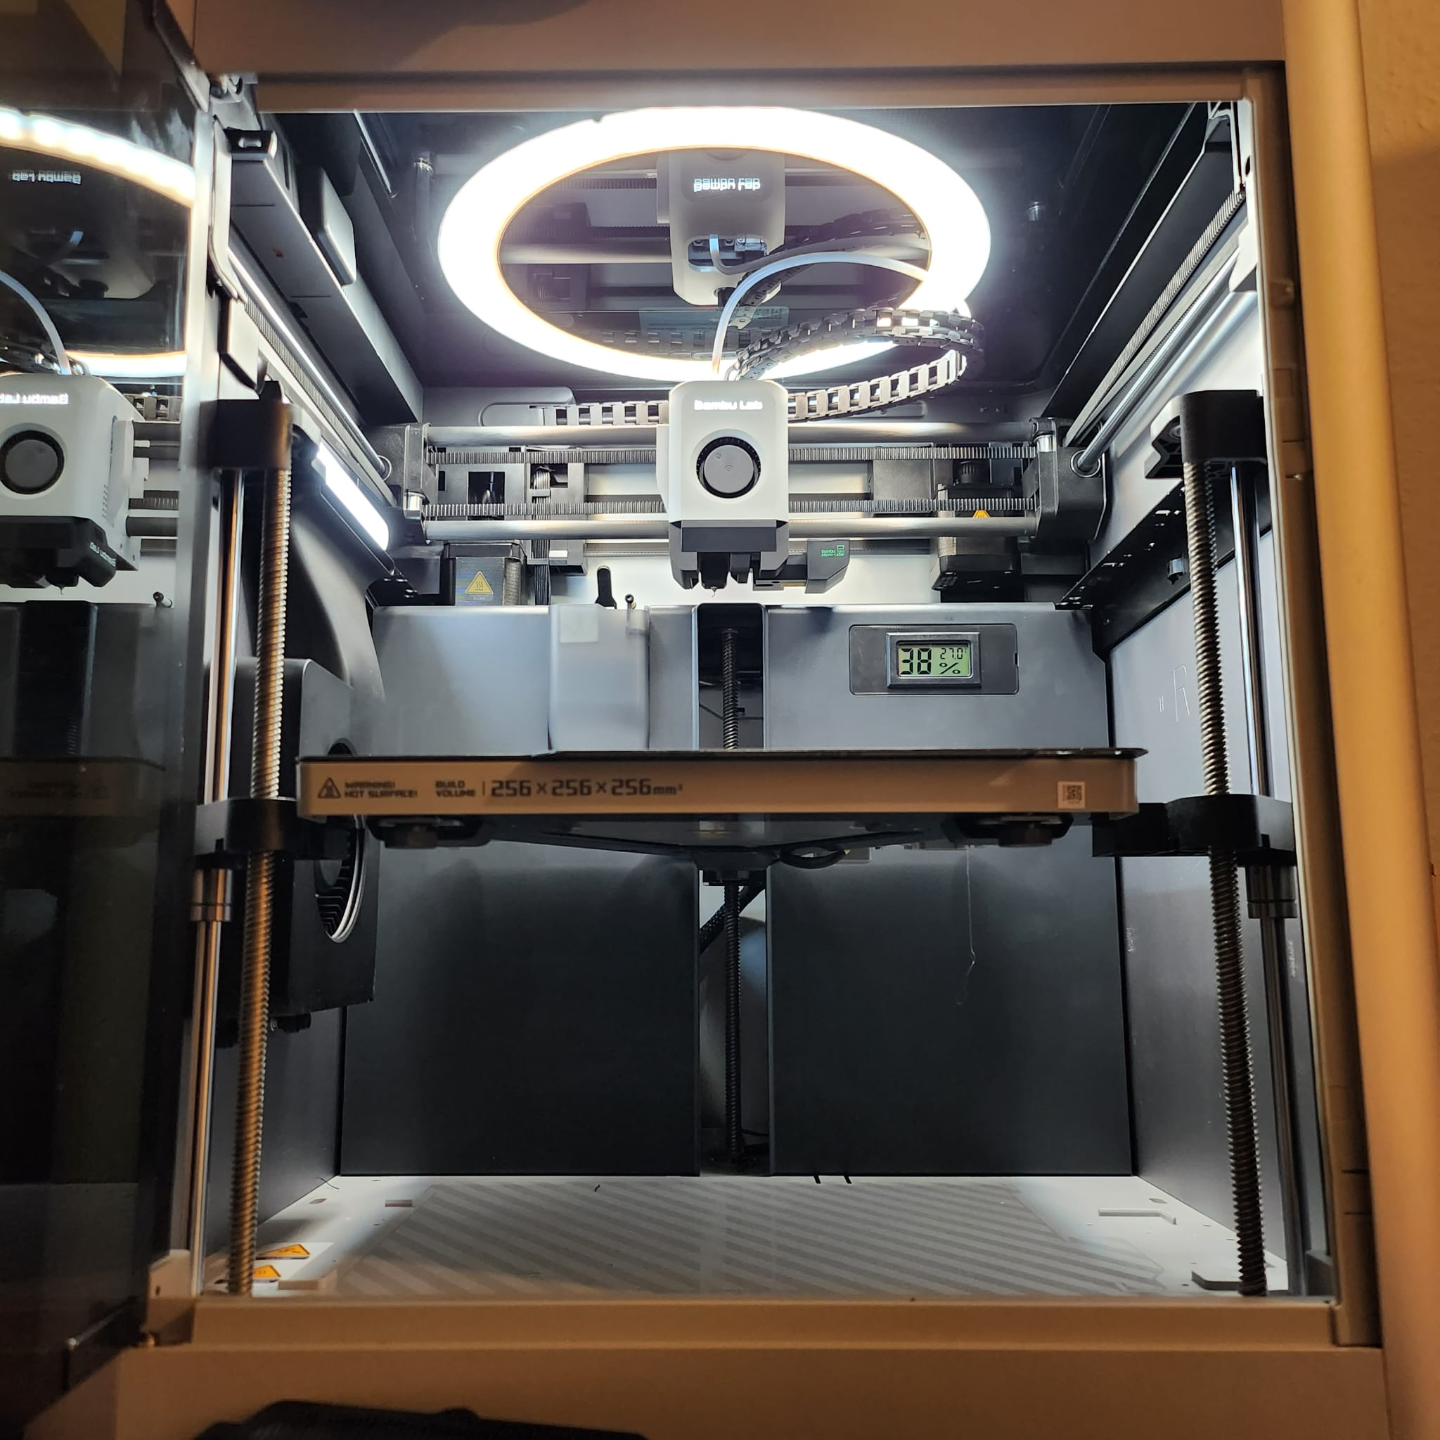
About this 3D model
Languages 1. English 2. German I designed this AMS light base drawing inspiration from 3DPODesigns. My interpretation of the Lightbase is lighter and faster to print while remaining robust enough to support a 4kg AMS station, utilizing readily printable PLA+. Furthermore, this lightbase does not incorporate LED strips but rather an LED light ring with a milky coating, producing a more evenly distributed light. It also offers 3 different light modes and can be dimmed multiple times. ( Click for product ) I printed the workpiece with PLA+ and utilized support structures. Once everything is printed, simply remove the white panel from the light ring and unscrew the LED panel (5 Phillips head screws). After disassembling everything, place the LED panel in the light base and drill 1mm holes in the existing recesses of the LED panel. Alternatively, you can use hot glue to secure them in place. Finally, simply attach the white panel with 4 dots of hot glue, and you're finished. Attached is more information from 3DPODesigns regarding excessive skylights. 3DPODesigns **Please note that this could impact the Lidar on X1C's, so it's advisable to disable it during calibration. As I don't own an X1C, I'm unable to test the acceptable light intensity levels. However, if you wish to experiment independently, consider using a dimmable LED strip.** I've also received a comment on Reddit mentioning that Bambu Brite tends to slide during fast prints. I haven't experienced this, so it could be influenced by the filament used and the smoothness of the plate, but I can't confirm this. Should you encounter this issue or simply wish to avoid it, print and install the TPU pads. Deutsch/ German Diese AMS-Lichtbasis habe ich konstruiert nach dem Beispiel von 3DPODesigns . Mein Interpretation der Lightbase ist leichter und schneller zu drucken und bleibt stabil genug um eine mit 4kg bestückte AMS-Station auszuhalten, bei einfach zu druckenden PLA+. Des weiteren nutzt diese Lightbase keine LED-Bänder sondern ein LED-Lichtring welches ein milchige Verblendung hat und ein gleichmäßigeres Licht erzeugt. Gleichzeitig hat sie 3 verschiedene Lichtmodis und ist mehrfach dimmbar. ( Klick zum Produkt ) Gedruckt habe ich das Werkstück mit PLA+ mit Supportstützen. Wenn alles ausgedruckt ist, klickt ihr einfach von dem Ringlicht die weiße Blende aus und schraubt das LED-Panele aus (5 Schrauben Kreuzschlitz). Wenn ihr alles demontiert habt legt ihr die LED-Paneel in die Lightbase und bohrt 1mm Löcher in die vorhanden Aussparungen von der LED-Paneel. Ihr könnt sie auch einfach mit Heißkleber festkleben. Zu guter Letzt einfach die weiße Blende drauf mit 4 punkten heißkleber verklebt und fertig. To prevent potential scratches on the glass surface of the Bambu Lab, I have included a file for printing TPU pads, which can be attached to the underside of the light base using double-sided adhesive. Attached is further information from 3DPODesigns regarding excessive overhead lighting. 3DPODesigns : *Keep in mind that this could affect the Lidar on X1C's, so it's best to disable it during calibration. As I don't own an X1C, I can't test which light intensity level is acceptable. However, if you'd like to test this yourself, use a dimmable LED strip.** I've also had a comment on Reddit saying he noticed Bambu Brite sliding during fast prints. I haven't experienced this, so this may depend on the filament used and smoothness of the plate, but I can't confirm it. If you experience this or just want to avoid it, print and install the TPU pads.