About this 3D model
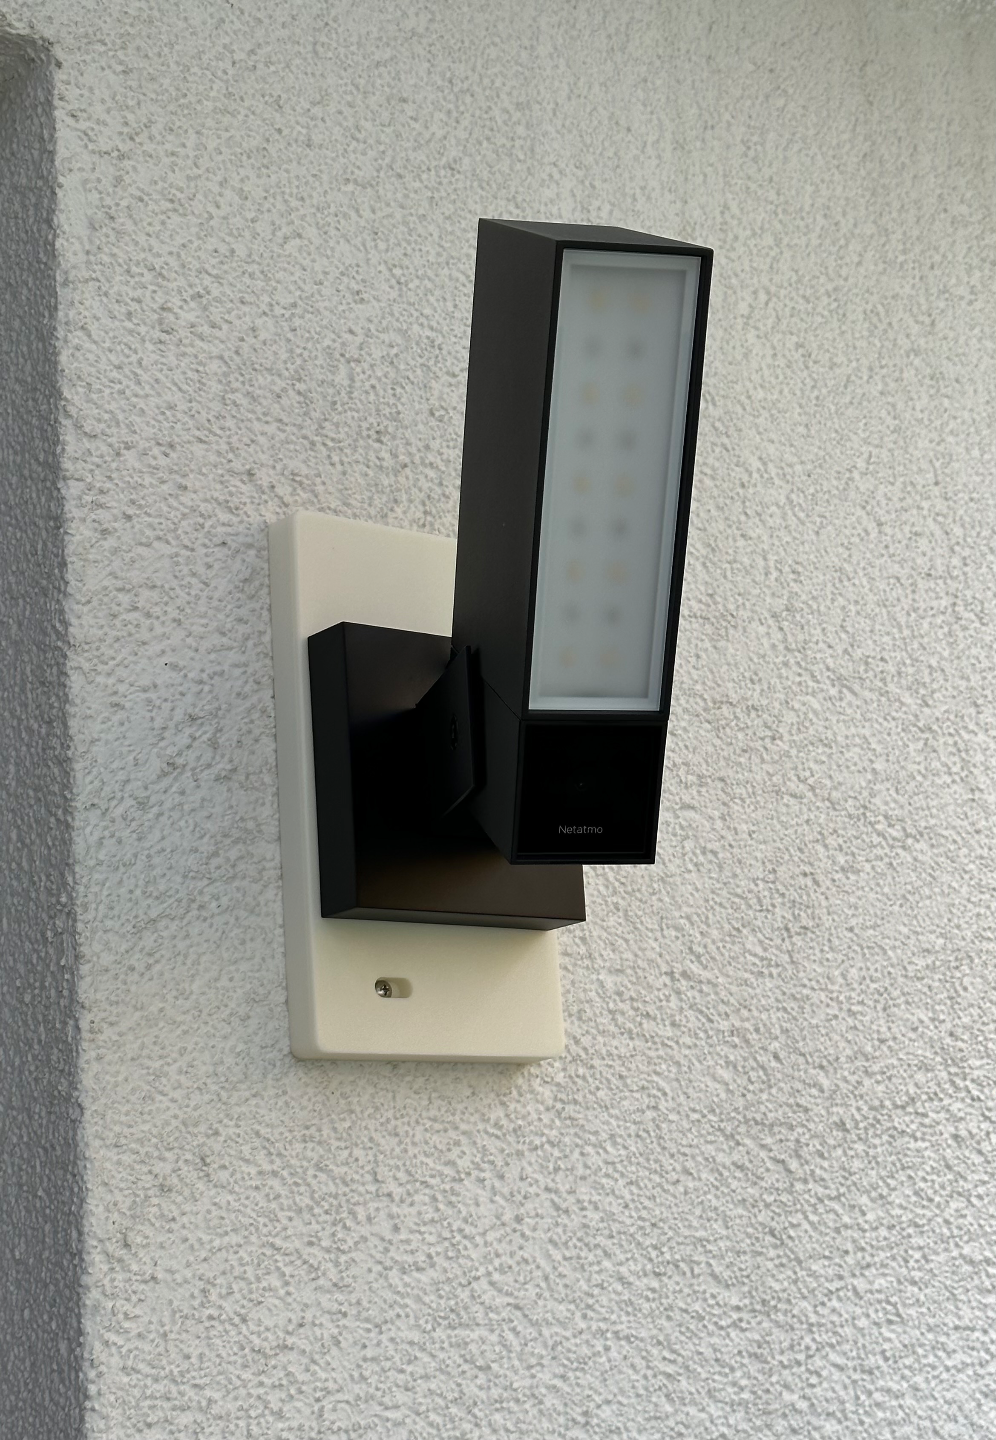
###English### Description: It is an adapter plate for Netatmo outdoor camera Presence. I wanted to use the two holes from the previous outdoor light so I wouldn't have to drill new ones in the facade. So I drew an adapter plate according to the dimensions of the old lamp to accommodate the Netatmo Presence. The depth of the adapter plate is 19mm. So that the holder of the Netatmo can be screwed cleanly, I used two fusible nuts. Additionally, I installed three WAGO terminals in the adapter plate so that the cables from the wall can be neatly hidden in the adapter plate. BOM: 2x M3 fusible nuts (for example ruthex RX-M3x5,7) 3x WAGO 221 Print files: Bambu print profile .3mf - Slicer: Bambu Studio 1.7.7.89 - Printer profile: X1C - Print profile: customized 0.20mm profile (0.20mm, 4/5/5, 20% grid) - Filament Profile: Generic ABS - Parts: 1st plate = adapter plate / 2nd plate = hole covers Custom nobufil .3mf - Slicer: Bambu Studio 1.7.7.89 - Printer profile: X1C - Print profile: customized 0.20mm profile (0.20mm, 4/5/5, 20% grid) - Filament Profile: nobufil ABSx - Parts: 1st plate = adapter plate / 2nd plate = hole covers STL The hole covers sit in front of the adapter plate. The object can be separated into objects in the slicer. Then the covers can be moved separately. The Wago walls can be rejoined with the adapter plate. Printing instructions: Layer height: 0.20mm Perimeter: 4/5/5 Infill: 20% grid Support: no support needed Color: single color Material: ABS (if sunlight available) better ASA (UV resistant) ###German### Beschreibung: Es handelt sich um eine Adapterplatte für die Netatmo Outdoorkamera Presence. Ich wollte die beiden Löcher der vorhergehenden Außenbeleuchtung nutzen, um keine neuen in die Fassade zu bohren. Also habe ich entsprechend der Maße der alten Lampe eine Adapterplatte für die Aufnahme der Netatmo Presence gezeichnet. Die Tiefe der Adapterplatte beträgt 19mm. Damit die Halterung der Netatmo sauber verschraubt werden kann, habe ich zwei Einschmelzmuttern verwendet. Zusätzlich habe ich noch drei WAGO Klemmen in der Adapterplatte installiert, so dass die Kabel aus der Wand sauber in der Adapterplatte versteckt verlegt werden können. BOM: 2x Einschmelzmuttern M3 (z.B. ruthex RX-M3x5,7) 3x WAGO 221 Druckdateien: Bambu Print Profil .3mf - Slicer: Bambu Studio 1.7.7.89 - Drucker Profil: X1C - Druck Profil: angepasstes 0.20mm Profil (0.20mm, 4/5/5, 20% Gitternetz) - Filament Profil: Generic ABS - Teile: 1. Platte = Adapterplatte / 2. Platte = Lochabdeckungen Custom nobufil .3mf - Slicer: Bambu Studio 1.7.7.89 - Drucker Profil: X1C - Druck Profil: angepasstes 0.20mm Profil (0.20mm, 4/5/5, 20% Gitternetz) - Filament Profil: nobufil ABSx - Teile: 1. Platte = Adapterplatte / 2. Platte = Lochabdeckungen STL Die Lochabdeckungen sitzen vor der Adpaterplatte. Das Objekt kann im Slice in Objekte getrennt werden. Dann können die Abdeckungen separat verschoben werden. Die Wagowände können wieder mit der Adapterplatte zusammengeführt werden. Druck Anleitung: Schichthöhe: 0.20mm Wandstärke: 4/5/5 Füllung: 20% Gitternetz Support: es wird kein Support benötigt Farbe: es handelt sich um ein einfarbiges Modell Material: ABS (wenn Sonneneinstrahlung vorhanden) besser ASA (UV-beständig)