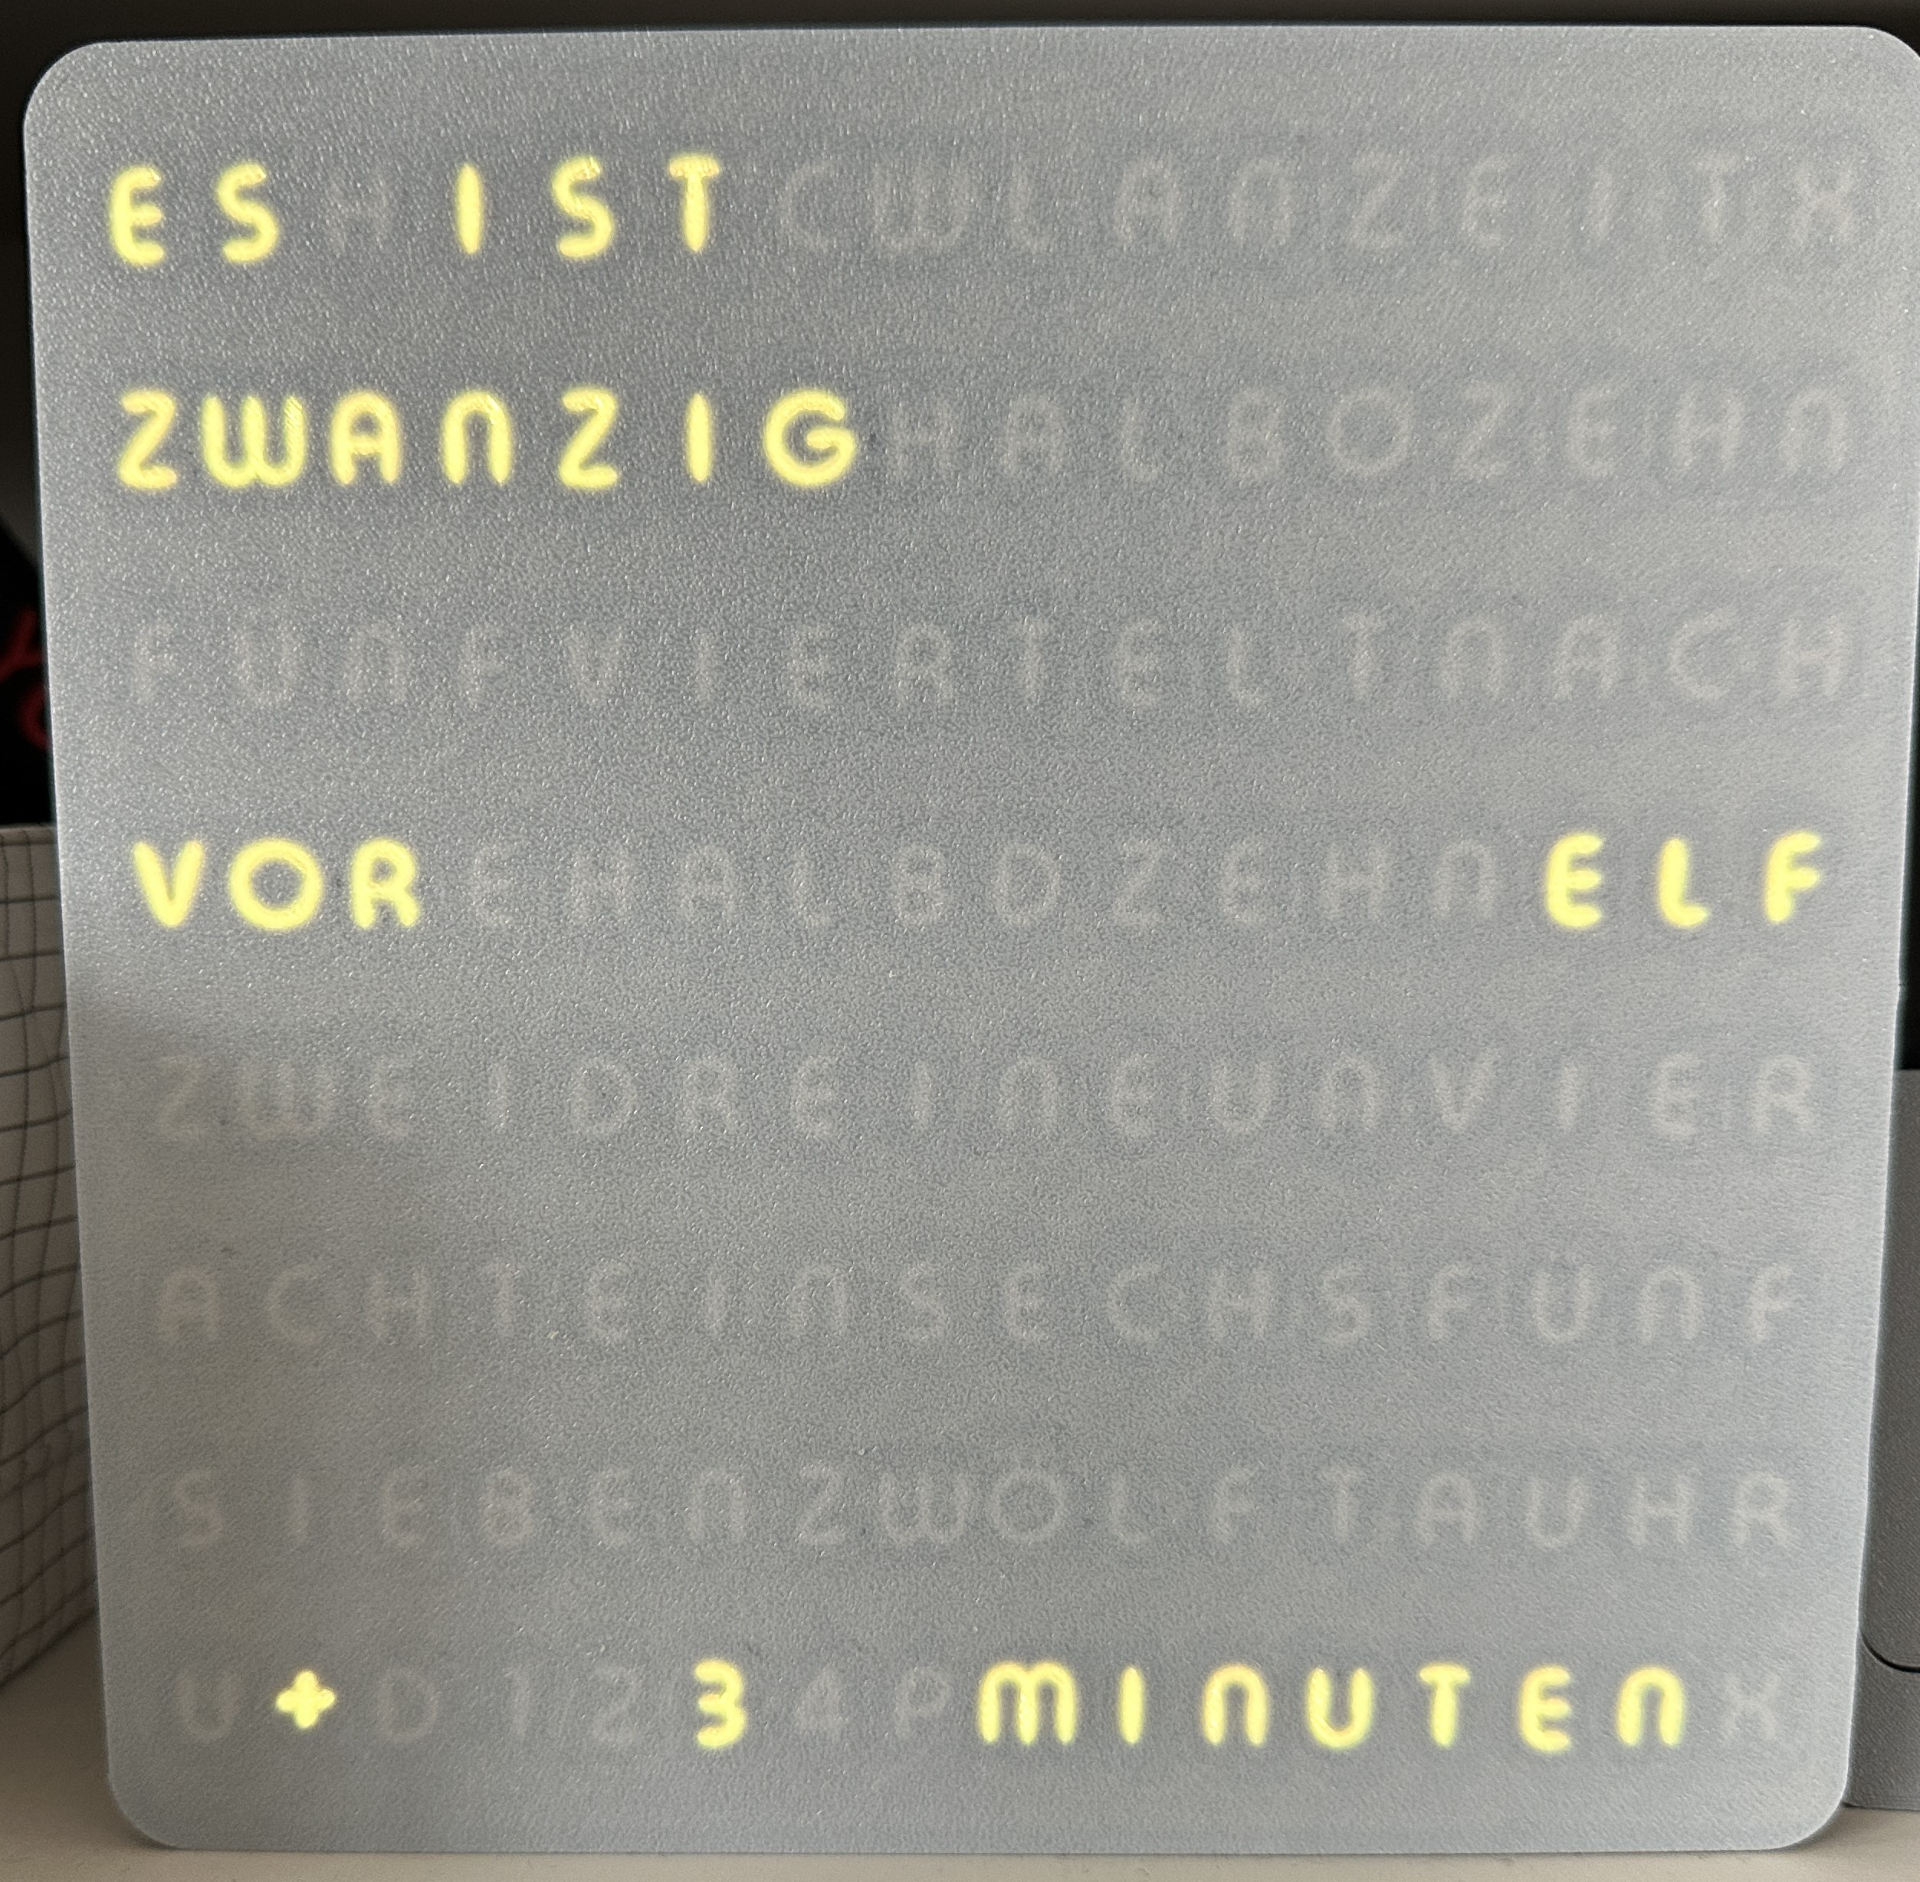
About this 3D model
Aug 2025: used new repor from original model https://github.com/AWSW-de/AWSW-ESP32-flash-script Start the batch and then choose “1” Option (Wordclock 8x16 2023 and ESP32 D1 mini) in Powershell Script. After successfull programming connect to ne “wordclock” Wifi, put in your normal wifi. Then you can connect to the clock and configure the rest Dec 2024: Upload of Software, because Github Repository is not online anymore => Select Download STL/Cad Files: AWSW-ESP32-flash-script-main.zip Aug 2024: One Piece Backframe either for Skadis Mount, Wall Mount or simple Stand from my newer model Print Time saving, more studry and better mount options, i keep legacy Parts online https://makerworld.com/en/models/412764 Feb 2024: If you want a Stand @cmueller did a cool addition check it out here: https://makerworld.com/en/models/166839#profileId-183204 Jan 2024: Added DE V2 Version (if there is interest i could adopt for EN too) combined Back and inlay to one Part - for saving some printtime. Added / Modified Cable outlet - not a big hole but a smaller cut on the bottom back. Helps to get USB cable out more clean Initial: Remixed this from AWSW great model https://www.printables.com/de/model/450556-wordclock-16x16-led-matrix-2023-v3 - on github you can also get his neat Arduino Software to operate: https://github.com/AWSW-de/WordClock-16x16-LED-matrix-2023 General Information: I only remixed DE+EN Fronts so far, other languages would take litte work if someone needs it but had no use for myself. I love his clock in general, but I did not like those Sharp Edges in the corners, feels not good to print without warping on such a large print. This model is printable with default Bambu settings - so much faster than original. Another BIG advantage is that clock can be read from sides in a much larger angle. M3f Frames are already painted for 2 Colour AMS, you want to use white for first 2 Layers (front) and a real dark colour for the rest that Leds od not shine through. Print: Choose each 1x Back, Fixer and Frame in your language. Using the textured PEI gives a real nice front, but plain plates should also work great PLA is fine, not tested if PETG does good Job with all the letters, but should also work. Needs following Accessories to assemble: 1) Securing the Back Plate 4* Brazz Inserts M3xOD5xL3 (like used in P1P ARC Case) 4* 6mmxM3 screws 2) Internals 1x RGB LED Panel WS2812B 16x16 1x AZDelivery 3 ESP32 D1 Mini NodeMCU 3) Power 1x USB Ladestecker Adapter 5V 2A USB 1x deleyCON 2m Micro USB Ladekabel Hardware Assembly: melt the brazz inserts into the frame flash software to D1 before soldeing as function test cut not needed "out" cable on the RGB matrix (if ou wan it clean unsolder the +/- cables too) solder this cable to D1 mini (pic attached) press fit D1 Mini on Back, to be sure it holds attach some hotglue Connect with matrix using the cables put matrix in Place (see picture for orientation) and secure it the RGB-fixer Close back and softly fasten with 4 screws Power On and bind your Wifi