About this 3D model
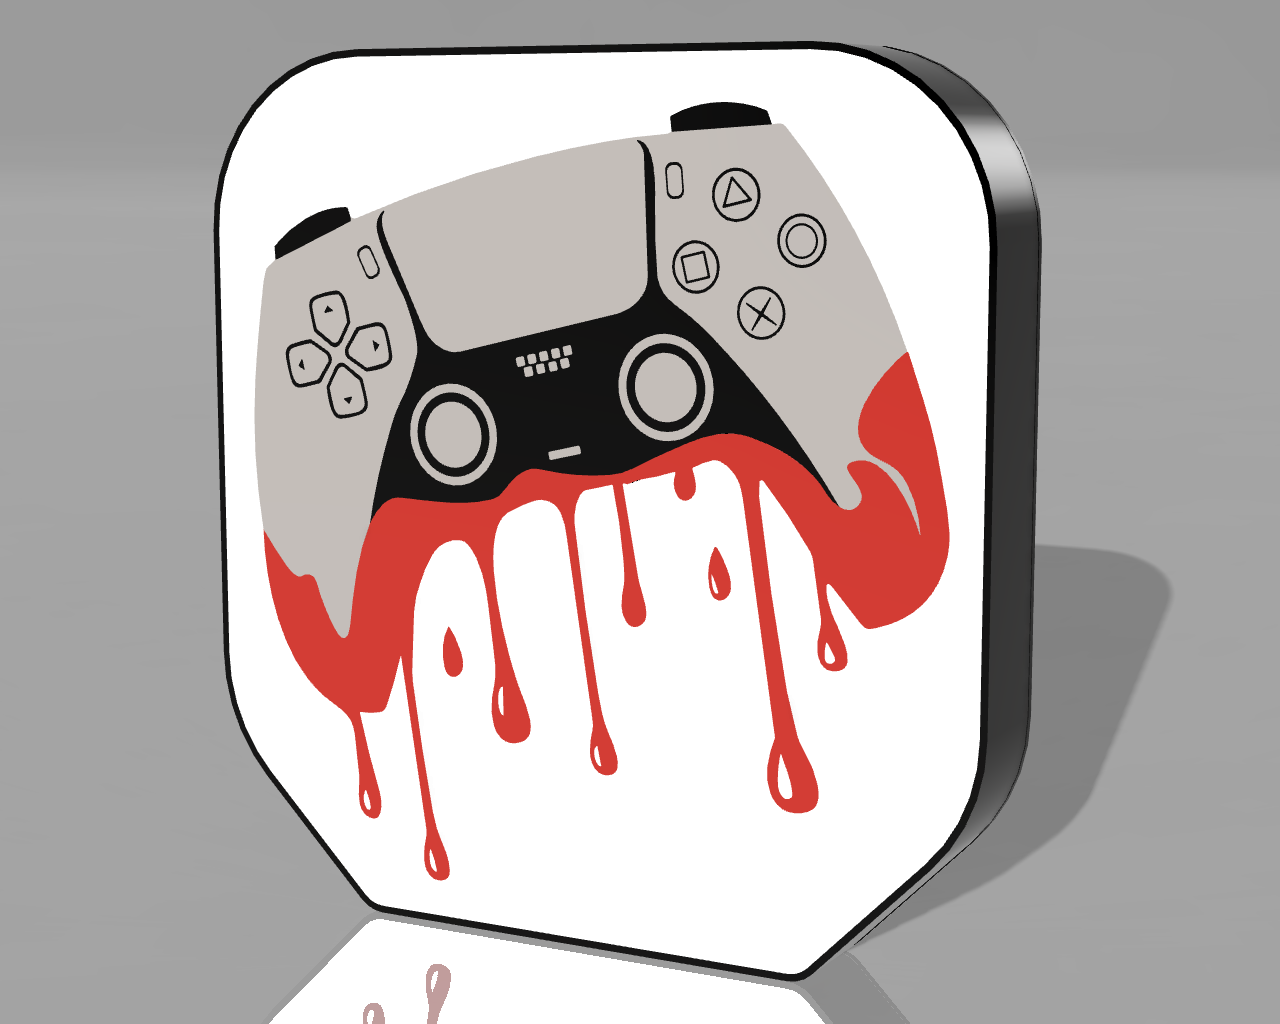
"PlayStation Controller Model" ? Celebrate your love for gaming with this highly-detailed PlayStation Controller model! Inspired by the iconic gaming accessory, this intricately designed piece is a fantastic representation of the controller you know and love. Bambu Studio Settings: The settings are just a recommendation, however you can print with the settings you are already used to using! • Preferences (ctrl + P) → activate developer settings → Quality →Advanced → First Layer Flow Ratio: 1.04 • Quality → Wall generator → Arachne • Quality → Wall transitioning threshold angle → 50º • Strength → Advanced → Infill/wall overlap → 20% • Quality → Advanced → Avoid crossing walls • Increasing retraction / reducing temperature can help reducing wisps • I recommend always starting with the lighter colors. Recommendations before and after printing: • Use textured PEI sheet • To make the hole for the USB cable input for the LEDs, you can do it with a soldering iron, drill a hole or you can do it with a slicer by adding a negative model in the place where you want to make the hole • For the pieces to give more light, I recommend using aluminum tape on the inside of the back cover • Be careful to clean the table well Materials and tools used to assemble parts: • Aluminum Tape for the back cover • Hot glue pistol to place in the spacing of the LEDs so they don't come off • Soldering iron to make the hole for the USB cable and/or to solder the LEDs with the USB cable with ON/OFF switch • White or RGB LEDs To find out the list of all the components I use, you can click on the link in my description, and you will find it in the first post!