About this 3D model
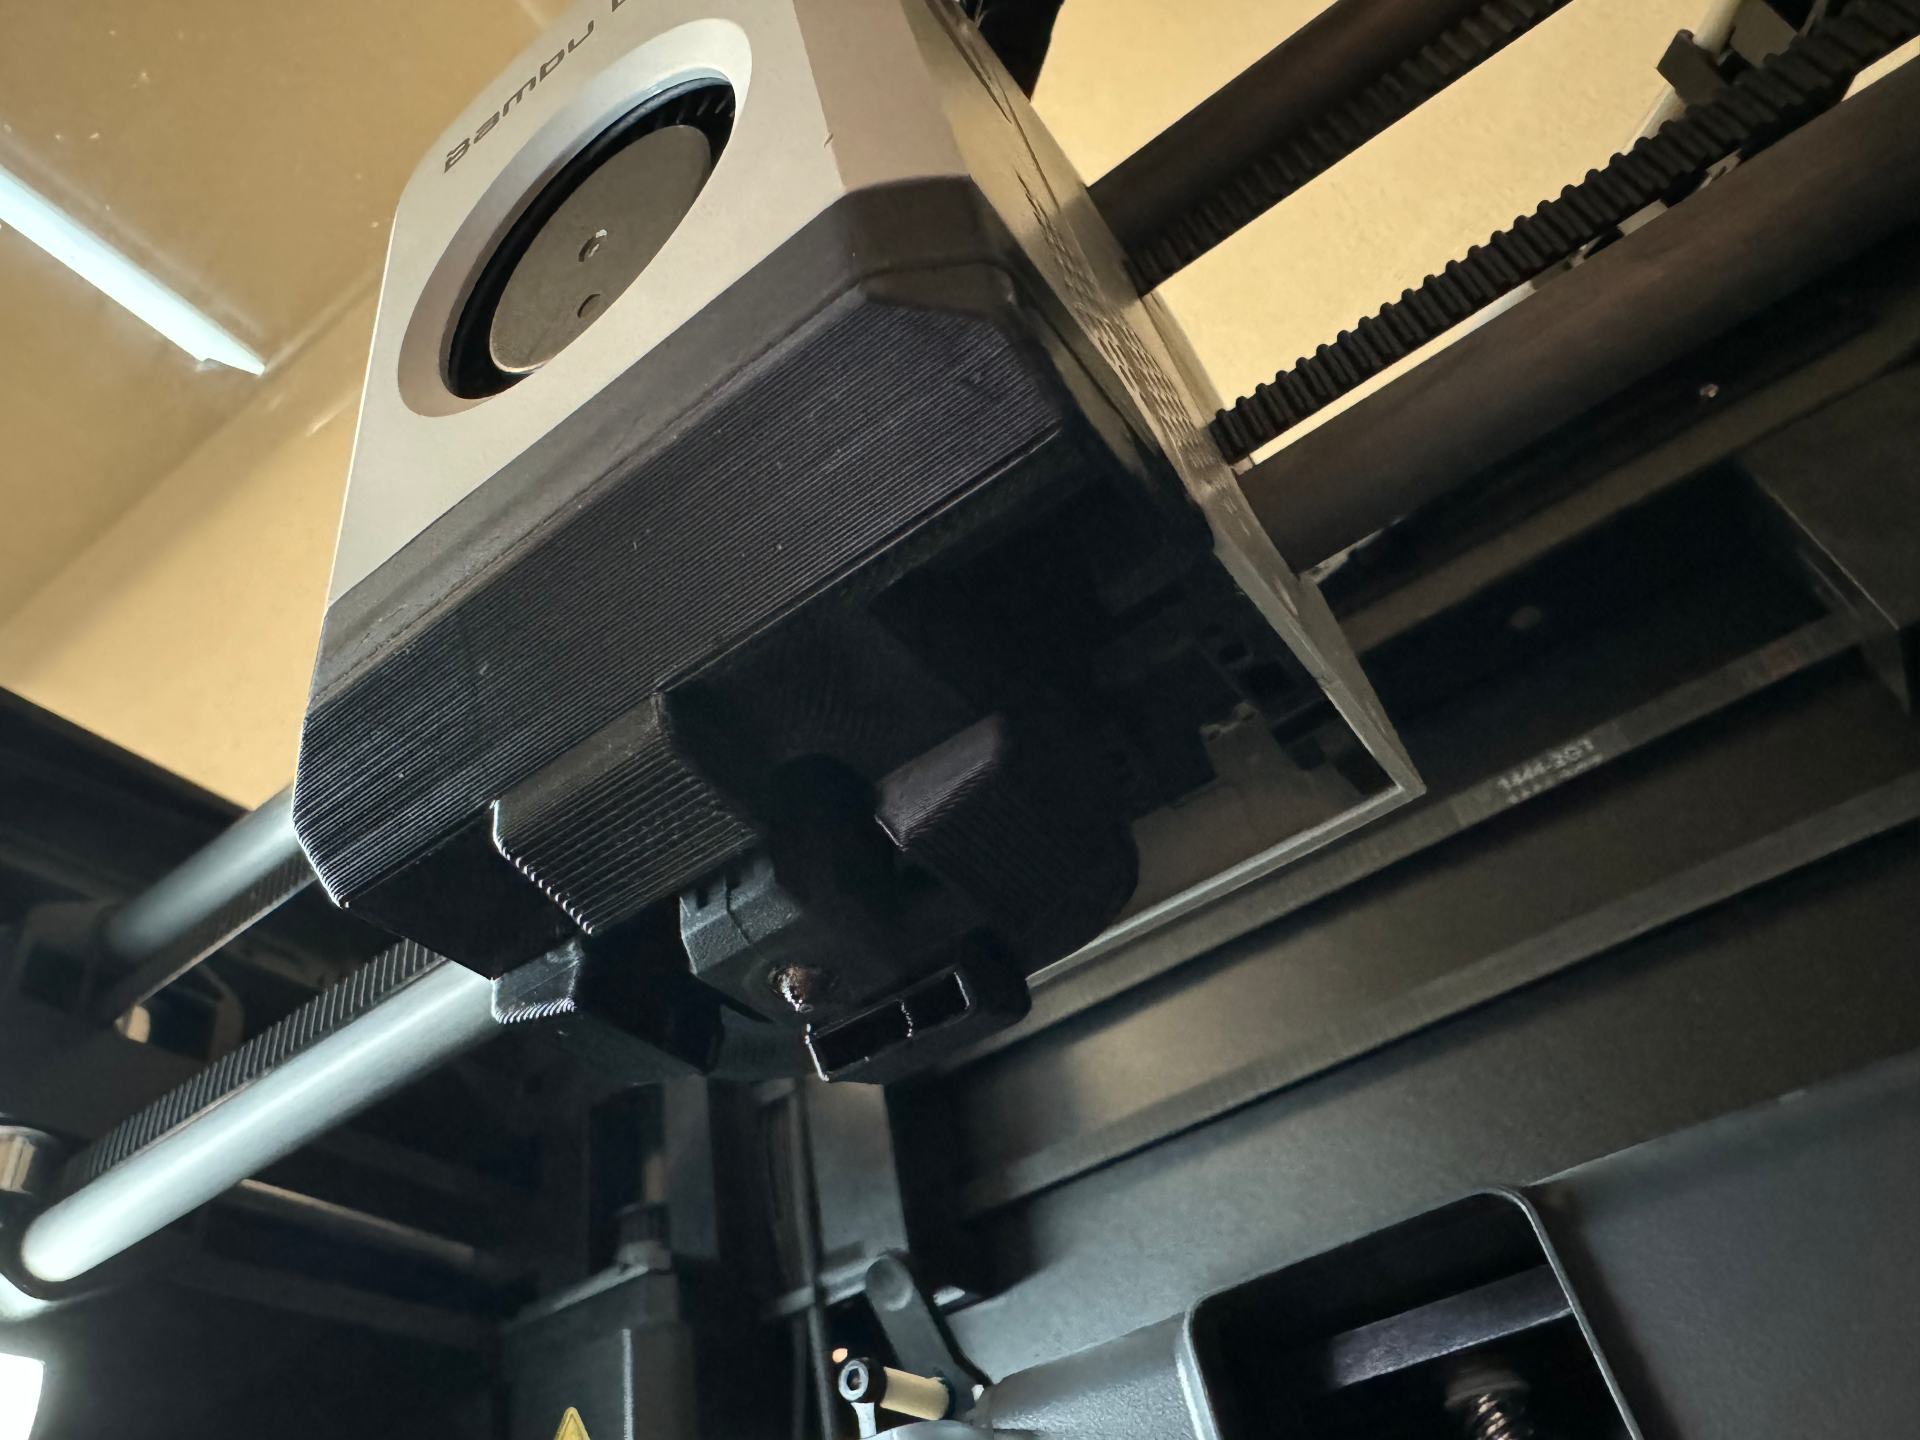
Information Hi, Guys!! My new product is now available! This is a SIS project to improve the seismic isolation of Bambu Lab printers! Please check it out! https://makerworld.com/en/models/915508 Overview Do not use PLA filament for this part as it will be exposed to high temperatures. Use heat-resistant filaments such as PETG, ABS, or ASA. This fan duct improves filament cooling for P1S and P1P. Air is blown from 360 degrees to eliminate uneven filament cooling and improve printing quality. The original model had a problem with some parts interfering with the front cover. I solved that problem and prepared several models to accommodate various sizes of magnets. I also have a model without holes that can be modified to allow you to attach your own favorite magnets. Let's download it! Boost Me If you like my work, please support me on Boost! Your support supports my activities! What you need Two magnets Compatible with 6x1mm or 5x1mm or 4x1mm or 3x1mm Screw not required Screws used for the front cover can be used. Assembly Instructions Remove front cover Remove all screws to remove the fan and ducts attached to the front cover. Two of the four screws attached to the duct will be diverted to the 360 Fan Flow Duct. Cut out the ducts The duct is welded to the front cover. Use a knife to cut them out. It will come off with a snap if you make a little tooth. Be brave! Screw the top and bottom of the duct parts together Use two screws removed from the front cover to secure the top and bottom of the duct parts. There is one screw hole on the upper side and one on the lower side. Attach magnet to duct Attach a hand-held magnet to the duct. The printing profile supports 3 to 6 mm magnets. Choose the profile you like and print. The hole size is just right. You can fix it by pushing it in with pliers. All that remains is to insert it into the front cover and fix it in place as shown in the photo above. Completed! Put the hot end through the duct and then fit the cover It cannot be fitted from the front as before. Put the hot end through the duct and then fit the cover.