About this 3D model
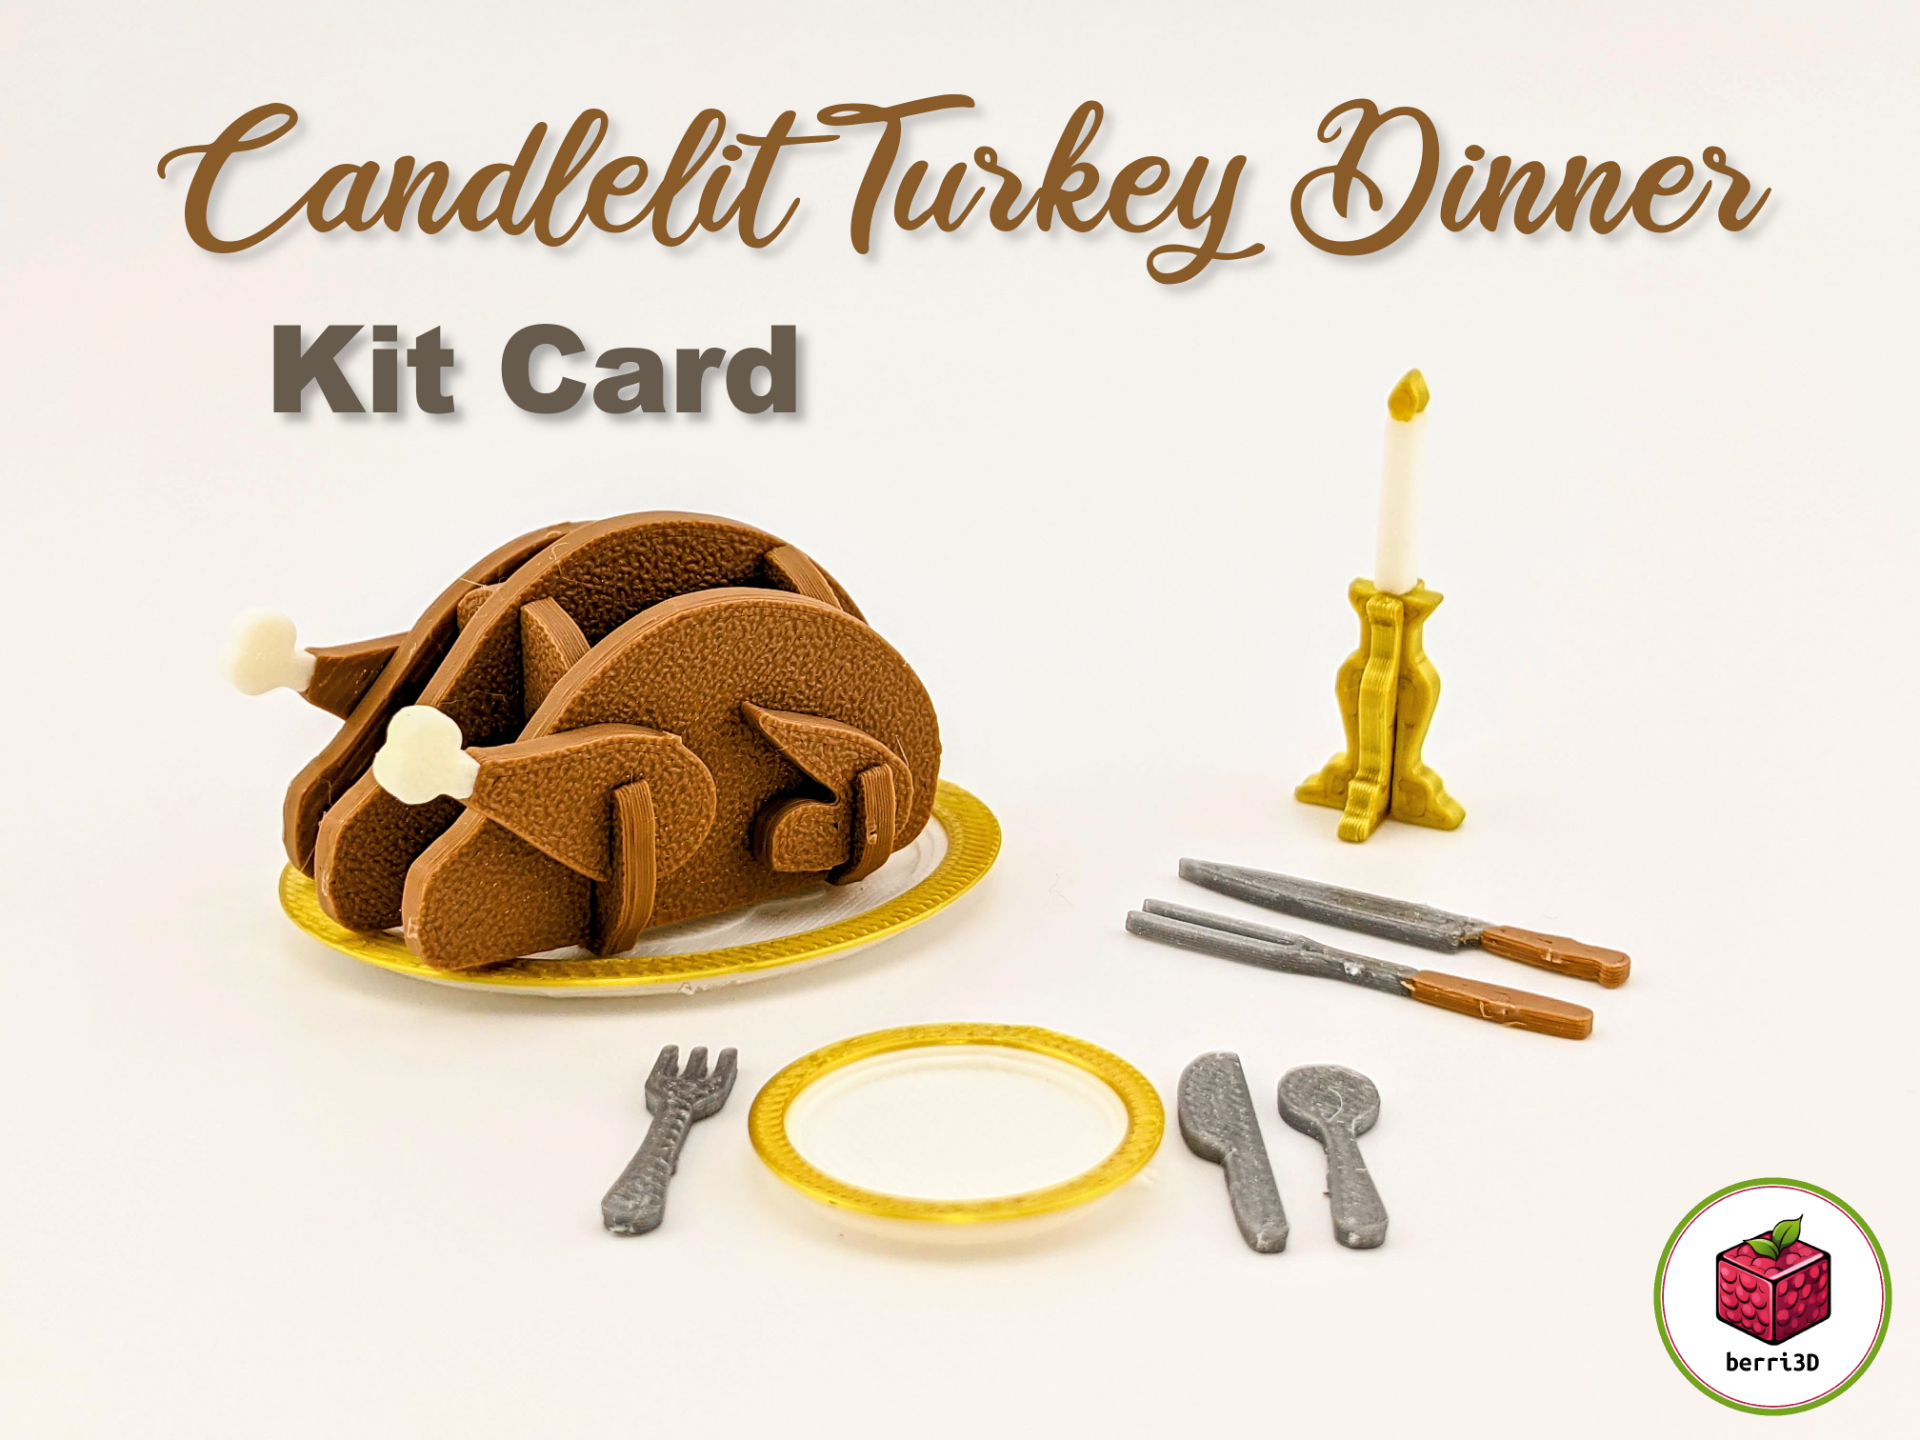
Have you ever pined for a picture perfect Thanksgiving candlelit dinner with a whole turkey to yourself but without all that cooking nonsense? Now you can print your own! This card kit makes everything you need for a fancy dinner at home or on the go. Nothing expresses gratitude like an extruded turkey. Great for Thanksgiving favours Multicolour ready Bonus card kits: extra place setting and fancy platter with carving utensils Please see below for important printing and assembly instructions. Trouble? Questions? Comments? Please don't hesitate to get in touch! Happy Thanksgiving! Disclaimer: berri3D makes no claim that this card kit or the turkey made from said card kit is, in fact, edible. Furthermore, berri3D cannot be held responsible for strange looks or scoffing in your general direction by relatives and/or passersby if you randomly shout “I have a turkey in my pocket!” whilst waving the card kit about. Tolerances and fit Differences in printers and filament profiles can mean the difference between card kit pieces fitting together or not fitting together. The best way to determine which profile works best for your printer and filament is to print the Tolerance Test. This test is included in all profiles. After printing the test, determine which size works best: Regular or Tight. The following are guidelines only and may be different depending on your circumstances: Regular : 0.1 mm tolerance for default (non-calibrated) filament profiles (X1 series and P1 series) and non-Bambu printers Tight : 0.0 mm tolerance for A1 mini printers and for calibrated filament profiles (X1 series and P1 series). Pieces should fit snugly together but not be too tight or too loose. If you find that neither size works for you, you can further adjust X-Y contour compensation or filament flow ratio . Assembly Instructions Assembly is easy as long as you first identify the middle body part (it's the largest) and install the cross connectors in the right order. The connector with the thickest “ledge” is for the drumsticks and goes at the narrowest end of the body. The connector with the thinnest “ledge” is for the wings and goes at the opposite end. The wings and drumsticks can be a bit fiddly but should slide on. Print Settings The .3mf files include my recommended print settings: Flushing Volumes : optimized for each printer to reduce waste; you may need to recalculate depending on whether your own filament colours are darker or lighter than mine. Nozzle size: 0.4 mm (don't change as it may prevent pieces from fitting together) Layer height: 0.2 mm (don't change as it may prevent pieces from fitting together) First layer speed: 15 mm/s (slow to prevent small details from coming loose from the plate) Wall order: inner, outer, infill Wall generator: Classic (don't use Arachne because it will throw off the tolerances) Brim: none Filament settings The “regular” sized model has been tested using the default uncalibrated “Generic PLA” preset with multiple filaments from various manufacturers. The “tight” sized model is ideal for the A1 mini (as it has a reduced filament flow) or if you've calibrated your own filament. I found that using 0.95 flow ratio on my X1C provided a decent top surface but pieces still fit well. If you're using a custom filament preset, your results may vary. Display models were printed in PLA as follows: White (Overture), Glorious Gold (Spectrum), Light Brown (eSun), and Magic Silver (Sakata 3D). Multicolour Only one AMS needed Optimized for painting if you wish to change colours from my own Please DON'T print your multicolour masterpiece without first printing the tolerance test! Print four at a time to reduce filament waste (X1C and P1P/S only; A1 mini can only fit one) About the model I started on an “alive” turkey card kit shortly before Canadian Thanksgiving. It didn't look very good and I had to put it on the back-burner. Though our thanksgiving is long since past, I still wanted to make something so my American neighbours could print something for their own celebrations. So I pulled it off the back burner, fired up the design oven and out popped a roast turkey card kit. Why did I also make a fancy candle holder, plate, utensils, platter, and carving knife? Because I need to get out more?