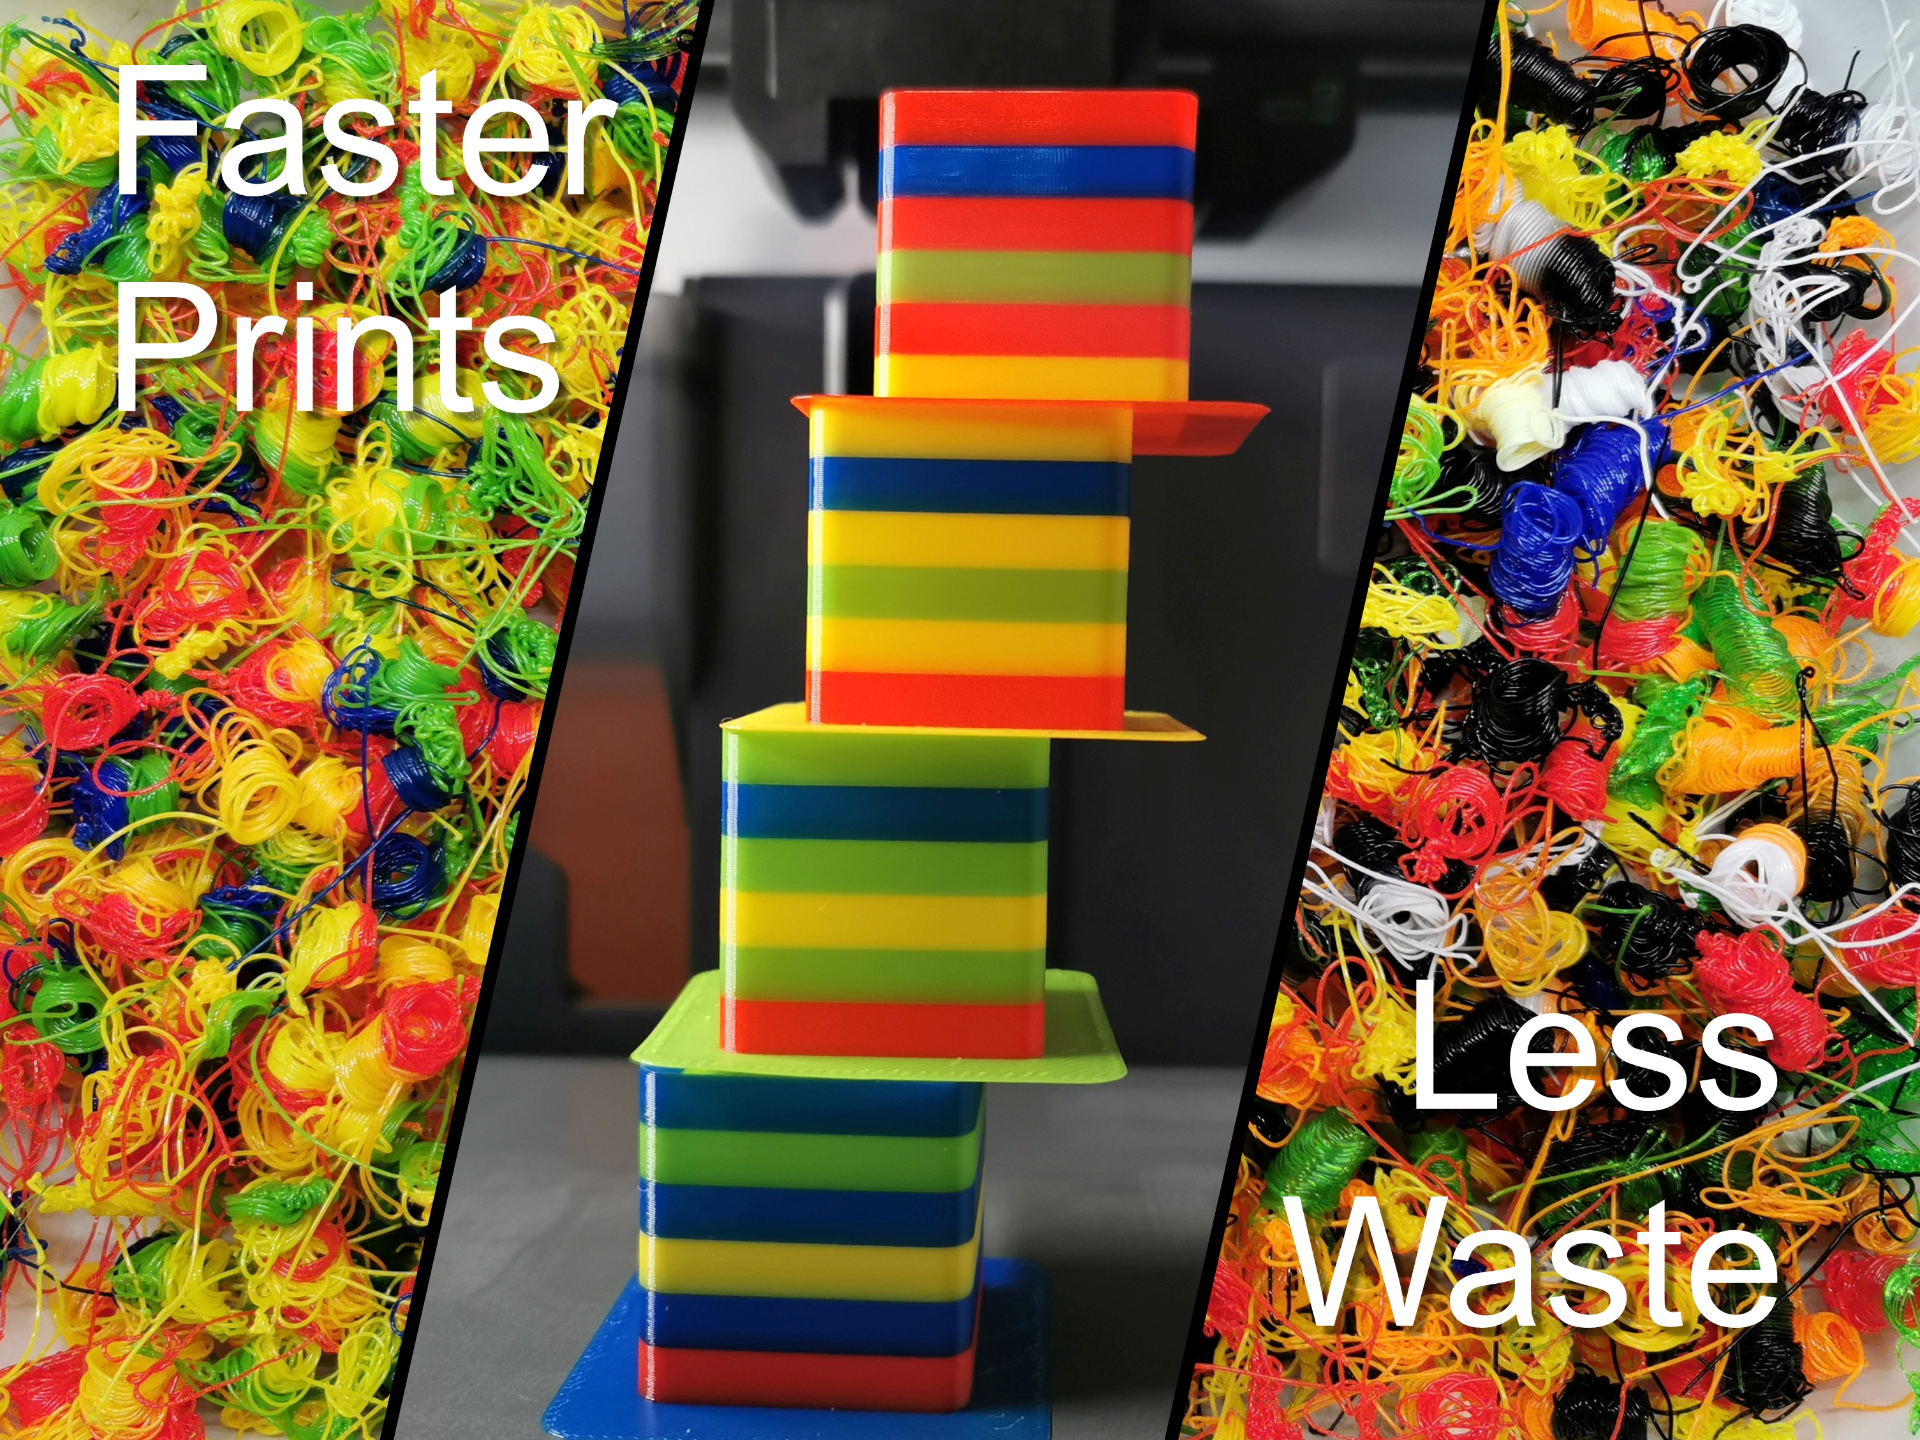
About this 3D model
What it is V2 of my endeavour to improve multi color printing and depending on how far you choose to optimize: Basic information & why you may waste filament 3mf files to dial in flushing volumes for up to 16 filaments this here is v2 with towers → version 1 uses flat rectangles optionally an alternative filament change G-code that provides optimized changes and saves on filament V1 and V2 calibration prints - advantages & disadvantages V1 independent from nozzle size & filament more precise measurements (2mm³ per mm) requires good first layer adhesion throughout V2 print profile needs to fit nozzle & filament less precise measurement (50mm³ per mm) G-code is tested or reported to work with: BambuStudio 1.7.7.89+ (do not activate the stock long retraction feature in parallel) OrcaSlicer 1.7.0+ Bambu Lab X1C (P1P, P1S, X1E should work as well) any nozzle size (independent from it) 1. Basics information The value “Flushing Volumes” set by the user in Bambu Studio is the amount of filament in mm³ that is to be pooped or be flushed into an object. → Attention, it does not go into the optional prime tower, despite that one is printing before any optional object that is bound to be flushed into! The filament that goes into the prime tower finally is presented separately. It is an additional expense to prime the nozzle after the filament change. With a following retract and pressure advance active by default, a huge prime volume may not be needed anymore. The printing sequence itself makes sense but has some consequences based on the attached calculations. Once the filament is cut, there are around 107mm³ present between the nozzle and the cutting position and it can't be retracted by the extruder. If a secondary object to flush into “eats” more filament within the present layer than what is specified in the Flushing Volume for that change, no poop may be created. → Great to save filament via printing only a small prime tower (which is required for flush into object) , but potentially not so great when it comes to reliability with losing oozed out material from the nozzle or when any retractions would have been required during the 107mm³ that followed. In the Matrix Until proper calibration prints are included in slicers, it may be useful to know what to look out for when choosing a flushing volumes calibration print. Filling in all related entries in the flushing volumes matrix, according to the number of involved filaments is a must, but that is where some uploads already leave you stranded half way in - by not including all necessary combinations. Print profiles that only allow for diagonal testing with more than two filaments are of limited use. Calibrating with as little filament as possible is nice. Prints that require guesswork, printing and re-printing until the outcome looks good enough are usually not very efficient nor precise. A measurable outcome ensures reliable results at little work. 2. Dialing in flushing volumes Download & open one of the provided print profiles. → The calibration prints are independent of the used filament change G-code , Bambu Lab's stock code is the preset within the files. The files contain various towers. Every 5mm in height a small ridge indicates where a filament change occurs. These 5mm high sections consist of 25 layers, each layer consumes 10mm³ of filament while the single layer base of a tower takes around 400mm³. Modifiers govern the color changes. → 100mm³ roughly equals to 42mm of filament (diameter 1.75mm) in length. In the Filament Tab, make the necessary changes to have it print your individual filaments. In order to get repeatable and measureable results, make sure the concerned flushing volumes are set to an easy value like 100 mm³ (and for good measure the multiplier is 1.00). → A value of 50mm³ allows to observe the resulting color break / mixing of filaments from the very start but may also lead to problems. It is strongly suggested to NOT alter any other settings from the provided .3mf Print it. Via measuring from the start of a section to where the printed section becomes visually flawless in color, the necessary amount of flushing volume for a specific change can be calculated. Formula: The flushing volume tested for in each section is 250mm³. If you find that not to be enough, simply set an initial flushing volume appropriately higher and add it accordingly. Despite setting 0 mm³ of flushing volume there still may be filament dangling from the nozzle after the new filament was pushed into the hotend. Apart from potential oozing, this seems to be a consequence of the AMS's internal code to deliver the filament to the nozzle. → There is nothing I can do about that lost approximately 5mm³ for now. The newly calculated flushing volume in mm³ for the specific material change can now be set in the slicer dialogue. 3. Optimized filament change & save filament Under “Printer settings” → “Machine G-code” → “Change filament G-code” delete ( maybe save it somewher