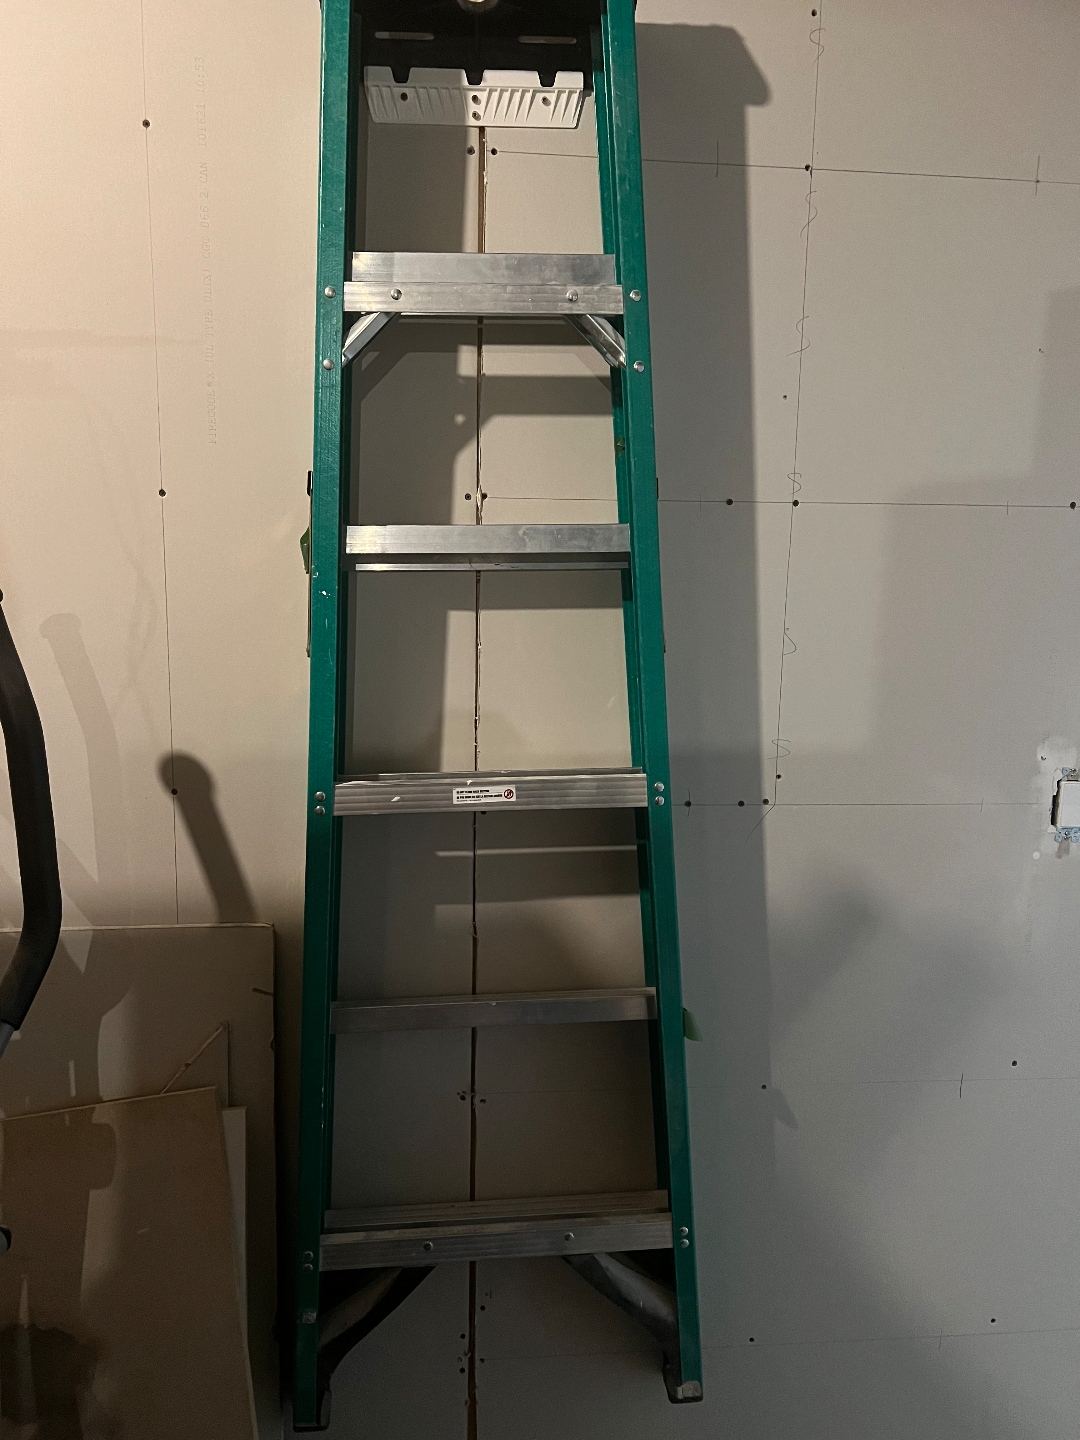
About this 3D model
Materials: Lightweight plastic material (36 grams) PLA, ABS, or PETG filament with support Tools: 3D printer 36 grams of filament Screwdriver drywall screws Measuring tape and level (not necessary) Instructions: Design Phase: Utilized online images for inspiration. Created a 3D design considering the lightweight requirement and compatibility with PLA, ABS, or PETG. Ensured the design includes support structures for added stability. 3D Printing: Load your chosen filament into the 3D printer. Use the 3D design file to print the bracket. Monitor the printing process, ensuring support structures are formed as intended. Post-Printing: Carefully remove the printed bracket from the 3D printer. Clean up any excess material or support structures with a screwdriver. Testing: Confirm the lightweight nature of the bracket (aim for approximately 35 grams). Assess the stability and strength of the bracket, ensuring it can hold the intended weight. Installation: Measure and mark the desired location for the bracket on the wall. Use a screwdriver to securely attach the bracket to the wall. Ensure the bracket is level and stable. Recycle Bin Placement: Hang your recycle bin or ladder on the bracket, testing its capacity and security. Adjust the placement if necessary. Enjoy the Benefits: Admire your DIY Plastic Recycle Bin and Ladder Wall Bracket that you've created from scratch. Revel in the satisfaction of solving a problem through creativity and resourcefulness. By following these instructions, you not only address a specific need but also contribute to a cleaner, more organized space. Embrace the DIY spirit and share your creation with others who might be facing the same challenge. Happy crafting!