About this 3D model
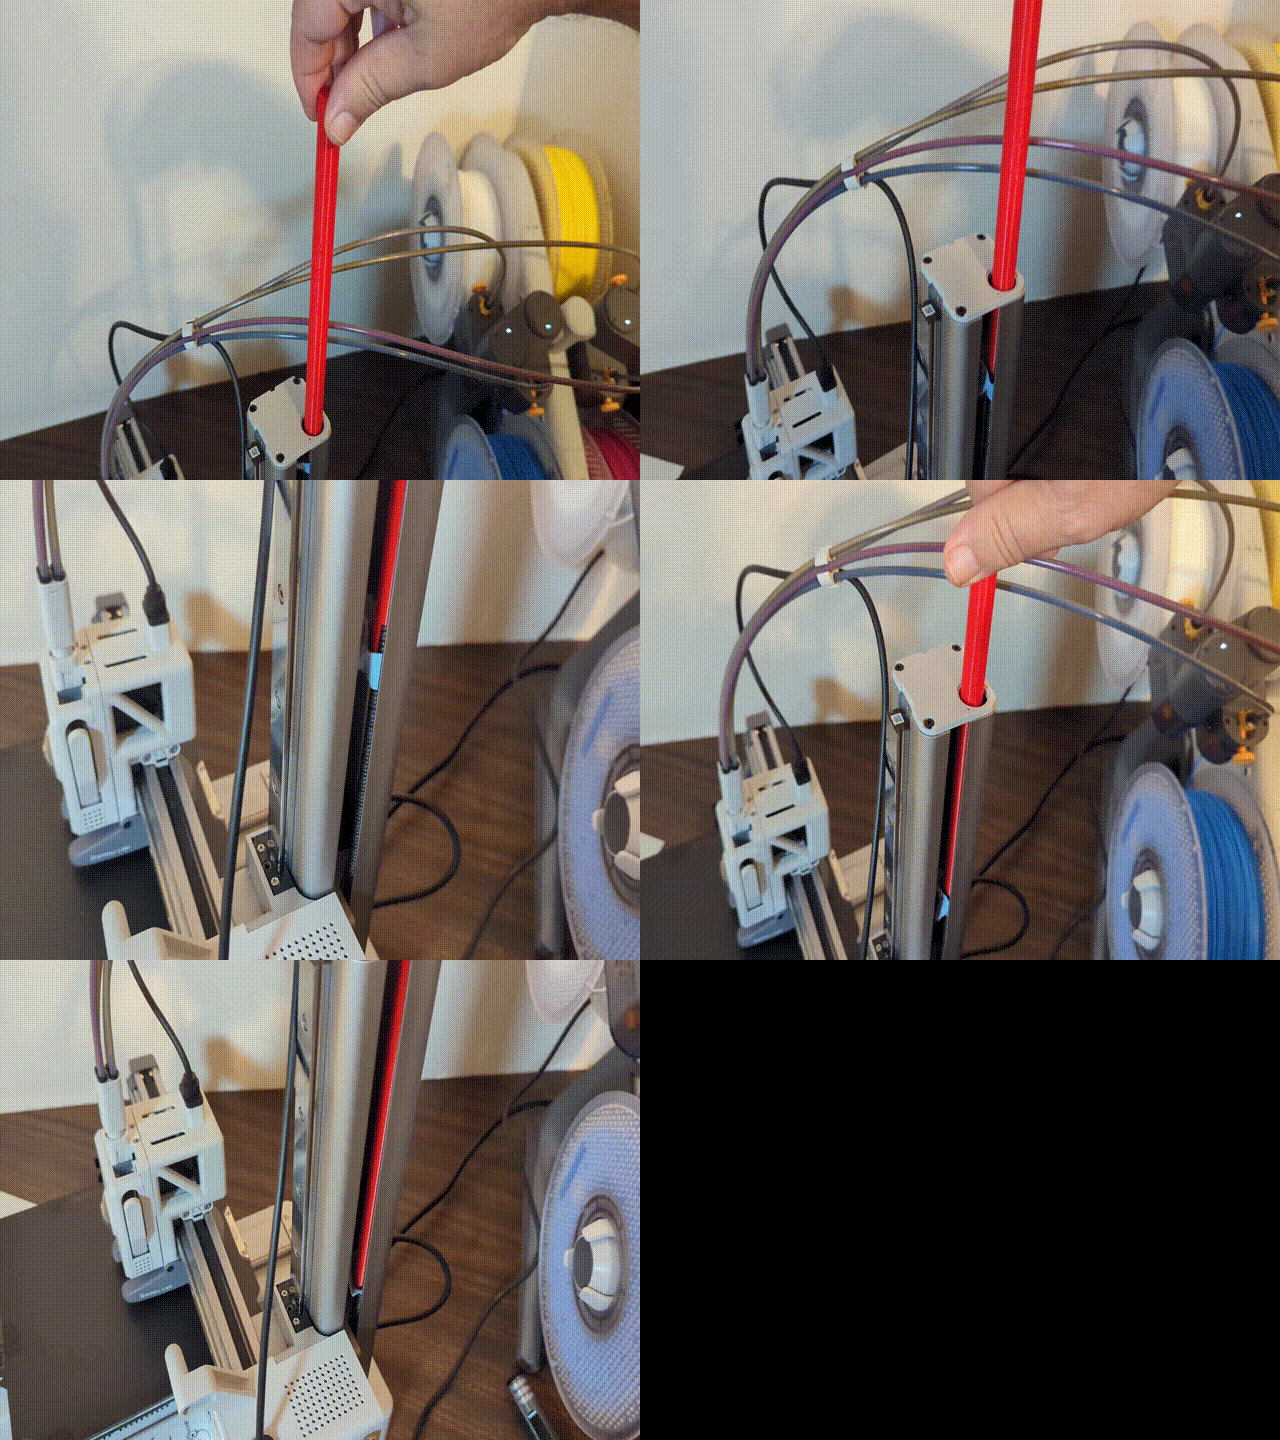
While the A1 Mini lead screw doesn't get very dirty, I still wanted to be able to clean it. The cleaner I designed for the X and P series printers won't work on the A1 since the lead screw is almost fully enclosed. My profile has two versions of the cleaner, one that is a little tighter fit for use with thinner paper, like kleenex, and one with a little looser fit for double ply paper towels or shop towels. They are labelled “Looser” and “Tighter” at the top so you can tell which is which. You can test which version works best for you. The looser one seems to work best for me. If the paper towel comes loose from the cleaner just remove it with needle nose pliers or forceps. Update 5/20/2024 - I received some feedback in the comments that this model will not print on the A1 Mini, even though it's designed to be used on the A1 Mini. DOH! I've now added a two-part model printable on the A1 Mini. Pick either the “Looser” or “Tighter” top half and glue it to the bottom half with a spot of CA glue. New! Lead screw cleaner for the A1 Please twist the cleaner manually and don't use the stepper motor! I haven't tried that and I won't be responsible for any ensuing damage! To use the cleaner: Move the print head to the lowest position Remove the screw that holds the plastic cap on the top of the z-axis using a 2mm hex wrench Cut a paper towel about 100x50mm and fold it so it goes in the slot in the cleaner. Spread the paper out and then position it over the lead screw. Push it down until the threads start to catch. Twist it all the way down, then back up again.