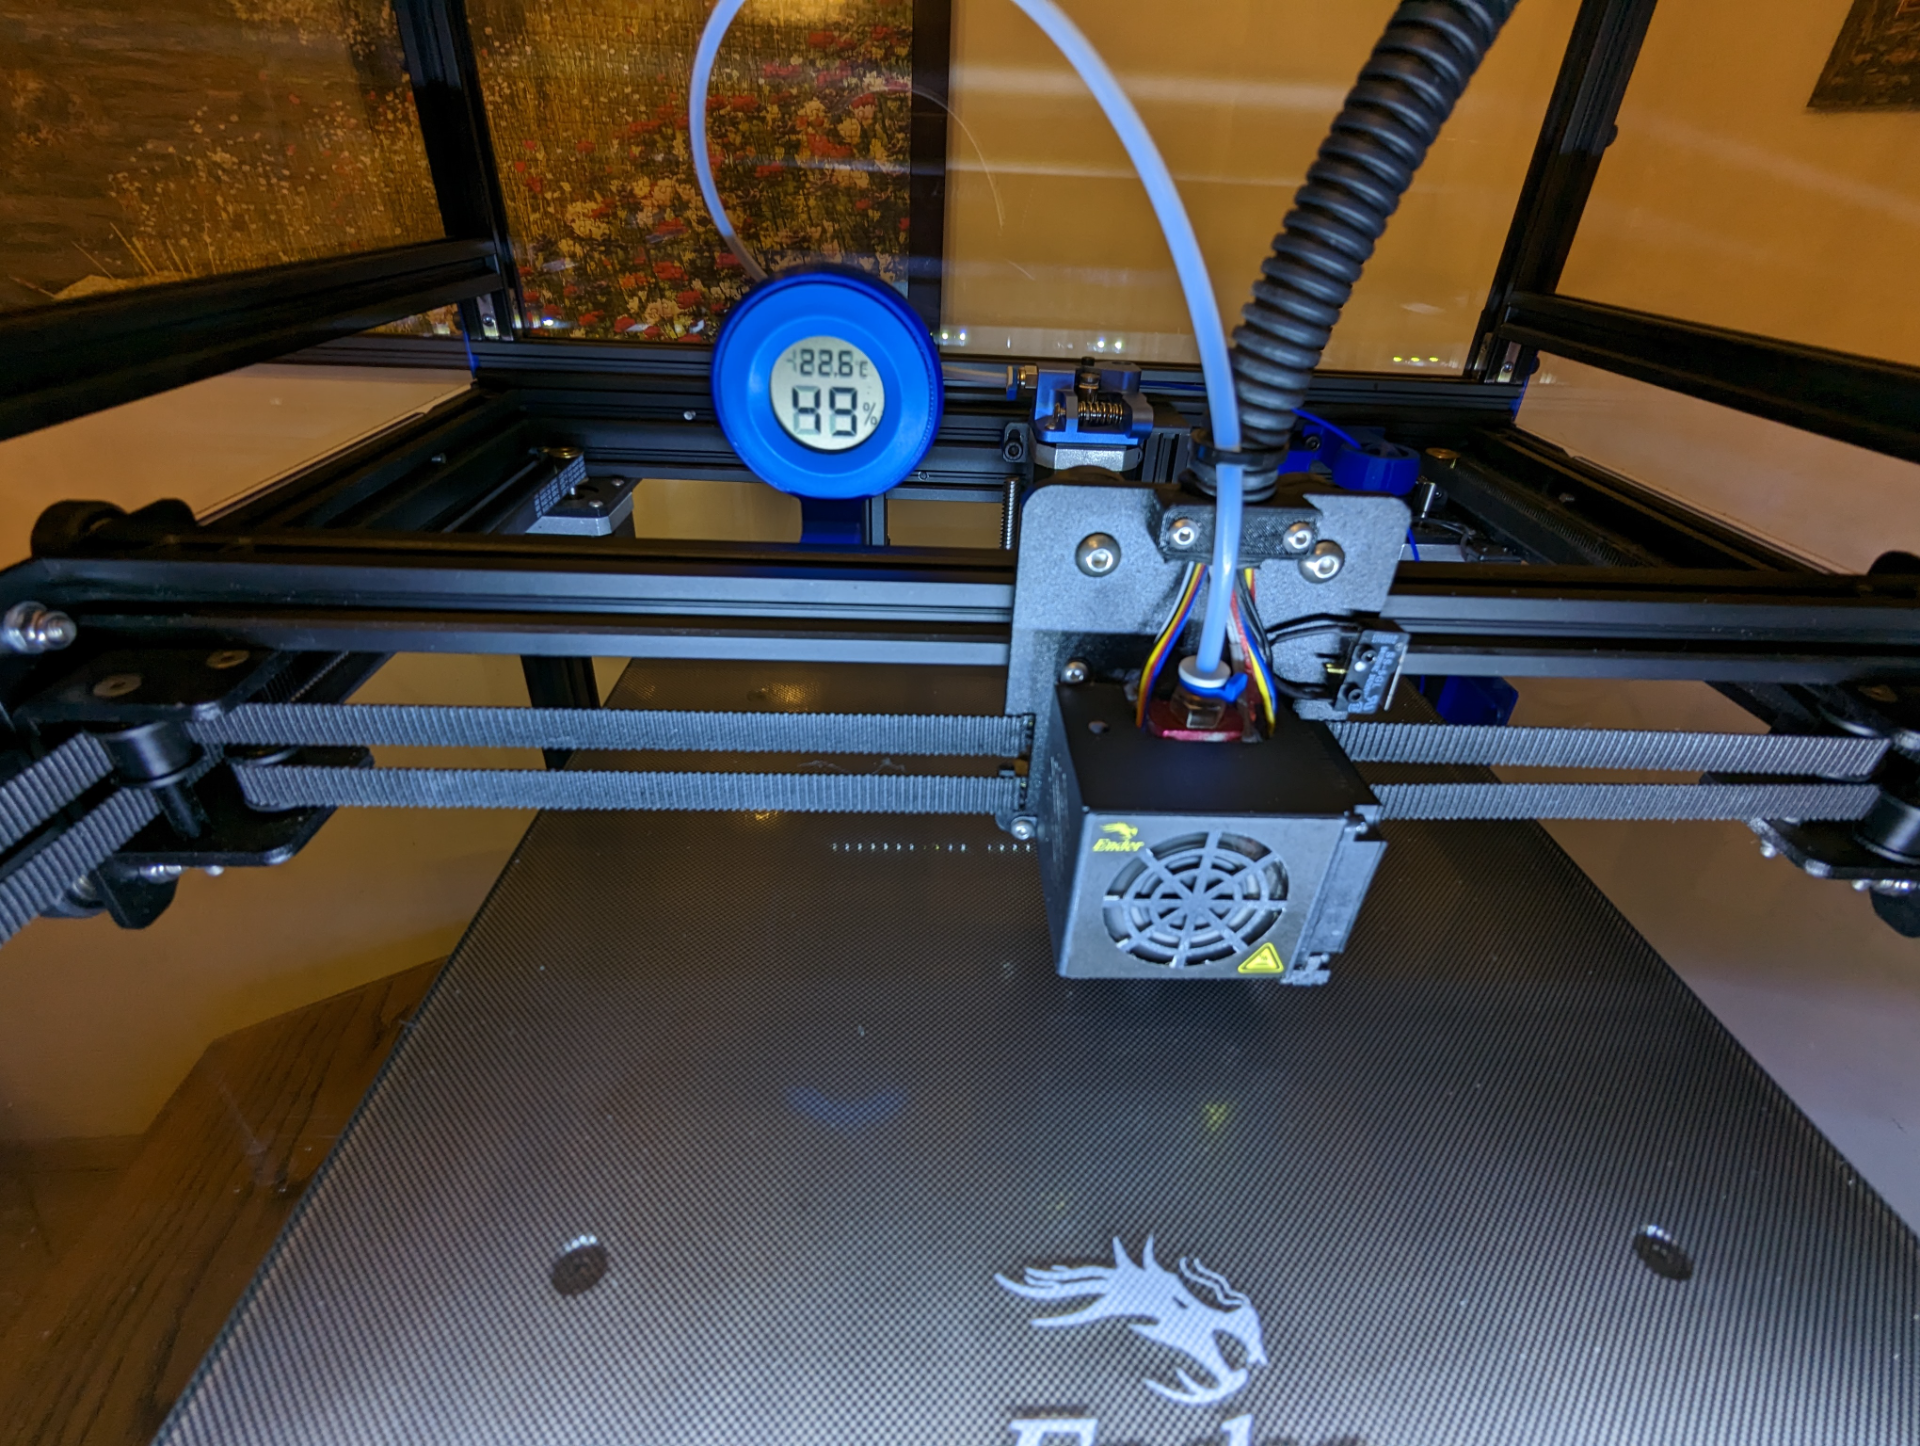
About this 3D model
This is for my older heavily modified Creality Ender 6. If you are interested, please bear with me, this was not a small project. I'll try to keep things as detailed as I can. If you have any questions, feel free to ask them in the comments. I was always interested in making a full enclosed Ender 6 with everything kept inside, to keep temperature and humidity as stable as possible. After I installed it, I realized that it also makes the printer a lot quieter! I've seen many interesting projects, but all of them involved laser cut acrylic panels which seemed too much for my budget. So, I decided to create my own remix with simple rectangular acrylic panels which can be cut quite easily. On the way, I decide to include both front doors and a top lid for easier access. All you need in order to finish this project beside the materials, involves a lot of cutting of V-slots and acrylic, a lot of drilling holes and some minor filing for the front doors. Will it be cheap? To be honest, it will be a little cheaper from buying the official enclosure from Creality, but to my experience, it will be a lot better. If you are still on it, I can assure you, this thing is sturdy and practical as hell! What you need to buy, in order to make this project (hope I'm not forgetting much): V-slots 2020 (5x 1m) Acrylic (3x 50x51 sheets): 46x M5x10 screws 44x M5 drop-in OR spring loaded T-nuts. It's wise to use both, buy some more to experiment. At least half of them should be spring loaded. 2x M5 nuts for the top lid 4x M4 drop-in OR spring loaded T-nuts for the doors. Screws are included with the hinges. 16x 2020 V-slot inside hidden brackets 4 door hinges, same with the original ones (example: https://www.aliexpress.com/item/1005004911939089.html?spm=a2g0o.order_list.order_list_main.17.5f291802Ve5yfE ) Generic corner bracket for the magnetic doors 2 Neodymium magnet cells with 3M sticker (8mm x 0.75mm) 4x M5x6 with drop-in OR spring loaded T-nuts for the door hinges 2 generic T-shaped hinges (example: https://www.leroymerlin.gr/gr/kigaleria/exoteriki-kigaleria/medesedes-gonies-puroi/menteses-gia-auloporta-m70xp60mm-se-mauro-hroma-60322696?ref=reccodo-search ) 6 generic screws for the handles Optional: 10x M5x8 screws with drop-in OR spring loaded T-nuts, for extra hold for the acrylic panels, see photos. I've installed them, but I wouldn't if I did it again. 3D printed parts: 8 brackets, remixed by me and provided here (original design: https://www.printables.com/model/200616-creality-ender-6-enclosure-top-cover-lid-2020-240m ) 3 door handles ( https://www.thingiverse.com/thing:4768759 ) Shortened spool holder ( https://www.thingiverse.com/thing:5745560 ) Hole covers ( https://www.thingiverse.com/thing:5442103 ) Extruder repositioning bracket ( https://www.thingiverse.com/thing:4750925 ) Ball joints filament guide, redesigned by me and provided here (alternative design link: https://www.thingiverse.com/thing:5994299 ) Plastic tube mount ( https://www.thingiverse.com/thing:4779023 ) (EmotorHolder_guide_back_sunken.stl) You have to cut the acrylic and the V-slots to the following dimensions, in cm: Acrylic (3mm): 1x 48.2 x 48.2 3x 48.2 x 23.7 2x 22.1 x 20.0 V-slots 2020: 4x 48.5 4x 44.5 4x 20.2 Instructions: For the enclosure: For the V-slots, all you have to do is to cut them to the exact dimensions provided and create a "box" using the 16 hidden brackets. I did it with an angle grinder and it took me quite a few hours but the result was near perfect. You can review the photos and figure out the assembly quite easily. For the acrylic (3mm), you have to cut the top lid, the 3 side panels and the front 2 doors. I cut one part of the acrylic myself (I already had 1 sheet of acrylic laying around) and the result was almost perfect. The method I used was, marking the cut in both sides of the acrylic with a sharp blade and applying even pressure until it broke to the line. Be careful to apply pressure especially in the middle on the line. Some small filing may be needed afterwards. You can find this method by searching on Youtube for "how to cut acrylic". For the rest of the panels the store I bought them from, offered free cutting. The result in dimensions was perfect, but the panels had chips where they had been cut. After reviewing, I realized that they cut it with a wood sawing blade which they normally use, resulting in those chips. I was not very satisfied, but after some filing they were totally useable and I'm OK with the result. If I would do it again, I think I would cut them myself :) After that, you have to position all the brackets and the handles, mark the holes and drill the acrylic. Try to make the holes a little wider, it will make your life easier later. The tool I used was a small stepping bit with slow RPMs and some WD40. The result was perfect. For the front doors, you have to file them and drill them according to the original Ender 6 doors, just remove one, examine it, measure everything, and copy it. The hinges a