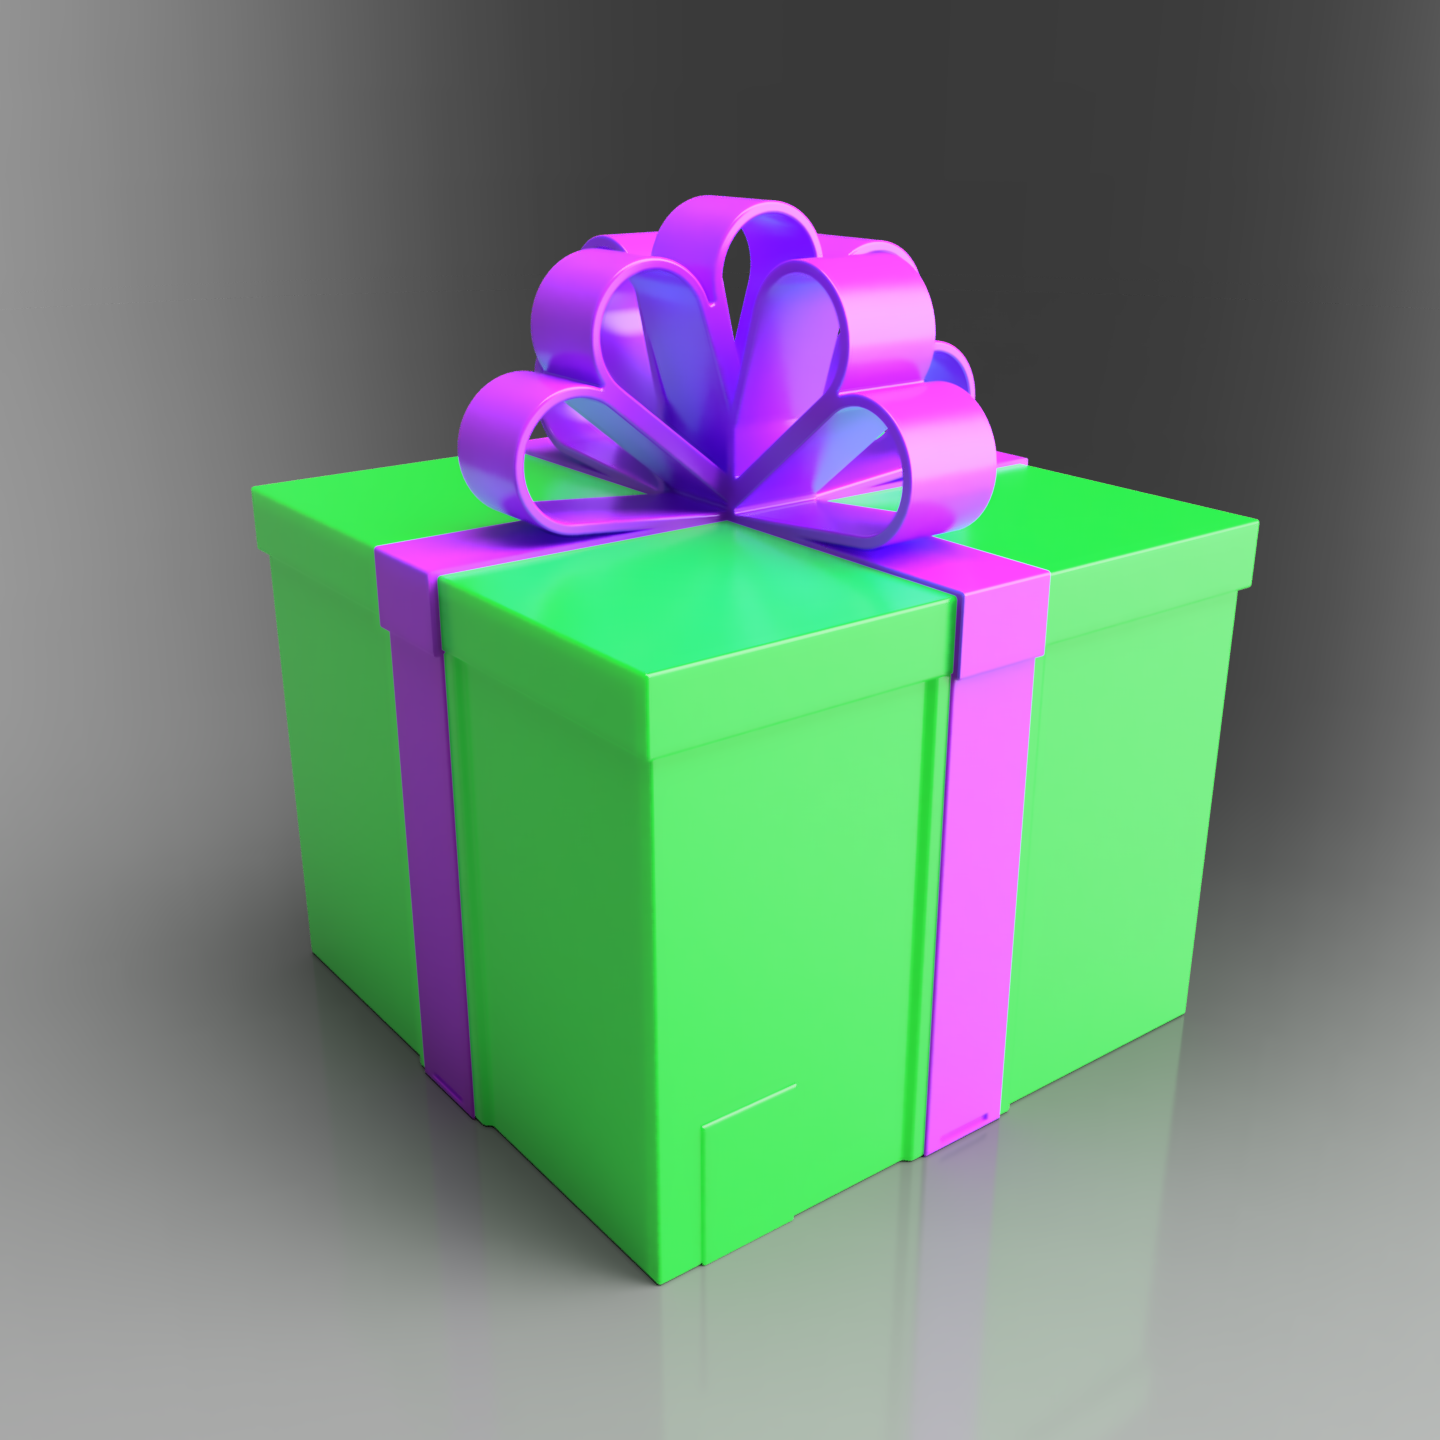
About this 3D model
Christmas Puzzle Gift Box * Extreme Edition * Features: A locked lid A hidden key and bolt locking system with an additional 20 hidden screws to securely hold the lid in place 3 Different screw types 3 Different screw drivers Secret compartments to hide the screw drivers Super strong lock (Box will not open without removing the bolt and all screws) Print in multiple colours without AMS Fun for kids Secret storage Reusable Tolerance test included. This is to ensure all parts will fit before committing to a long print. This Christmas puzzle box is a great addition to anyone's Christmas day! Fill it with sweets or gifts and give your kids the challenge of figuring out how to open the lid! You need to print the following parts for a full puzzle box: Box Lid Side ribbon strip x 4 Hidden ribbon strips x 3 Top ribbon strips Key Bolt Bolt Cap Key Cap 20 Screws 3 Screw Drivers All parts are easy to print and fit together easily with generous tolerances. Assembly: Tilt the box on its side Put the lid on Insert all 20 screws on all 4 sides of the box Gently slide a side ribbon strip into the track. Keep sliding until it meets the stop. Repeat this on all 4 sides. Insert the drivers into the recessed holes at the 3 corners Slide the hidden ribbon strips in place to cover the holes/drivers Locate the bolt through the hole in the box and into the threads in the lid. (Start by hand) Turn the bolt all the way in with the key Cover the bolt with the bolt cap Put the key into it's secret compartment Cover the key with the key cap. Usage: Take off the caps (Key cap is deliberately tricky - Bolt cap can be popped out by squeezing the box) Tap the box on your hand or a hard surface to release the key (if it hasn't already fallen out) Use the key to unscrew the bolt enough to get a grip with your fingers. Remove the bolt entirely and place to one side. Remove the hidden ribbon strips Remove the 3 screw drivers Remove all 20 screws on all 4 sides of the box Open the lid! I have included a tolerance test in the model files and pre sliced profile. This is purely if you are trying to scale up or down and want to check tolerances of all parts. It can also be used to check that you printer is dialled in properly before committing to the full box print. Print Settings: Nozzle: 0.4mm Infill: 12% Gyroid Layer Height: 0.2mm Support: None Perimeters: 5 Top/bottom Layers: 5 This will make everything pretty solid with minimal infill being used. Tip: If you find that the side ribbon strips and/or the screws are tight, then print them at 0.12 layer height. This should give a little more tolerance between the sliding and interlocking parts. Thanks for looking! Please don't forget to post pictures of your makes :) EDIT: Check out my latest gift box LIVE on my profile now! :P (Tap The Picture)