About this 3D model
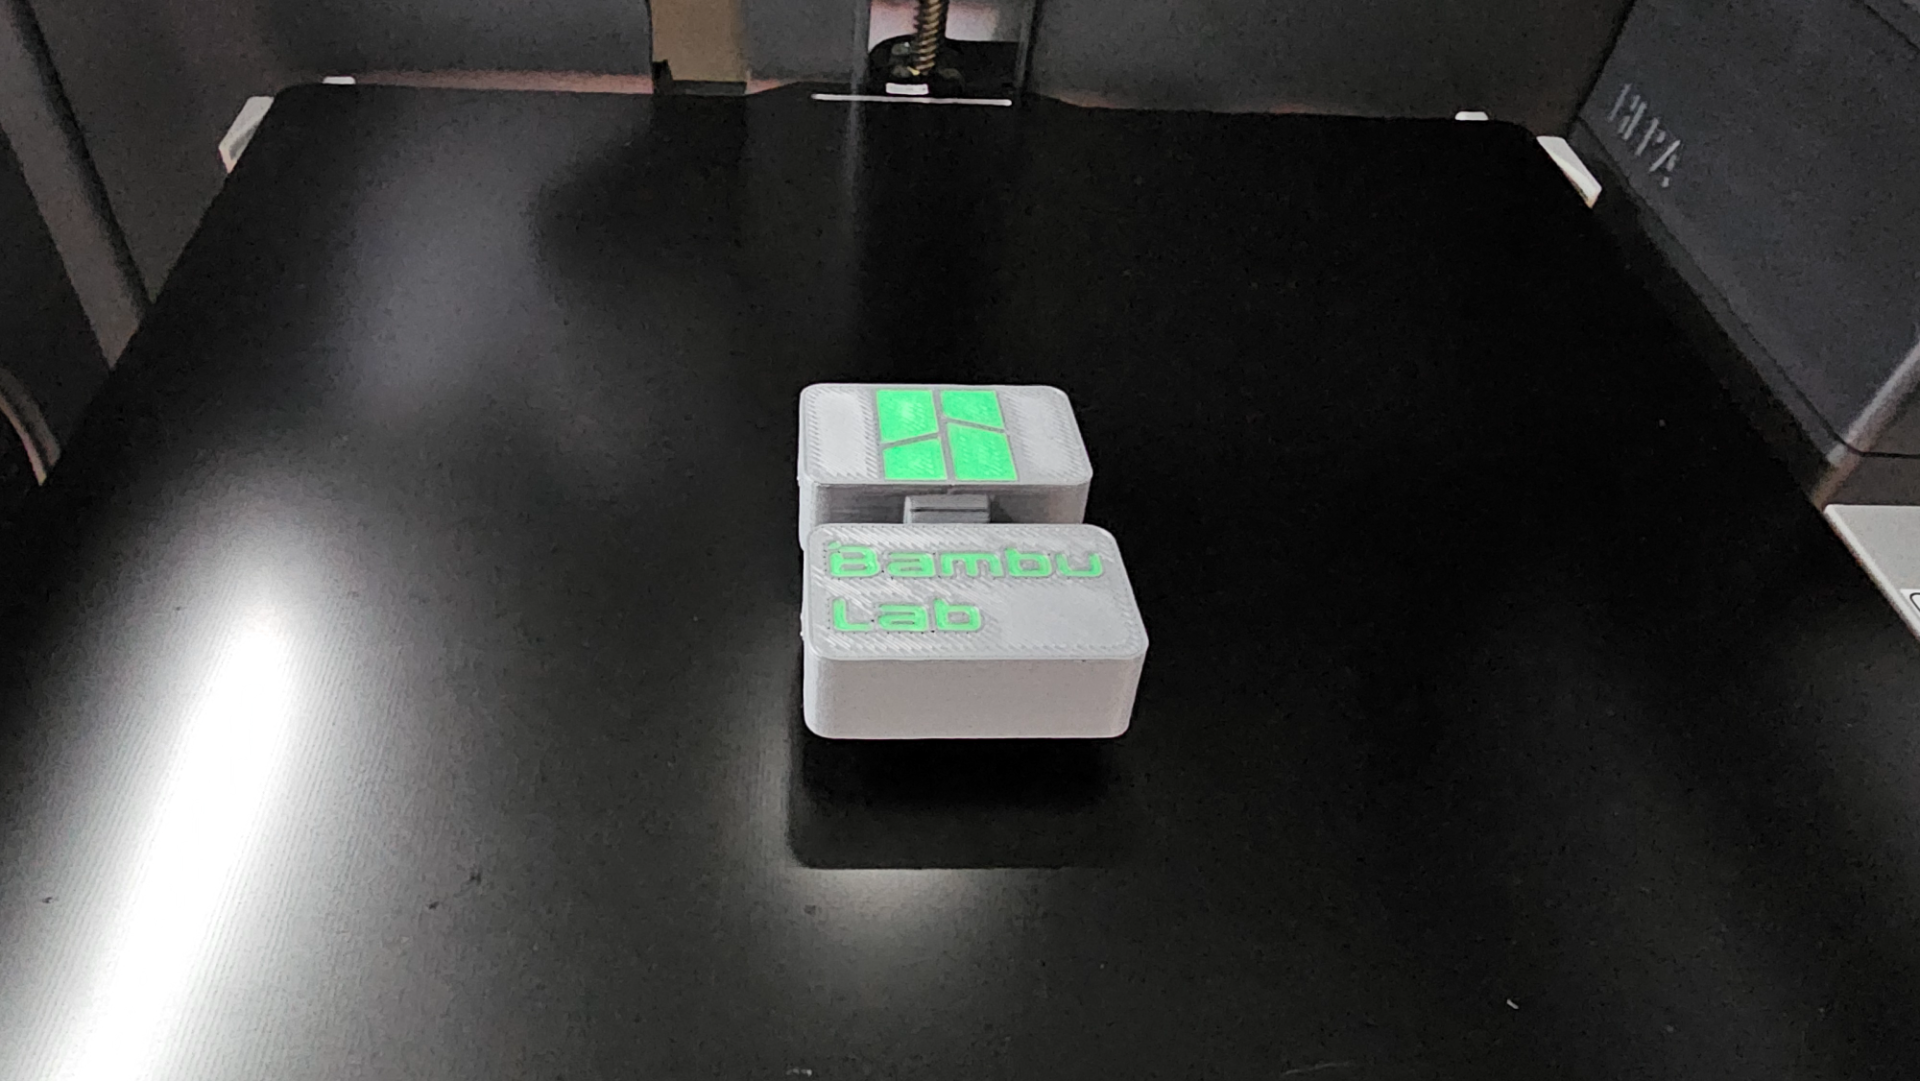
★ New ★ Update from 29.12.2023 Automatic Z-Axis Lube Helper ★ here is the link https://makerworld.com/de/models/112326#profileId-120249 Rod Cleaner Z-Axis With Logo ( simple and short time to print ) Single Version ★ New ★ Update ★ Rod Cleaner Set + Tool Case here is the link https://makerworld.com/de/models/99424#profileId-105992 Based on the Carbon Rods Cleaner V2 X-Axis (simple and short time to print) , I have now designed a Rod Cleaner for the Z-Axis. Again, it's Simple and short time to print. Of course, there is also a version that is a bit smoother but takes a little longer. For those who don't need branding, there is also a version, and of course,one with a bit of accessories, the Complete Version . Let's get started! Print 2. Take a sponge and cut 2 pieces to the size of 20mm x 30mm, just like with the Carbon Rods Cleaner V2 X-Axis (simple and short time to print) , and press them into the designated openings. Now soak them with ISO 3. Let's start the cleaning! Place the small box around the Z-Axis, hold it with your fingers, and press the desired direction on the display... the cleaning begins :-) Pay attention to the final distance of the Z-Axis Top and Bottom . Do not drive too far, as you could otherwise damage your printer. Cleaning the rear Z-Axis is also possible without disassembling the entire printer. For this, I recommend the Rod Cleaner Z-Axis Complete Version (what a name). 4. The tweezer for the box with the spacer is very convenient. If you use this combination, you have your fingers free and can easily clean your Z-AXIS as shown in the pictures. Of course, it can also be used without a spacer. 4. After you're done, it should look like this :-) 5. After cleaning, you should grease the Z-Axis again. The included grease in the accessories should be sufficient; if not, purchase new grease. easy to use, easy to clean Have fun building and cleaning! If you like the project, simply like and download it. THX I also appreciate comments a lot.