About this 3D model
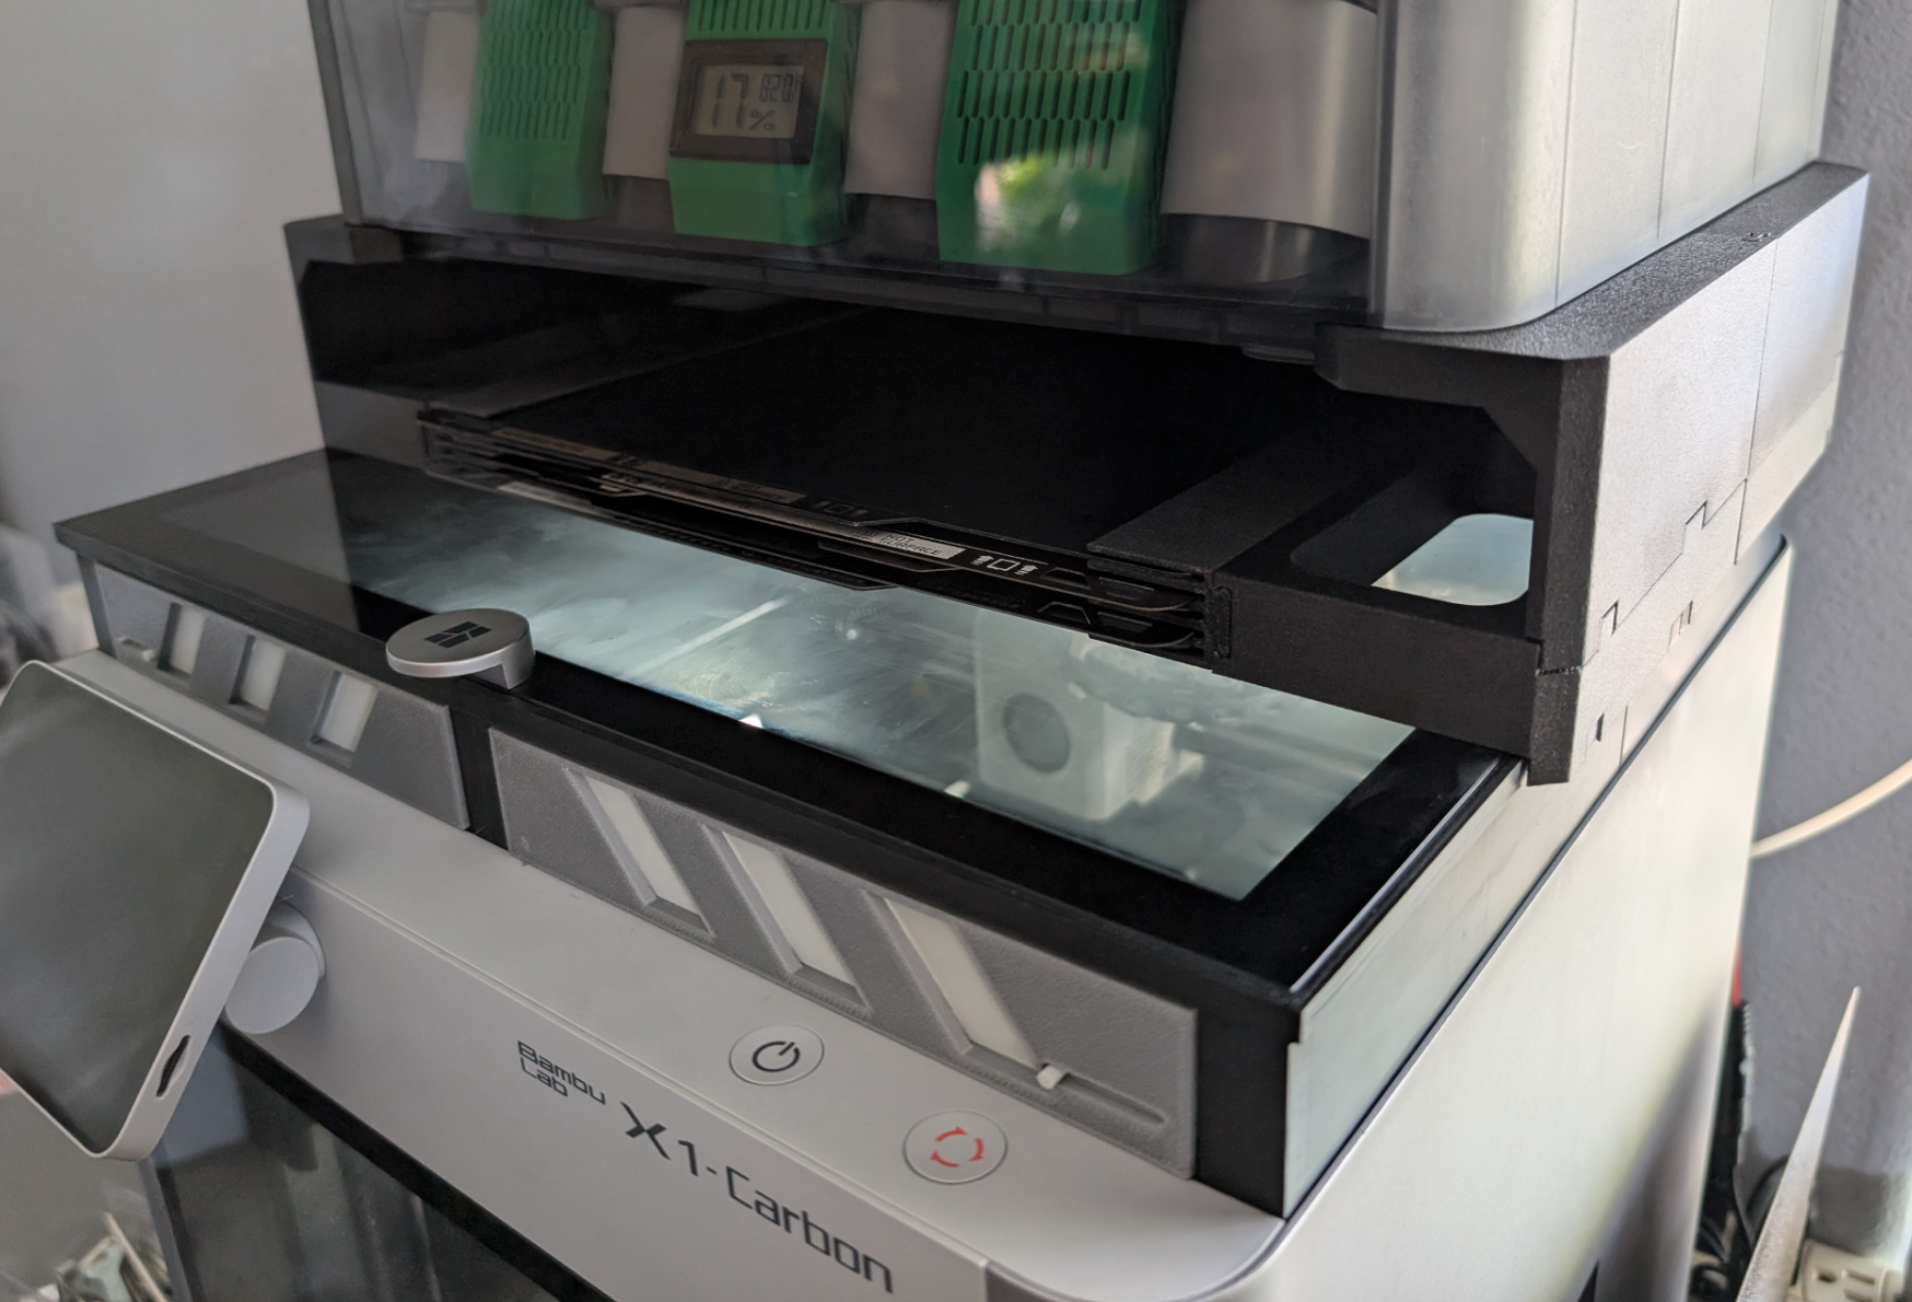
I've seen a lot of great vented glass risers and a lot of great AMS risers but I have yet to see anything that does both. I guess you could say I'm lazy and don't want to move the top glass panel to vent for PLA but I also want to be able to see through the top while I'm printing so here it is: the first vented glass AND AMS riser with built in provisions for 5mm FCOB lights. This design is highly modular so using different colors or adding other attachments to the points where the AMS riser attaches should be very easy. The philosophy behind the design was simple: keep it easy to print in any material (I used ABS) and not use an insane amount of filament. The entire thing uses about 1 Kg of filament and is still strong enough for 4 full spools of filament. I also designed the AMS to sit in the riser without any pins or slots so it should work for early version AMS as well as current version. One note, the glass is meant to fit snug so it may take a little force to get it in so as to keep a good seal. Tested temp retention shows that, with a 90C build plate and the vents closed, the chamber will maintain 45-47C with the chamber fan at 70% and, with a 55C build plate and the vents open, will maintain 35-37C with a 50% chamber fan. Everything has been carefully measured and adjusted to fit perfectly on an X1C or a P1S, just make sure you calibrate your filament if you're printing on a P1S because they tend to default to slight over extrusion. Assembly instructions: Assembly is easy, just assemble the front section, then back section and slide them together. The vents are numbered so it's easy to match the front and back half of both and they use a friction fit but also have holes for using filament to secure them to the body of the glass riser if you so choose. The AMS riser is secured to the glass riser with a series of built in pins and holes as well as geometry that helps hold it together. The AMS riser itself assembles in any order with 3 dog bone pins to keep it together. The build plate storage inserts do have a top and bottom with the short side going towards the top. It's only a 1mm difference but if the top of the insert sticks up past the body or you get a gap on the bottom, you have it backwards. It's designed to sit directly on the glass so that gap can cause alignment issues if not done properly. There are 3 sections per side, 1 with a solid back, 1 that is longer and 1 that has a tapered mouth. These need to go in that order to keep everything secure. Update 1-23-24: noticed the support settings got wiped out for plates 1 and 2 when opening from MakerWorld so I fixed that and locked those changes in the 3mf Update 2-24-24: Added a front stop for the AMS. Because of the modular design you can just print those 2 parts and replace them if you already printed the entire project. Also, I finally fixed the crashing issue with the invisible object when using Orca slicer. With Orca you will need to use the auto arrange button on each plate because of the way 3mf works but everything slices just fine when using Orca 1.9.1 Update 8-25-24: Added a new module to store up to 5 build plates. These are stackable so you can add as many as you need. The inserts slide into the body and can easily be adapted to fit other modules. I'll be adding a drawer system in the near future. Lowered the AMS riser module to keep the center of gravity lower especially when adding multiple modules. Also added a bit of XY hole compensation to the print profile on the necessary parts to allow for easier assembly. Filaments used in picture are Bambu Black ABS, Bambu Silver ABS and Bambu Grey ABS-GF for the glass riser and Bambu Black ABS-GF for the AMS riser.