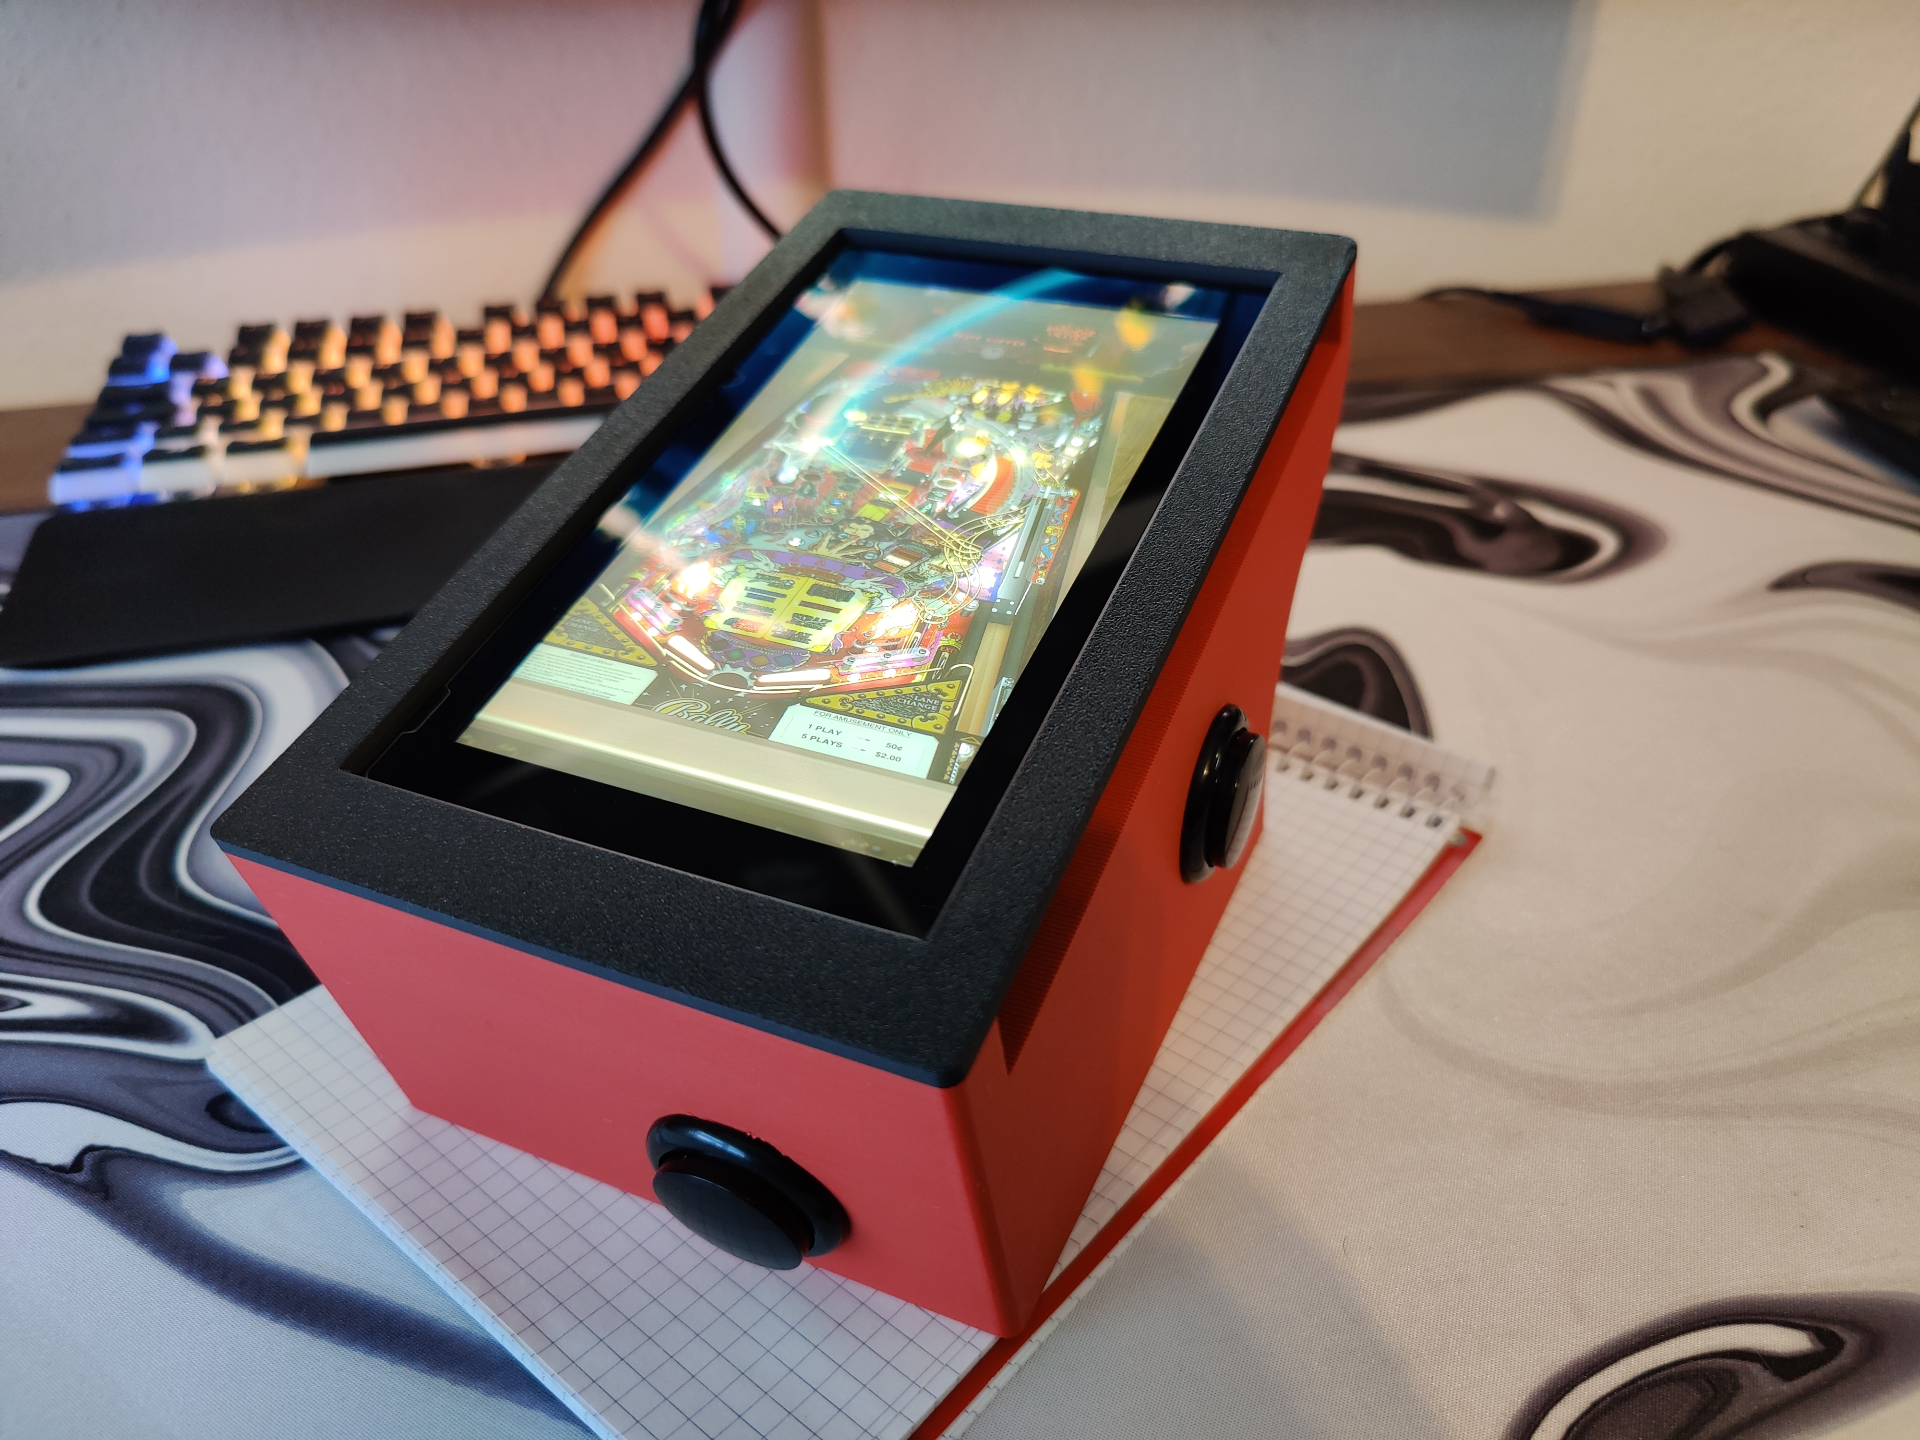
About this 3D model
Hi folks, I recently found Maker World and wanted to share my recent project as my first upload here. So I present you my version of a pinball enclosure for the nintendo switch console. I took inspiration of the PinSwitch project from SakuraRetroModding you can find here: https://www.etsy.com/shop/sakuraretromodding/?etsrc=sdt My design doesn't follow the classic look of a pinball table but inherits from it. Setup is pretty simple, but you need a few things (No affiliates): Pro-Micro Arduino Board ( That's what I used and fits the mount, not an official one ): https://de.aliexpress.com/item/1005003717649243.html Some wires. Whatever you have, I used 0.32mm² / 22awg 3x Arcade buttons like those: https://de.aliexpress.com/item/1005005672031620.html ( There are many different ones that are the same size and push to fit, they should all work ) 2x M4x6mm screws for the USB bracket ( I used hex socket ones DIN912 ) 1 flat/slim USB-C to Micro USB cable, to be precise; This one: https://de.aliexpress.com/item/1005004681178075.html Choose version “W3R / T2G”! 10cm should be enough, I'd use 15cm for ease of use. 4x Neodym magnets size 4x2 ( This is optional for the lid, it does hold on it's own ) Additional tools: Soldering Iron for wiring up Pliers for cutting and stripping the wires Allen key for the m4 screws Software preparations: In order to make it work, I've used this amazing code: https://github.com/fluffymadness/ATMega32U4-Switch-Fightstick/ Simply follow their easy installation guide (Building Instructions) and flash your arduino with the software. It basically turns your arduino into a switch pro controller and therefore we can attach it and wire our own buttons to it. We use the Left + Right button and the A button. ( See wiring diagram ) On the switch, I've used Pinball FX3. It can run in vertical mode and works perfect. There are other pinball games, but I didn't test them. You can navigate using the touchscreen or simply use your wireless joycons. Build guide: Print all the parts. Remember to use tree supports for the main bodys arduino chamber ( See picture provided ). Simply use the amazing “Support Painting” function of Bambu Studio Mount the Arcade buttons, simply push them in Solder ~15cm wires to the - already flashed - arduino board following the wiring diagram ( attached images ) With the wires loosely attached, mount the arduino, simply push it in. USB first into the cutout, then push down on the board. Route the wires per wiring diagram, cut to perfect length and solder them to the buttons. Route the wires through the 6 provided cutouts above the arduino board and close the chamber by sliding the lid into the slot ( See picture ) Insert the USB-C cable into it's cutout and push it down ( You may need to cut some of the shrink tubing for better fit ) Mount the USB bracket loosely You can move the USB-C connector up and down a bit, just be careful not to bend it. Insert the Switch facing up and it's USB-C port facing left. Adjust the USB-C connector until it slides in perfectly. Carefully remove the switch again and tighten the bracket. Connect the other end of the cable to the arduino. You're done. Credits: https://www.etsy.com/shop/sakuraretromodding for the inspiration https://github.com/Palatis and https://github.com/fluffymadness without their software this wouldn't be possible Nintendo for creating the switch in the first place