About this 3D model
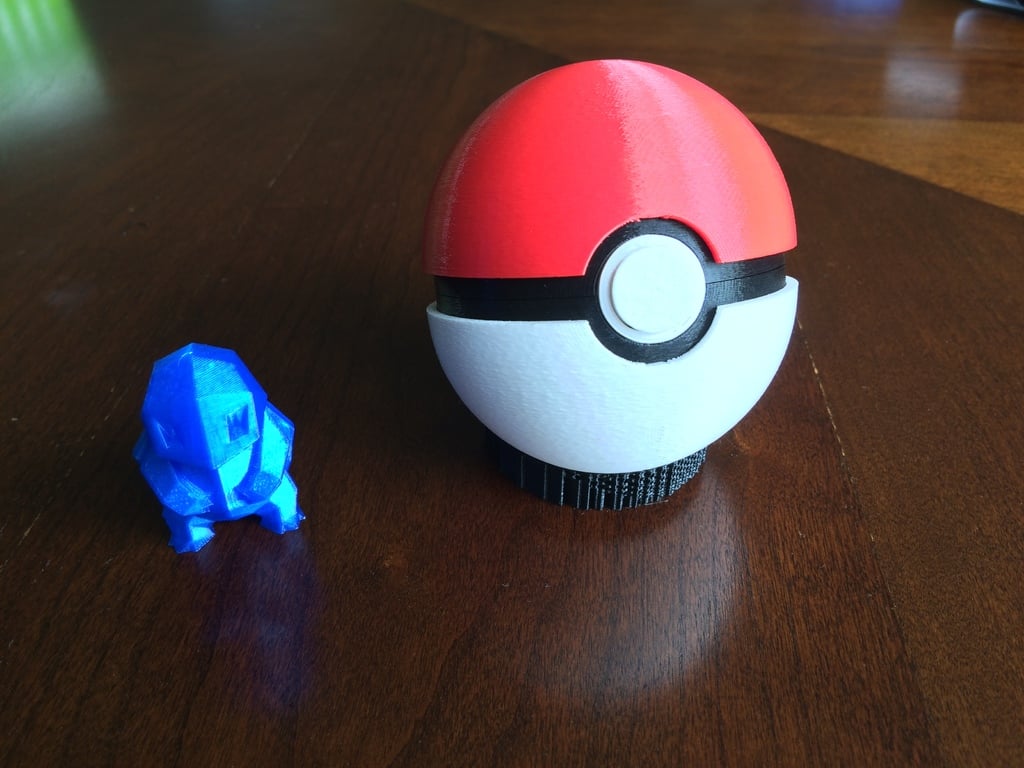
Boost Me Thanks for your Boosts, they help drive future innovation! ? Please Print with Designer Recommended Print Profile - Other Print profiles print parts in wrong orientation. Thank You! Summary This is a workable Pokeball that opens and closes. It is 3" in diameter. (7.62 cm) Made it for my nephew. Enjoy! The Squirtle in the picture is done by FLOWALISTIK, and can be found here, http://www.thingiverse.com/thing:319413 Thanks for looking, Made using https://www.onshape.com/ How I Designed This I used Onshape. Its Open Source and here is the link to modify or download source files. https://cad.onshape.com/documents/28cddbc881704fa49b21144d/w/c9d307e039d143f787332d9e/e/0f7673adefba4f94a83732ae Instructions Feel Free to try and build it your way or follow the below instructions. Look at all the pictures. They will help you make this pokeball. Printing Print the following @ 200 microns and at 15% infill unless otherwise noted. 2 "Main Frames" in Black, Print with convex side down.(Like a bowl) Use Supports. The "Outer Shells" will cover the outside of the "main frame", so don't worry about how it looks on the outside. *I recommend that you print the hinge part at 100% infill (Simplify 3D allows this). You do not need supports for inside of the hinge holes, and the alignment slots. Make sure after printing, you remove all supports, including supports inside the "main frame". 1 "Outer Shell" in Red, Print with convex side up. (Like a upside down bowl) Use Supports. 1 "Outer Shell" in White, Print with convex side up. (Like a upside down bowl) Use Supports. 1 "Button" in White, Use supports 1 "Button Holder" in White, Use Supports 1 "Latch". Print with 100% infill and at 100 microns. 1 "Lower Latch" You will also need, 1 spring @ 0.185" diameter. (A pen spring will work!) (You may have to reduce the length of the spring by cutting it) About 1" of 1.75mm diameter filament or something similar Assemble Assemble the button as per the pictures. You will have to glue the "latch" to the "button" so it does not slide out. Glue the "outer shells" to the "main frames". Make sure alignment slots are aligned. Glue the assembled "button assy" to the bottom "main Frame" Fit the two "main frames" together using 1.75mm filament as a hinge pin. CONGRATS!!! You now have a very well built Pokeball!!!