About this 3D model
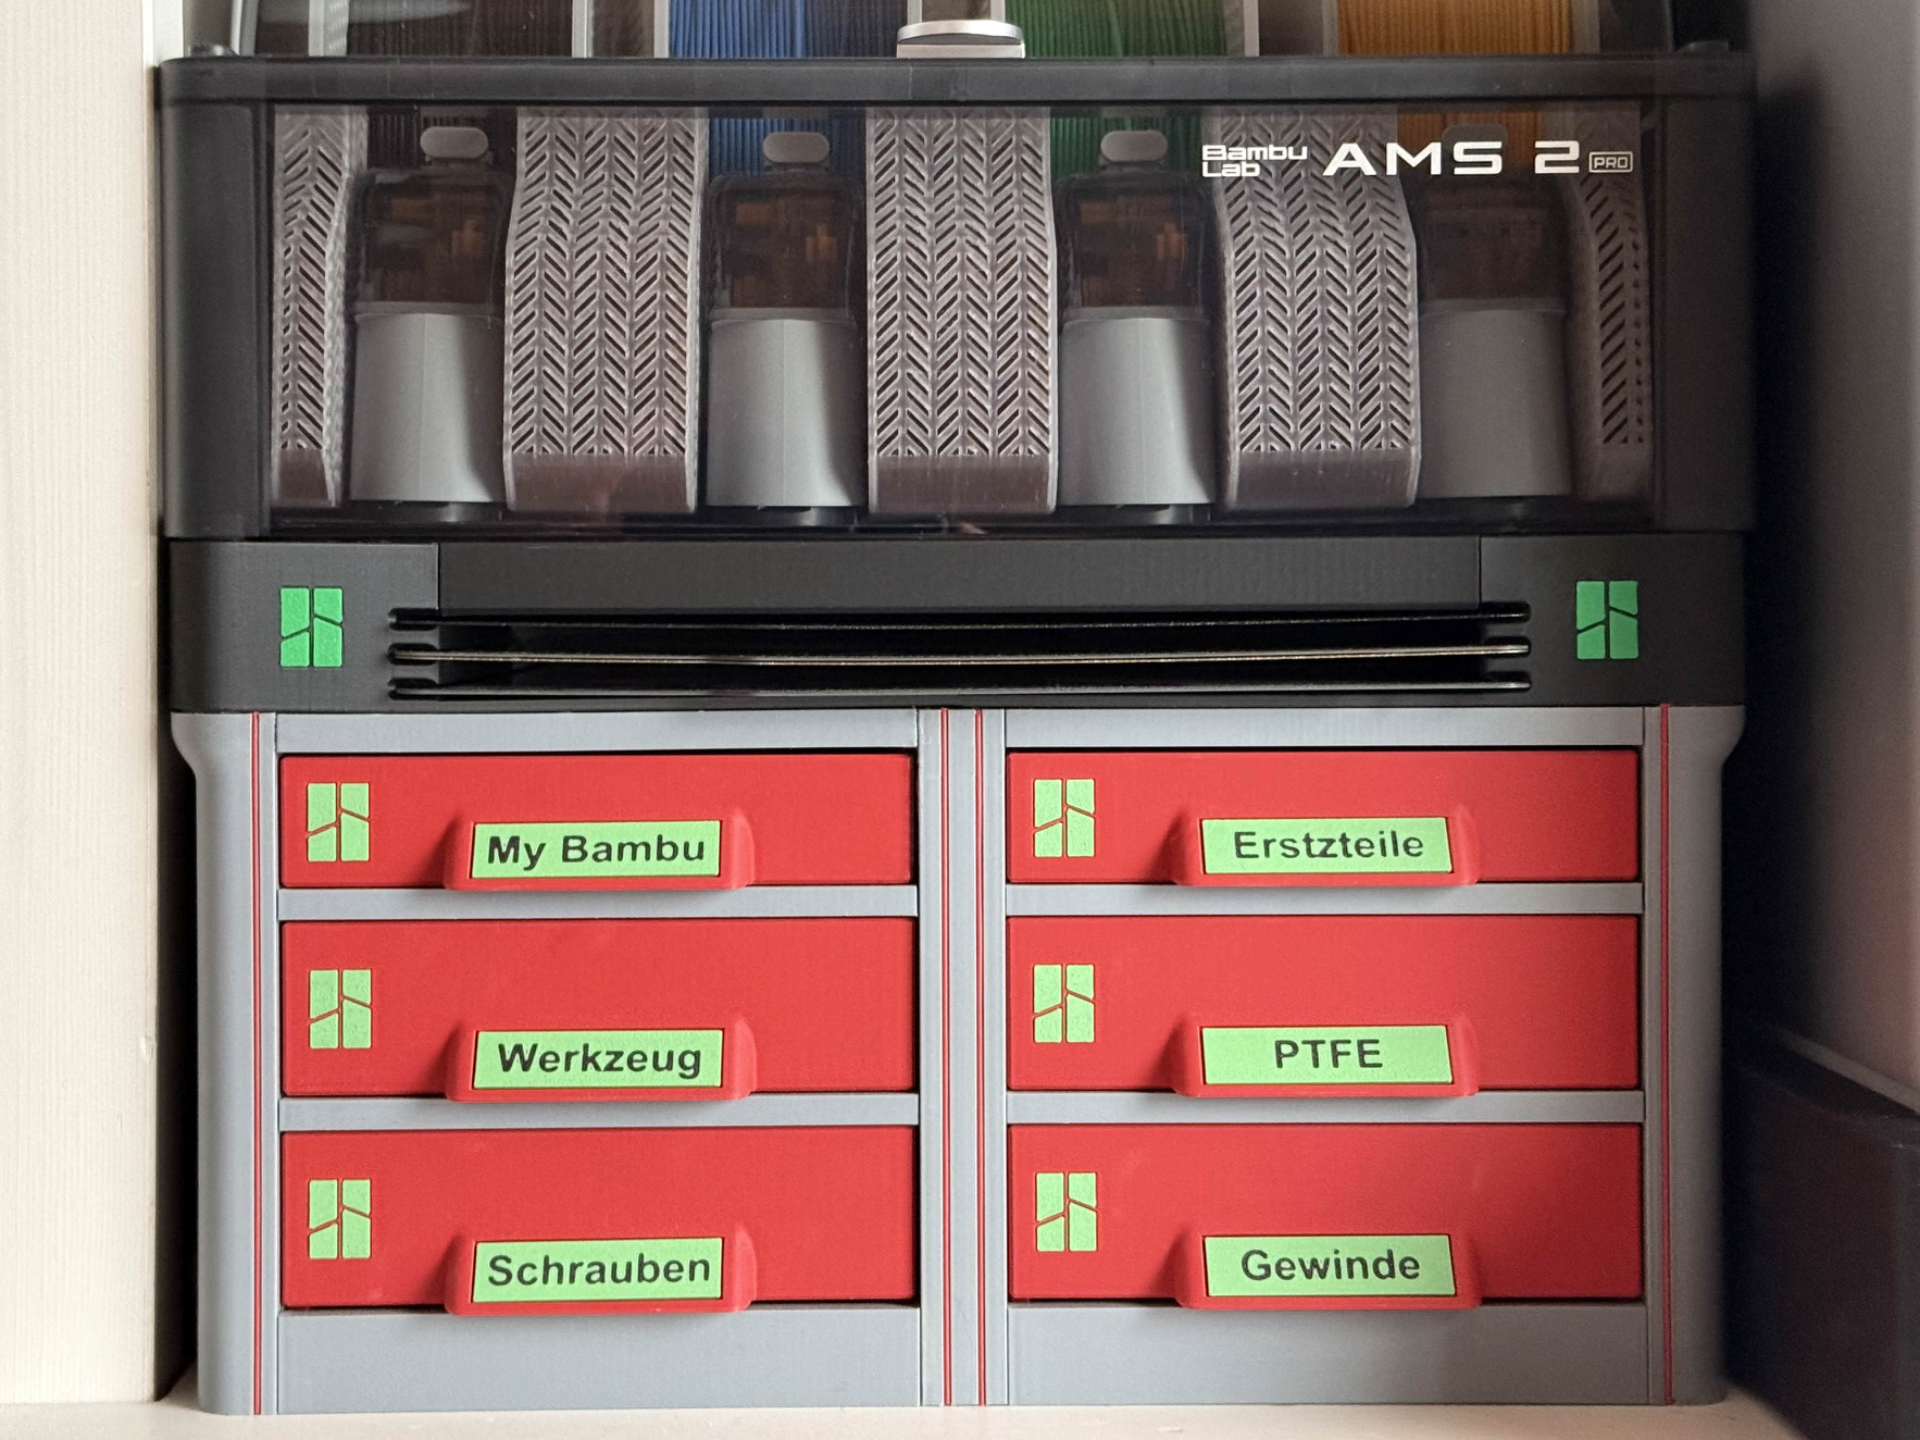
AMS (2 Pro) Rack with Three- or Five-Slot Build Plate Holder This AMS Rack was developed for the first generation AMS (all variants) and is, with the corresponding build plate holder (see print profiles), now also compatible with the AMS 2 Pro I found the 'horizontal holes' between the drawers on the " AMS Stand with Optional Build Plate Holder 3x or 5x " by PS11-Print unsightly, so I developed my own solution. Inspired by " Insert Fixation for AMS Rack " by Andon3D , I adapted the drawers to my needs To improve clarity, the required individual parts are distributed among the following print profiles: Framework This print profile contains all parts for the framework. All print sheets must be printed once, except for 4 and 6, which are needed twice each. Assembly is largely self-explanatory, as most parts simply snap together. The four identical parts on print sheet 5 are only needed after the drawers have been created The four vertical contrast strips, located to the left and right of the drawers, are created by inserting filament from the filament spool into the designated grooves. This should be done during the assembly of the framework, as later implementation might be difficult Drawers Effective immediately, the Bambu Logo on the drawers is no longer standard. If it is desired, as shown in the illustrations, the "Hide logo" object must be deleted before printing. There are two print profiles that differ only in drawer height. Two 30 mm and four 40 mm drawers are needed. The drawers can be chosen with (print sheets 1 and 2) or without a grid (print sheets 3 and 4), where with is recommended . The grid allows for inserting an insert that divides the drawer into 3 × 4 compartments and prevents mixing. Without a grid, subdivision is possible, but mixing of compartments cannot be ruled out With the finished drawers, the four identical parts from the framework are used. Cut a piece of cardboard from a filament box to the width of the drawers. Insert the bottom drawer and place the cardboard on it. Apply plastic glue to the two corners of the first component and slide it between the cardboard and the rail (see photos), pressing down the rail ends to ensure a good connection. The rail should be minimally higher than the component. Repeat this process for the remaining webs To prevent drawers from being fully pulled out, you can glue a small stopper to their underside. Remove all drawers except the top two. Flip the AMS Rack over and pull out the drawers to the desired length. For example, glue a piece of cork to the underside of the drawer behind the front web. Then insert the middle and finally the bottom rows of drawers AMS 1st Gen Build Plates 3x (5x) The build plate holder for the first generation AMS (all variants) is mounted on the AMS Rack in the recommended version. This is compatible with Bambu Lab X and P series build plates as well as the A1 (256 × 256 mm) The original build plate holder under the AMS Rack is only available in the STL downloads . If this is used, only the outer walls bear the weight, which can lead to sagging in the middle. However, if the build plate holder is placed on the AMS Rack, the middle wall supports the weight AMS 2 Pro Build Plates 3x (5x) The build plate holder for the AMS 2 Pro is always mounted on the AMS Rack due to its design. This is compatible with Bambu Lab X and P series build plates as well as the A1 (256 × 256 mm) Finishing Touches Here are drawer labels and colored logo inserts. For a visual enhancement, filaments can be pushed directly from the filament spool into the four vertical grooves on the front – see my pictures The first print sheet contains pre-made drawer labels that can be individually customized. Open the print profile in Bambu Studio and, if necessary, switch to " Object " in the " Prepare " tab. The objects with the labels Label 1 to 6 , which may need to be expanded, contain the labels. Select " text-shape " and click the Ta button in the button bar to change the label. Make sure the text does not go beyond the background, and click the Ta button again Happy recreating