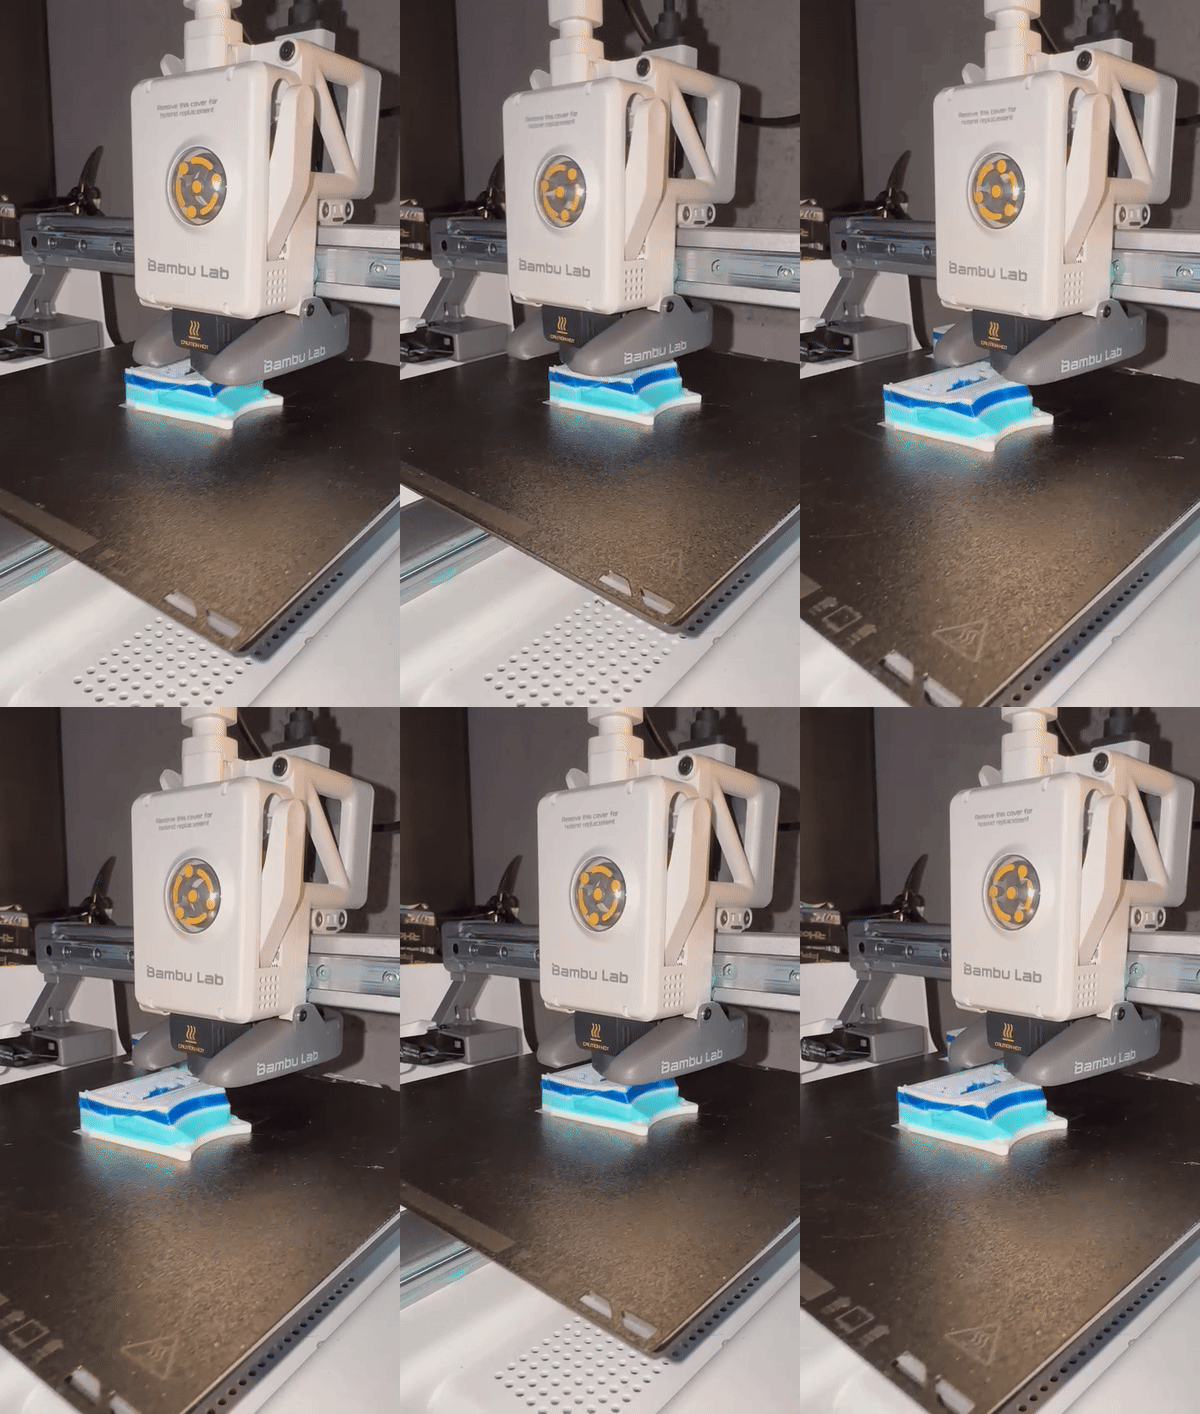
About this 3D model
A huge thank you to for the support given to @alessandro.roio the realization of this project USER UPDATE : METAL SCREW MOD UPDATE: V1.1 Add new bolt and new spool holder cup the reel holder has been lengthened, because it was difficult to work with cardboard reels, and the caps have been updated which now adhere perfectly to the ams PER CHI HA DIFFICOLTA ALLA CALIBRAZIONE CONSIGLIO DI STAMPARE I BOWDEN HOLDER DEDICATI A QUESTO LINK E DI POSIZIONARE I TUBI PIU LINEARI POSSIBILI EVITANDO CHE SI AVVOLGANO TRA DI LORO VEDI FOTO ESEMPIO FOR THOSE WHO HAVE DIFFICULTY WITH CALIBRATION, I RECOMMEND PRINTING THE BOWDEN HOLDER DEDICATED TO THIS LINK AND POSITIONING THE TUBES AS LINEAR AS POSSIBLE, PREVENTING THEM FROM WINDING UP WITH EACH OTHER, SEE EXAMPLE PHOTO In questo modo si riuscira a calibrare il sistema anche con l'ams sul suo stand originale . In this way it will be possible to calibrate the system even with the AMS on its original stand. If after following the entire guide correctly you still have problems getting the thread to automatically hook up from the extruder, download the file below that our friend created to help load the flexible filaments! Se dopo aver seguito tutta la guida in maniera corretta avete ancora problemi a far agganciare in automatico il filo dall'estrusore scaricate il file sotto che ha realizzato il nostro amico per aiutare il caricamento dei filamenti flessibili ! !DOWNLOAD FILE CLICK ME ! Thank you @3dEnvangelist IT-EN EN:THIS MODIFICATION ALLOWS THE USE OF TPU AND FLEXIBLE MATERIALS ON THE AMS LITE IT: QUESTA MODIFICA CONSENTE L'UTILIZZO DEL TPU E DEI MATERIALI FLESSIBILI TRAMITE L'AMS LITE EN:BEFORE PROCEEDING, READ THE ENTIRE GUIDE CAREFULLY! IT: PRIMA DI PROCEDERE LEGGI ATTENTAMENTE TUTTA LA GUIDA! EN: NO COMPONENTS NEED TO BE DISASSEMBLED OR MODIFIED TO ALLOW THE INSTALLATION OF THIS MOD. IT: NESSUN COMPONENTE ANDRA DISASSEMBLATO O MODIFICATO PER CONSENTIRE L'ISTALLAZIONE DI QUESTA MOD ! EN: MAKE SURE THAT YOUR PRINTER RESPECTS THE TOLERANCES WELL, TO ENSURE THAT THE THREADED PARTS MATCH CORRECTLY, IF NOT, THROUGH THE PARAMETER IN THE FIGURE YOU CAN INCREASE OR DECREASE THE VALUE TO ALLOW CORRECT ENGAGEMENT OF THE THREAD, OR IF IT IS NARROW DRIVE IT AGAIN WITH A STEEL SCREW, BEING CAREFUL THAT NO DAMAGE IS CAUSED TO THE PART AS IT IS THE HEART OF THE SYSTEM'S OPERATION. IT: FARE ATTENZIONE CHE LA VOSTRA STAMPANTE RISPETTI BENE LE TOLLERANZE , PER FAR SI CHE LE PARTI FILETTATE COMBACINO CORRETTAMENTE , IN CASO CONTRARIO TRAMITE IL PARAMETRO IN FIGURA ANDATE AD AUMENTARE O DIMINUTIRE IL VALORE PER CONSENTIRE IL GIUSTO INGAGGIO DELLA FILETTATURA , O SE IN CASO FOSSE STRETTA RIPASSARLA CON UNA VITE IN ACCIAIO FACENDO ATTENZIONE CHE NON SI RECHINO DANNI ALLA PARTE IN QUANTO E' IL CUORE DEL FUNZIONAMENTO DEL SISTEMA . HOLE COMPENSATION Adjust this parameter only in screw parte and not use on other parts! EN:THE OPERATION OF THE SYSTEM IS GUARANTEED ONLY IF THESE REQUIREMENTS ARE RESPECTED: 1- The ams must be mounted vertically (wall mount or vertical stand) 2- To facilitate the sliding of the filaments, the PTFE tubes must follow the most linear path possible when they are on the purge area with the Z axis at the height of the home. 3-The AMS reel holders must be unhooked and the attached adapters installed to allow the reel to spin freely without a retention spring. 4-The system we are going to install will need to be calibrated in some cases and a quick procedure in others it may take some time. 5- To launch the print you need to send it to the printer with the send button and launch the print from the printer! it is not possible to do it from bambustudio. IT:IL FUNZIONAMENTO DEL SISTEMA è GARANTITO SOLO SE VENGONO RISPETTATI QUESTI REQUISITI : 1- L'ams deve essere montato in verticale ( wall mount or vertical stand) 2- Per facilitare lo scorrimento dei filamenti i tubi in ptfe devono fare la strada più lineare possibile nel momento che sono sulla posizione di spurgo con l'asse Z all'altezza della home . 3-I porta bobina dell'ams vanno sganciati ed istallati gli adattatori allegati per consentire alla bobina di girare libera senza molla di ritenzionamento . 4-Il sistema che andremo ad istallare andrà calibrato è in alcuni casi è una procedura rapida in altri può volerci un pò di tempo . 5- Per lanciare la stampa bisogna inviarla alla stampante con il tasto invia e lanciare la stampa dalla stampante ! non e possibile farlo da bambustudio. !WELL NOW WE CAN GET STARTED- -BENE ORA POSSIAMO COMINCIARE! The first thing to do will be to position our ams in a vertical position, and with the tubes that are as linear as possible towards the extruder, I have positioned the ams on the wall above the Z axis in this way even at the maximum height we have a gentle curve that does not create obstructions or sliding difficulties, and I have installed shorter PTFE tubes to have the ideal length, alternatively you can install your ams behind or on the side of the printer using this vertical stan