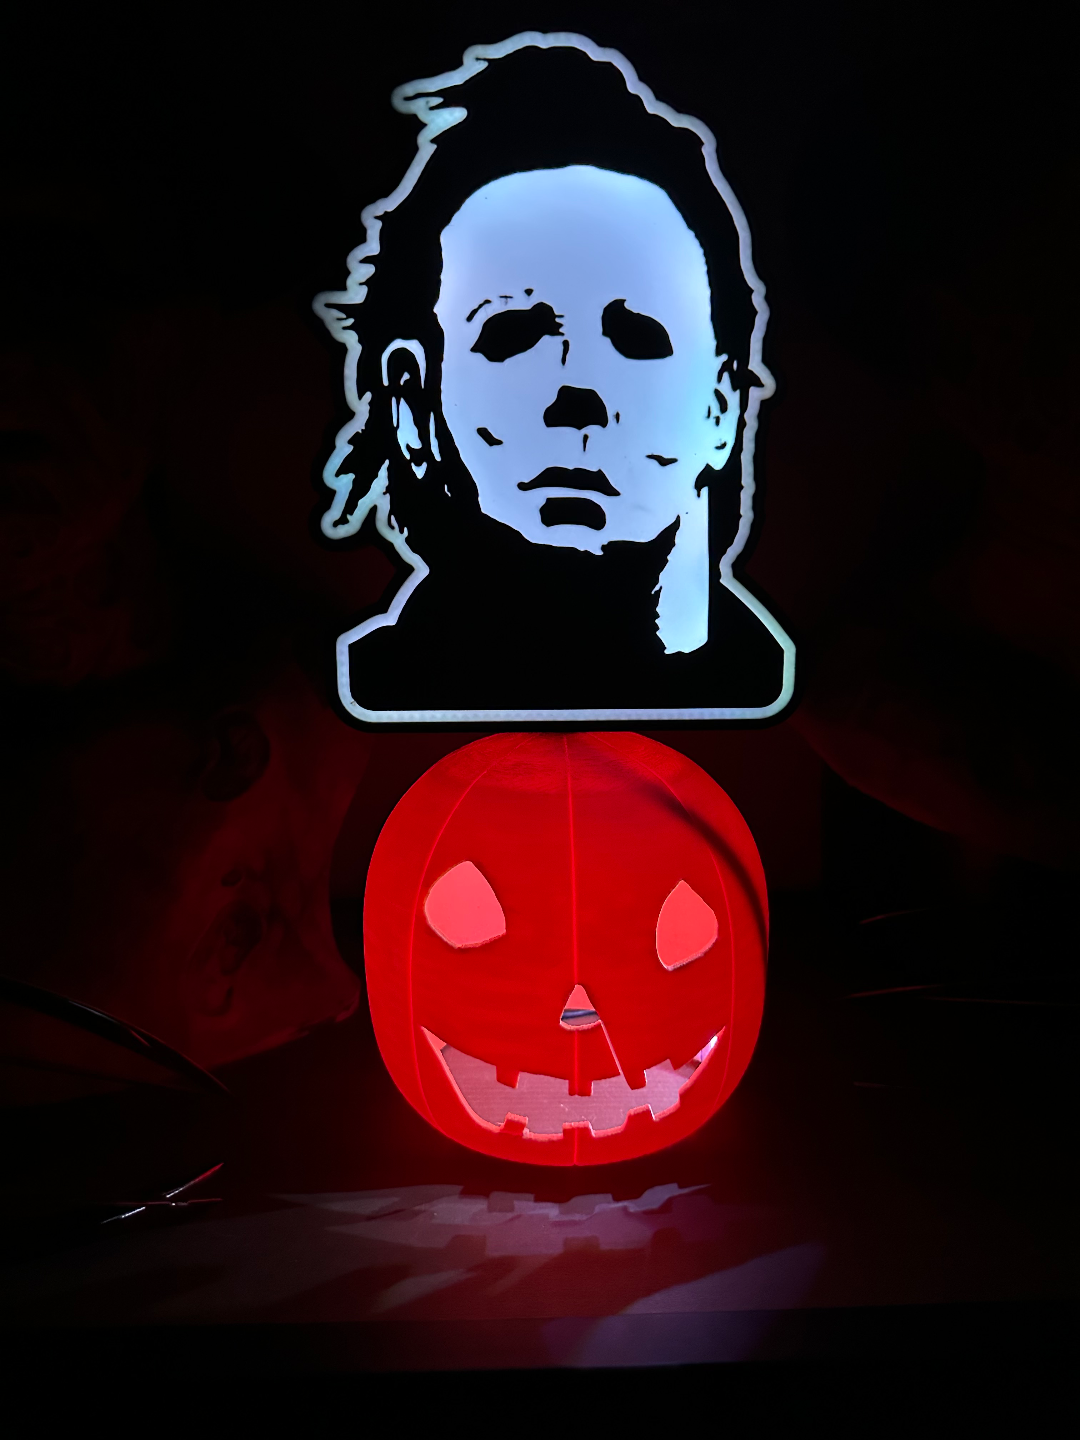
About this 3D model
Myers with Pumpkin You can use the included profile to print the front of the lightbox. I use .2 standard for the back with these changes: Gyroid infill at 12% Arachne Walls No Brims Small tree supports on auto The Pumpkin I have included a sliced and unsliced pumpkin I used the sliced pumpkin to have access to place lights. The pumpkin was also printed at standard .2 with auto slim tree supports and using PLA support set to 0 interface. I also used adaptive layering for the bottom part (top since it is upside down) of the pumpkin The back will need to be printed with slim tree supports also to support the post Once all piece were printed I ran the lights through the pumpkin and into the back of the Myers box. Although not necessary I glue the post on the lightbox into the pumpkin. If this seems like a tight fit you can use a little sand paper to make it fit better, sometimes there is issues because leftover support material. Once all the lights were ran I glued the bottom of the pumpkin on and attached the lightbox face. I hope you enjoy this light, even though it does take some print time, the results are worth it and the fitment of everything is pretty easy.