About this 3D model
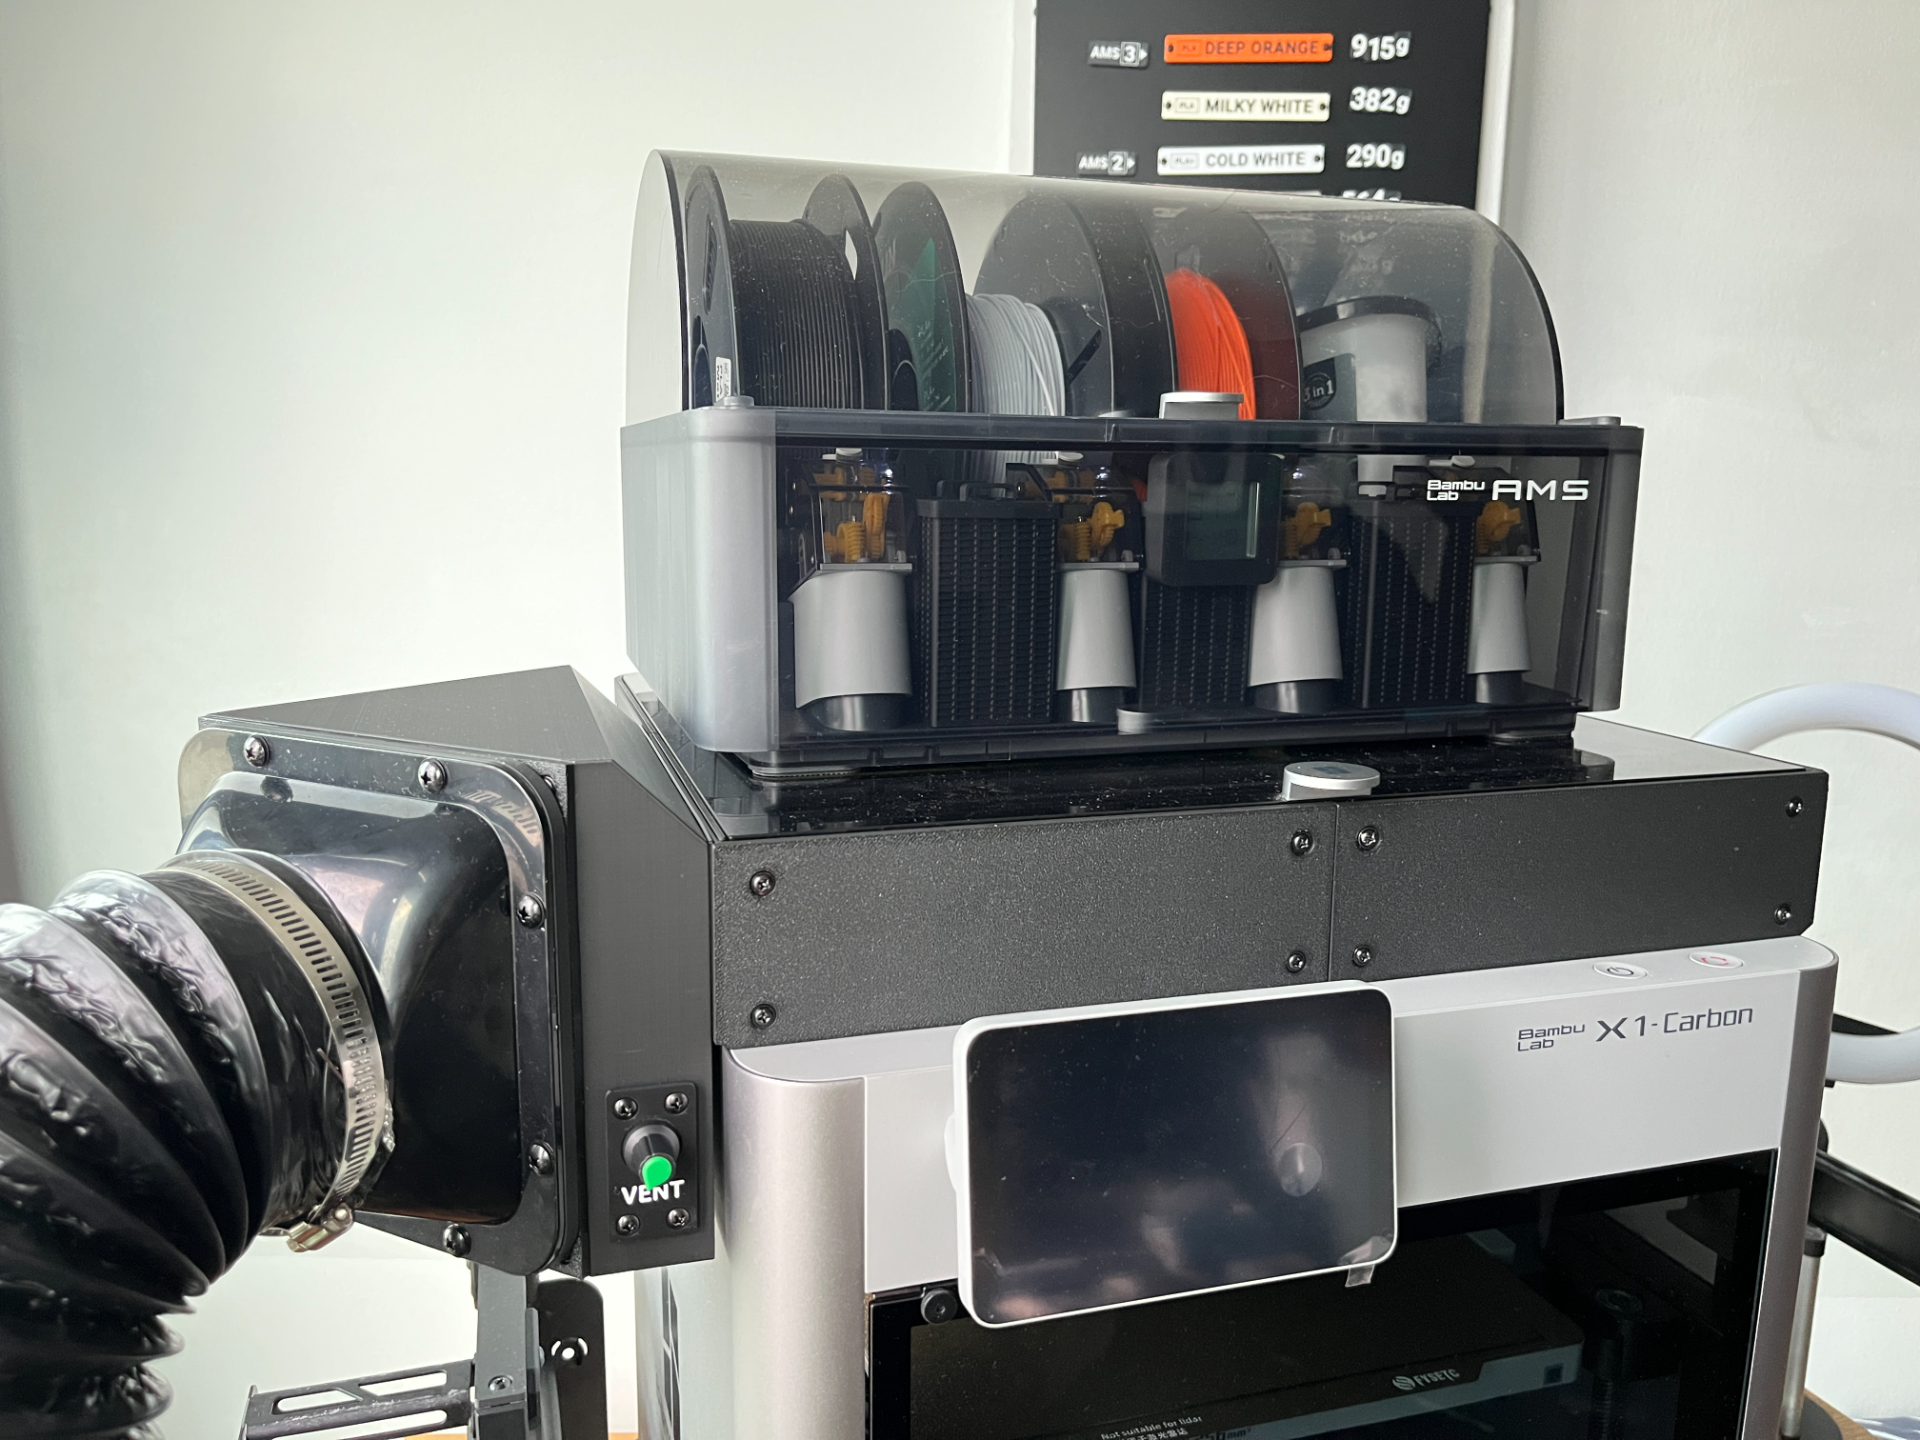
A simple riser made using recycled designs from my other projects. *19-April-2024 Update: Added RF remote mounting and STEP files for more models Main Features: Side vents with a ducted exhaust fan and matching magnetic mount for 150mm wide AliExpress flanges 8mm Track for LEDs. (mounted w/ either adhesives or screws) 2x diagonal Tapo C100/C110 camera mounts for front/rear/purge chute coverage Optional parts for mounting an RF remote and receiver for turning on/off the LEDs Considerations: While there are a number of designs that mount a duct to the chamber fan, for those of us with printers right up against the wall, this isn't an option. Camera stream from the Bambu app isn't very consistent for me too, and I wanted to use my existing IP cameras that were already integrated with HomeKit for remote viewing. Lastly, a simple way to mount some LEDs and manage all the extra cables that will be needed. I already had a working design for housing the fan, hence the overall boxy appearance. Performance: I tried a 30mm tall version but it moved too little air, hence upped it to 60mm. The fan housing was from another design and I didn't want to change it too much, hence the ugly blocky shape. Through some very scientific test by burning stuff and seeing where the smoke goes, 3000RPM (50% PWM) is already overkill. It also drops the chamber temp by 5C to a constant 35C for me in my 33C tropical climate for PLA prints. You can still smell stuff if you put your nose right up to the gaps between the glass door and Rear, otherwise the TPU gaskets really helps to maintain the seals especially between the frame and glass top, zero smell there. Frame + Exhaust System Requirements: 120mm high RPM/Server fan (3000+) up to 38mm thick I've tried regular computer fans but they don't move enough air. Unless your window is right next to the printer you should avoid it. 8 x 2mm Magnets (x8) M3 6mm Inserts (x27) M3 x 12mm Screws (x9) [Frame-Fan Connection] M3 x 6-8mm Screws (x10) [General] M3 x 4mm Screws (x8) [For flush fitting to TPU Gasket] ~200g of TPU for the gaskets (Better noise and less air leaks) ~1kg of filament. PLA surprisingly works well and did not deform under heat. [Optional] AliExpress PWM fan module [AliExpress Flange] M4 x 4mm Inserts (x8) M4 x 6mm Screws (x8) 8 x 2mm Magnets (x8) [Remember to ensure polarity] [Optional] Long thin screwdriver if you don't have long enough screws to secure the fan from the front. [Optional] Higher amperage 12V adapter if using server fans (usually they run 3A and up) There are some “Tunnels” to coil up unused fan cable length within the fan housing. The IO plate can be easily edited for whatever fan module you end up getting. Else simply move some faces in the IO Plate file and use it to cover the hole. There are also small cutouts for easy fan insertion. Print without supports, and with the rectangular hole side facing the build plate. There is a 0.2mm tolerance between the dovetails. If you have elephants foot compensation, it will be a loose (but safer) fit. Turn that off and it should fit nice and snug. Best to cut the model and have a test print before printing the full frame. LED Requirements: ~150mm of 8mm LED Strip (COB preferred) [If screw mounting] M3 x 4mm Inserts (x16) M3 x 4mm Screws (x16) If your LED strip has adhesives, then you can simply stick them on the angled surface. However I found that they tend to loose adhesion overtime, hence the option for securing them with an additional bracket and screws. Camera Requirements: Refer to this MakerWorld page here for more details. RF Remote/Receiver Requirements: Refer to this MakerWorld page here for more details. Other Things: I didn't originally design the model for sharing, but apparently getting free stuff is a thing here and I like free stuff. There are a number of niche things like the multiple holes for heat set inserts littered throughout the model that you may find questionable. Some poor design choices also makes similar parts not interchangable like for the camera mount. As a quick remedy there are some faceplates to cover up the unused holes. These use Makers Muse technique so you can print with the recessed screw side down, and should work nicely with all the carbon fibre / reflective build plates. You might even be able to Hueforge some artwork unto it. Flush text via this method worked really nicely too. Refer to picture 4 on roughly what to expect.