About this 3D model
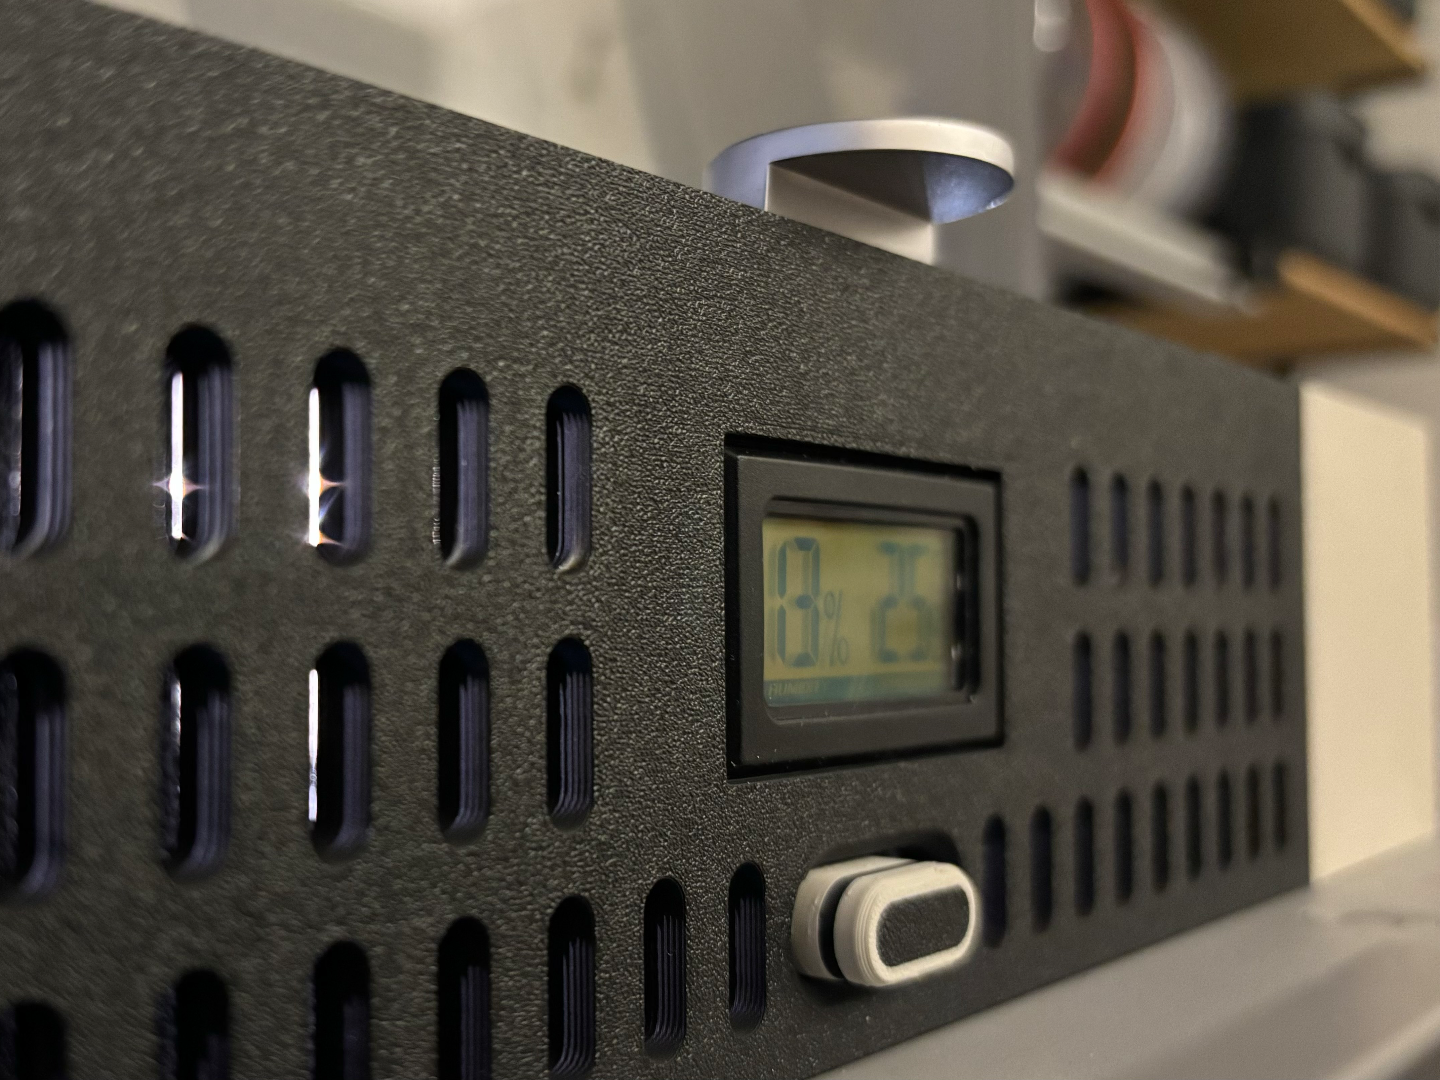
Boost Me Developing these models is a true labor of love, but it requires significant time, effort, and numerous tests to ensure they are easy to print. Each test print uses filament, and perfecting the models can take many iterations. If you enjoy my work, your support would mean the world to me. It helps me keep creating high-quality, innovative designs and motivates me to push further. Thank you for your support, and stay healthy! ?? Heya! I'm Frank, a software developer by day and a 3D print enthusiast by the rest of my life. ? There are already some AMS stands. But I miss one thing in all of them: the integration of the BL LED controller (you can buy it on Pascal's etsy shop , the GitHub repository you'll find here ). Unfortunately, it is just "somehow" attached to the back of the printer. I never liked the look of that. So I sat down and designed a solution integrated into this riser. FEATURES lifts up the top glass for 7,5cm manual adjustable ventilation on the left and right side and on the front as well LED strip support (up to 12mm) BL LED Controller support Thermometer/Hygrometer support LED controllable via the printer itself! All parts (shown on the images) where printed with very minimal support using extrudr PLA NX2 Matte black and grey . For the support interface I used Bambu Lab's Support for PLA (white) . I really recommend to use “Support for PLA” (or PETG), it produces way better interfaces! On the back side of both the normal frame and the frame for the BL LED Controller is a recess which is measured to hold a 2.5mm DC Power Jack . Play around with a realtime rendering of the model. UPDATE 20024/05/22 : In the meantime, I have discarded the integration of the BLLED controller and installed a standard 5V COB LED strip instead. I've replaced the back of the lid riser with the flat plate without the controller housing (can be found here in the model). I have separated the cable of the LED strip between the switch and the LEDs and soldered on a pre-assembled 2-pin JST connector. The plug then goes into the socket in which (on an X1C) the printer's own lighting is plugged in (simply unplug this and plug in the one from your own LED strip). The LED strip is now controlled via the printer or Bambu Studio/mobile app itself. In my opinion, this is much more practical, easier to implement and is completely sufficient. Light control now is that simple. — If you like my models and if you would like to support me, you can buy me a coffee ☕️.