About this 3D model
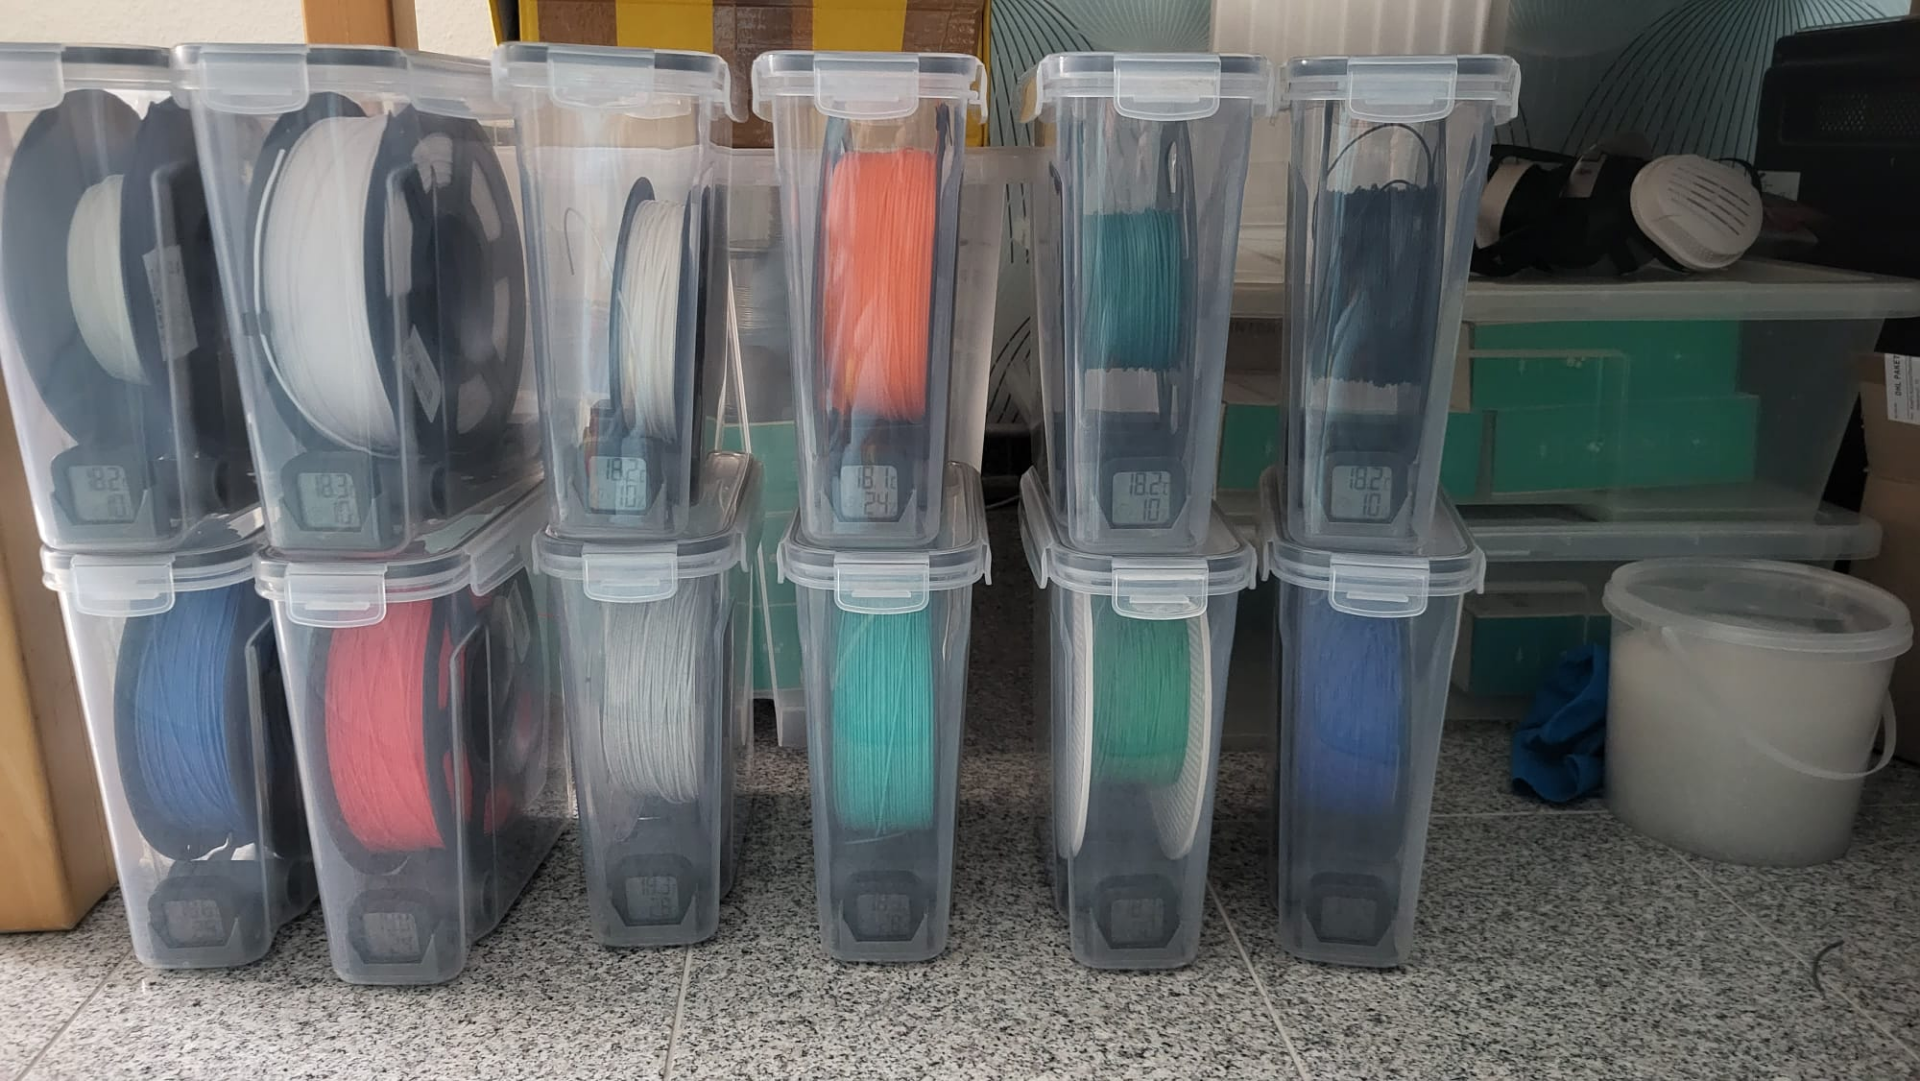
Modified base with reduced slitsize to avoid smaller silica balls to get through them and added a new bracket for a hygrometer Will fit the following container Bracket works with the following hygrometer * I recommend using colour changing reusable silica gel to keep track of when to change the silicagel Parts to print What you need: Print the Filament Base first (without supports) Print 2 Roller Print one Silica Lid and check if it snaps to the base Depending on the filament you may need to resize it in small (0,5 - 1,5%) steps Optional but recommended: Print the screws linked above Depending on the filament I would recommend to scale the nut up a bit so the thread goes easy. Print one Spacer for the temp-sensor/hydrometer For bigger spools I'd recommend the original wedge above as it will push the sides better to fit bigger spools. ### Additional parts needed 1 Drybox 1 Hygrometer 4 608 ZZ Bearing (8mm x 22mm x 7mm) 1 Compression Fitting Assembly Insert 2 Bearings into each roller Mount both roller to the base Fill the silica box in the base (approx 40g until full - way more than enough for 4L) Add the lid and set the whole base into the container Insert the hydrometer into the spacer-wedge Install in front of the box where the grip is Optional: Drill 10mm hole where you want to guide your filament outside Install the printed screw Screw in the compression fitting You might also hotglue a small (6x3) magnet from the inside of the lid to attach a filament swatch from the outside :) *affiliate links