About this 3D model
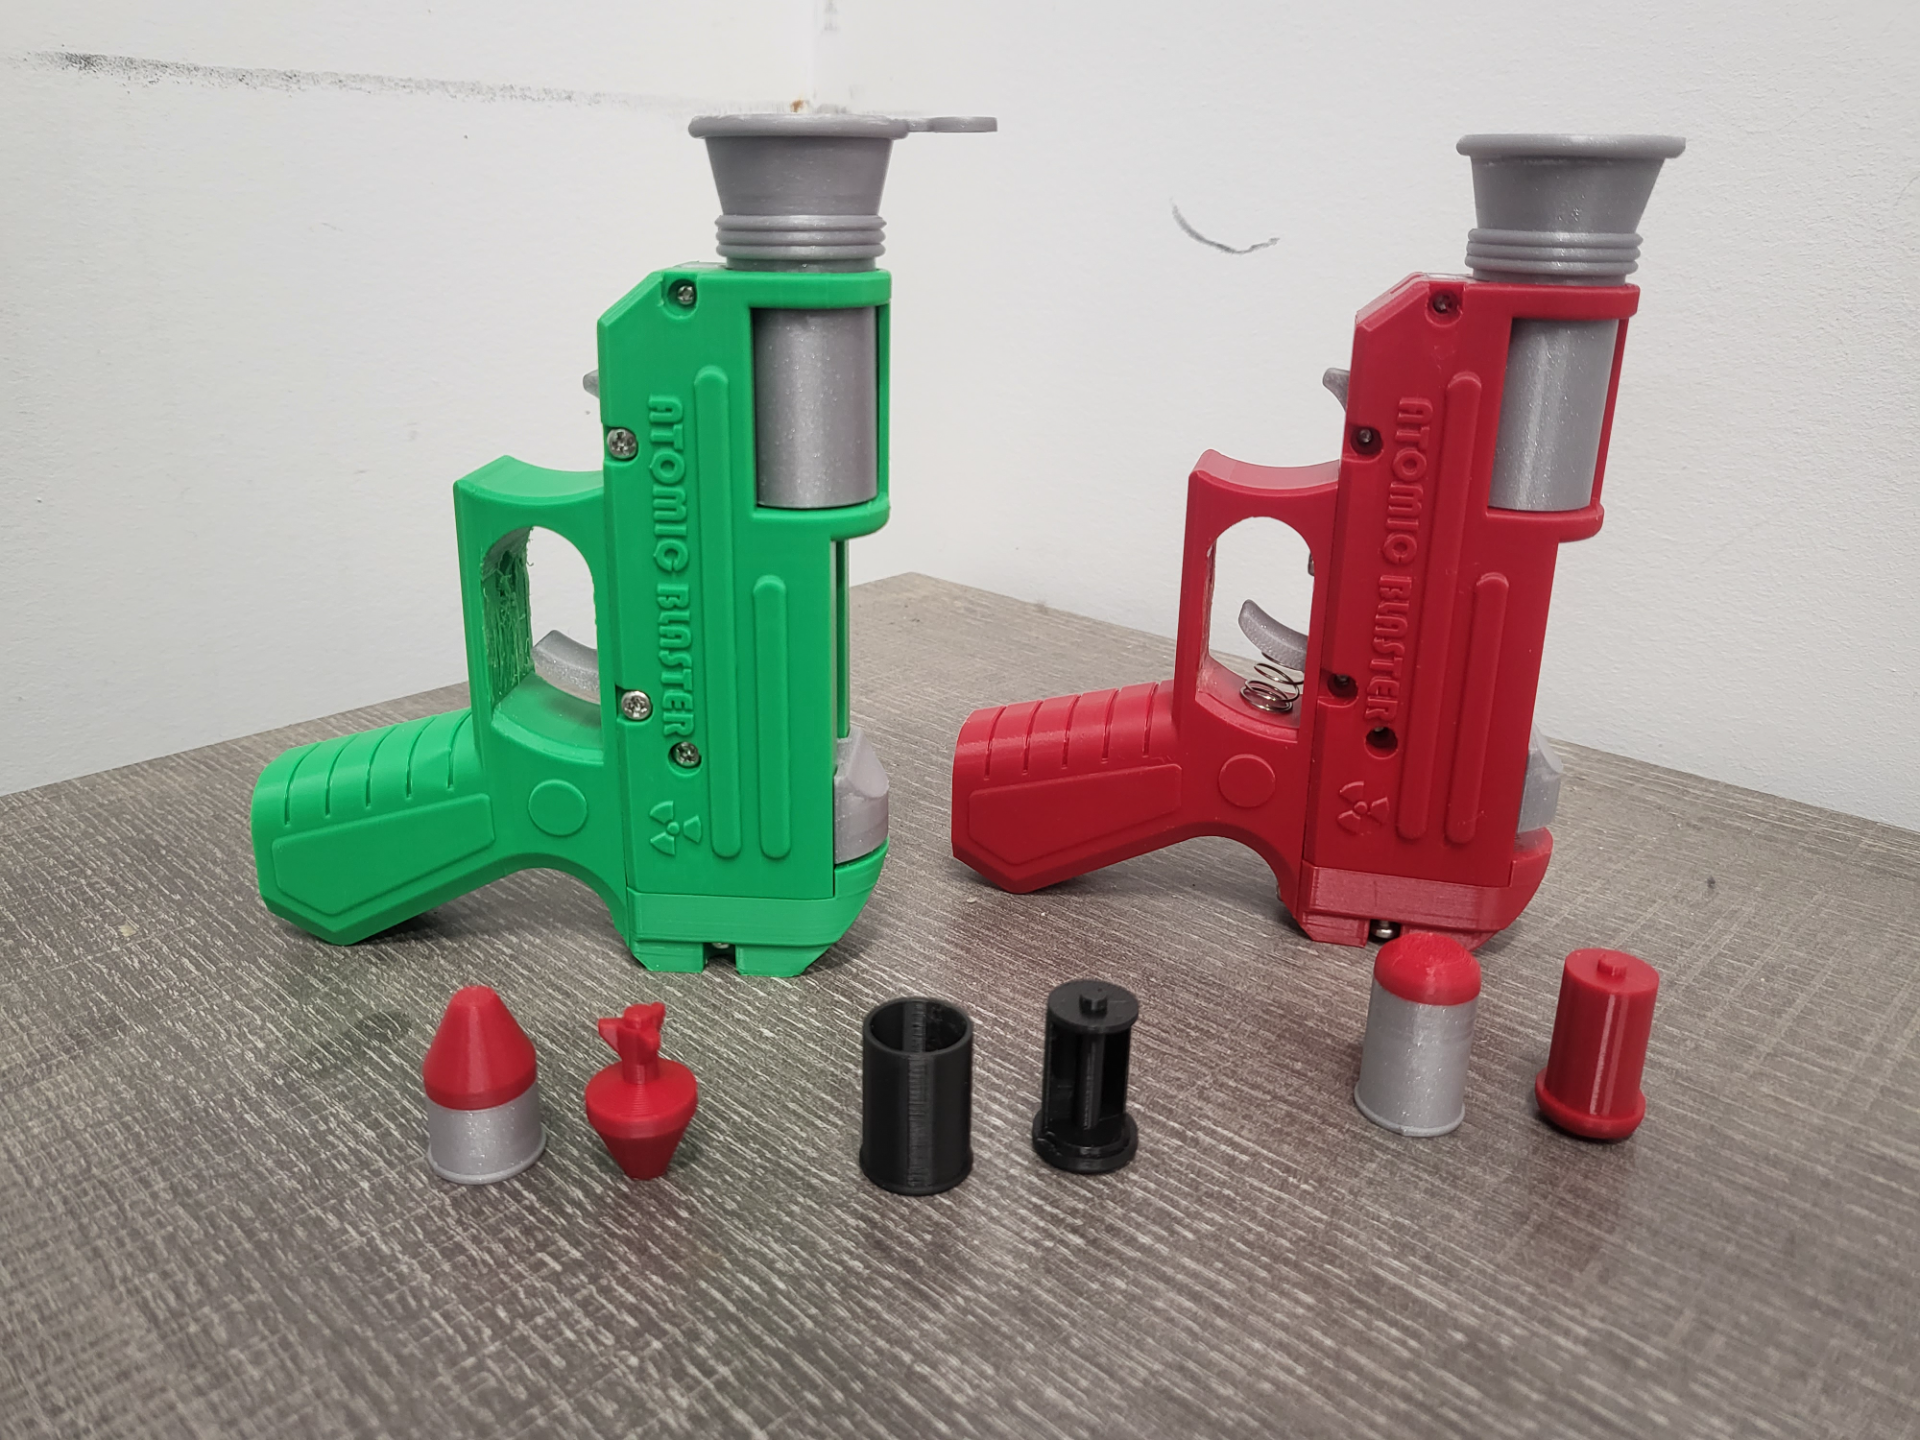
The Atomic Blaster The Atomic Blaster is a low-power spring blaster, perfect for pestering your friends or coworkers! It is fairly simple to build and print, and utilizes easy to source hardware that I have used in all my past projects. Printer Settings: Shell(Walls/Top/Bottom): 4+ Infill: 15% + Supports: Required Material: PLA, PLA+, PETG Additional Hardware: 4 x M3*20 Bolt 2 x M3*14 Bolt 3 x M3*5 Bolt 1 x M3*15 Bolt to be used as a striker pin. 1 x Pen spring - (Note: Cut ¼ off, keep both pieces. The short piece for the Barrel Latch and the long piece for the Hammer Latch) 1 x Spring OD: 9.5 mm, ID: 8mm, WD: 0.8, Free Length: 50 mm - (Note: Other springs can be used, there is a bit of wiggle room with these dimensions) OPTIONAL - Trigger Spring: Any spring that will stay comfortably between the trigger and the grip should work, helps the trigger return to position. This spring will make a few blasters when cut down to size. Buy the 305mm x 0.8mm x 10 mm for use in this project and my others 305mm Compression Spring Wire Dia 0.3 0.4 0.5 0.6 0.7 0.8 1 - 5mm Outer Dia 3 3.5 4 4.5 5 5.5 6 7 8 10 12 - 60mm Length 305 mm (aliexpress.com) Loading & Firing: Push the projectile into the appropriate casing until the small circle on the bottom of the projectile snaps into the corresponding hole in the casing. Push in the barrel latch and slide the barrel forward. Drop in your assembled bullet and slide the barrel back, making sure it latches back into place. Pull back the hammer until it locks into place. Aim, and Pull the trigger. Repeat Step two, then remove the casing. It is now ready to reload!