About this 3D model
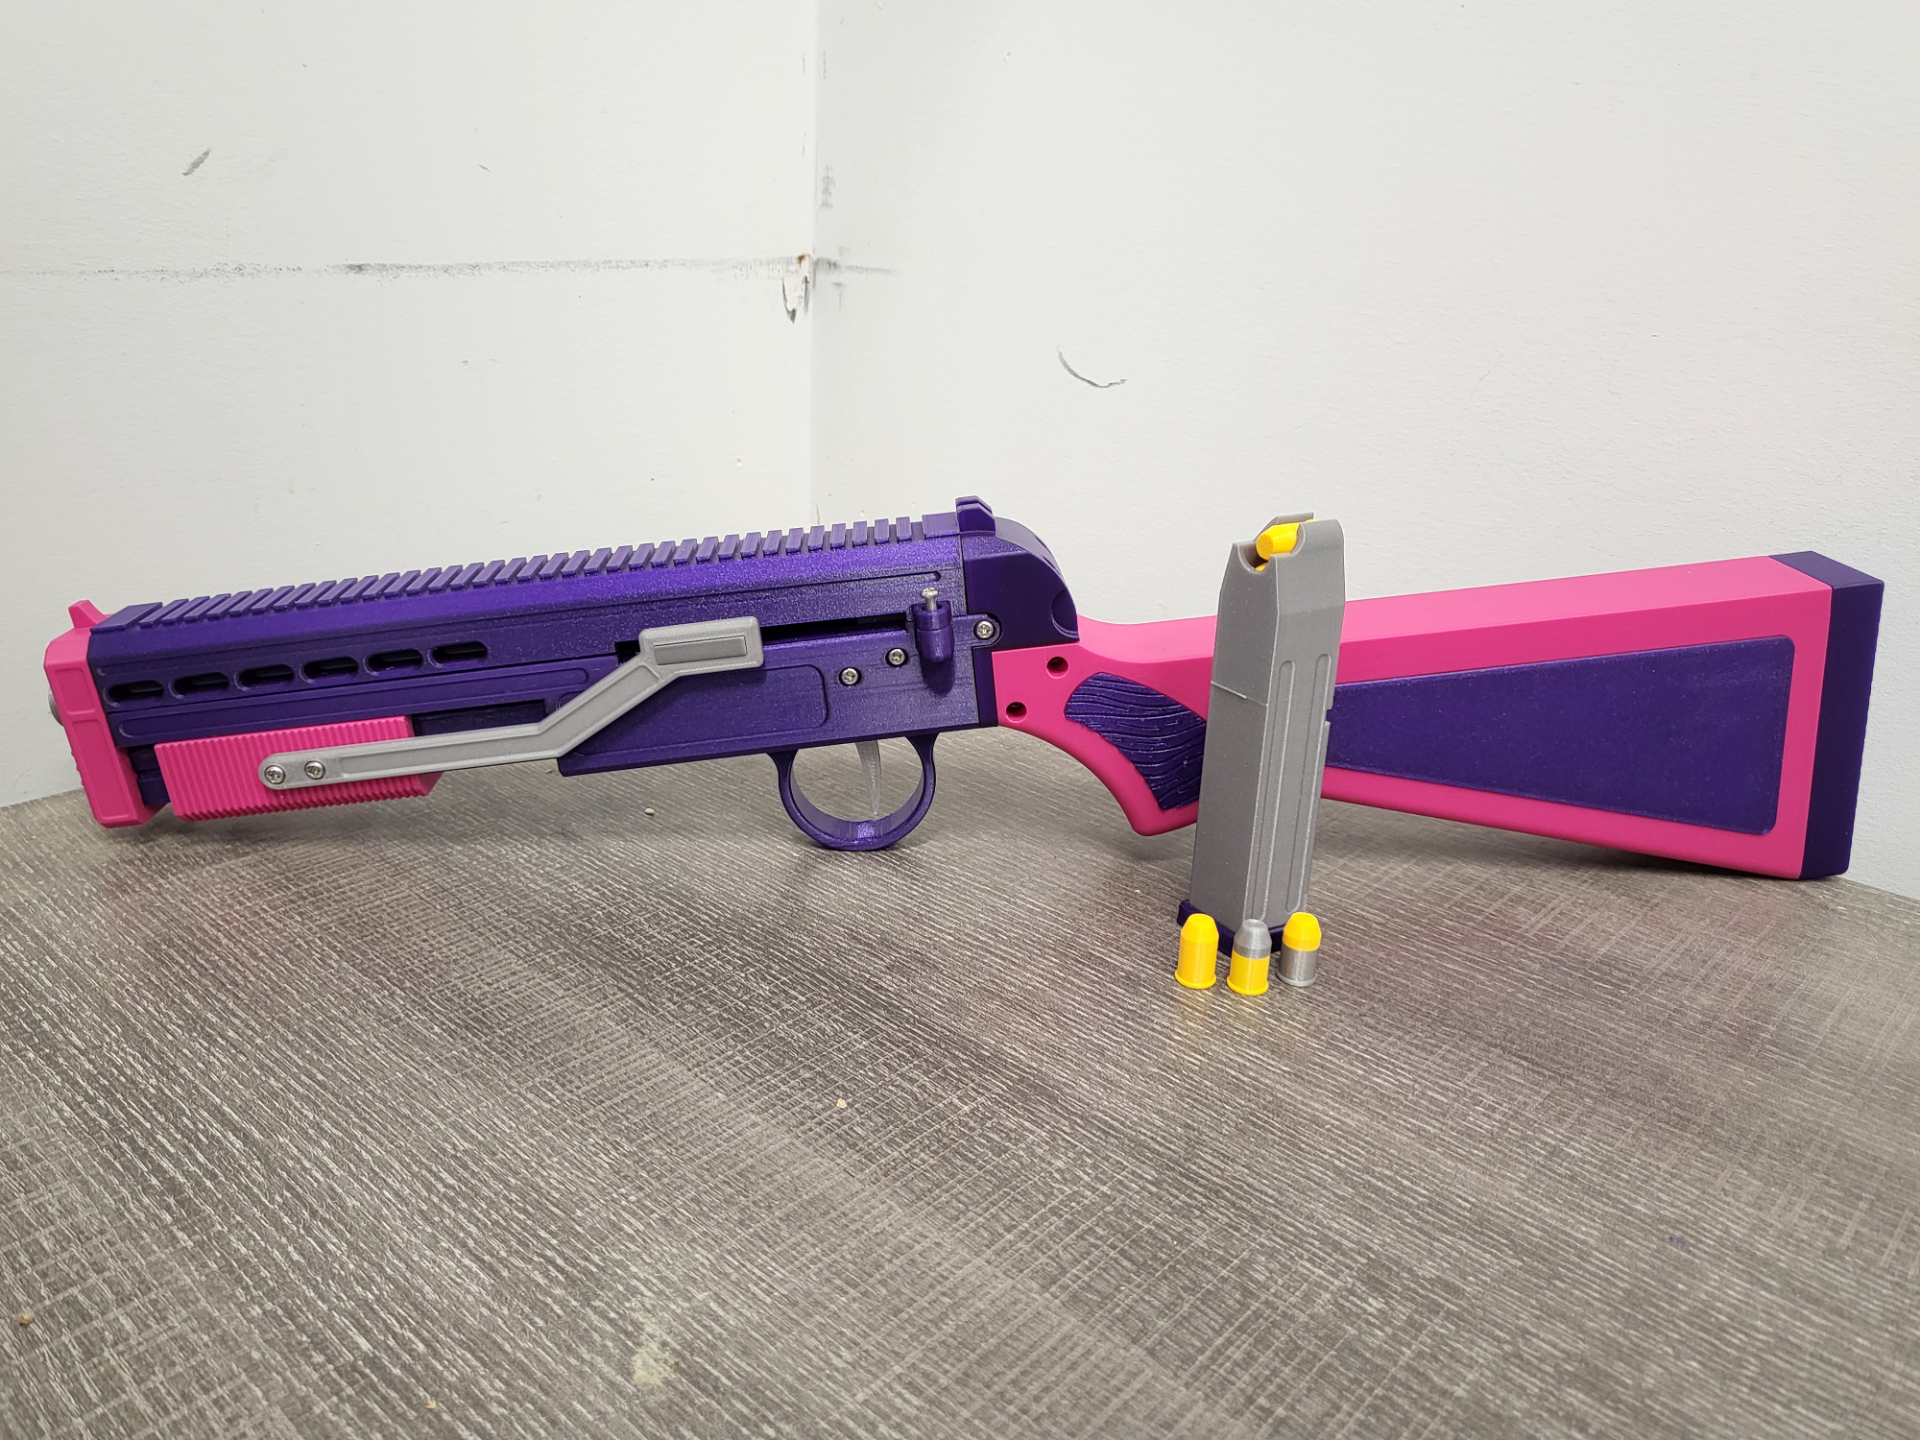
PUMP-ACTION PLINKER: (TOY LAUNCHER) This is a toy that launches a projectile, never aim it or fire at someone who is unwilling! Do no aim at the face! Just because you know it's a toy, doesn't mean other people will. Enjoy, be safe, and be smart! This the most functional and fun launcher I have made to date and I am very excited to share it with you all. Requires a couple of springs and a handful of M3 hardware to make functional! Currently shoots about 30 feet but I'm experimenting with different springs because it seems like it has potential for a lot more range and power. STEP files are included for your remixing needs. VIDEO: Pump-Action Plinker (Toy Launcher) : r/3Dprinting (reddit.com) Scale down the Bullet & Bullet Casing in your slicer by 1-2% for best results (This is already done in the print profile) UPDATE (March 12, 2024): Added new parts for the sawed-off variant. (New upper frame, front plate, short magazine, pump with foregrip mount & foregrip) Split the print profiles by variant. Updated plates and print orientation to mitigate warping due to printing near the edge of the build plate. Features: Pump-action cycling. Side loading magazine. Shell “Ejection” (Gravity based). Full-Length and Sawed-Off Variant. Printing: Shell: Minimum 3 walls/bottom/top Infill: 15% minimum Material: PLA or similar will work but, PLA+ or PETG will be stronger. *TPU92a - TPU95a is recommended for the pump foregrip. Hardware: Nuts & Bolts: 2 x M3*6 6 x M3*10 6 x M3*12 1 x M3*18 2 x M3*20 2 x M3*25 Springs: 2 x Pen Spring 1 x Compression Spring (For Striker) - OD: 10 mm, WD: 0.8 mm, Length: 50 - 60 mm 1 x Compression Spring (OPTIONAL: for pump) - OD: 10 mm, WD: 0.5 - 0.6 mm, Length: 50 - 60mm 1 x Compression Spring (For Magazine) - OD: 10 mm, WD: 0.6 mm, Length: 100 mm Link for compression springs: 305mm Compression Spring Wire Dia 0.3 0.4 0.5 0.6 0.7 0.8 1 - 5mm Outer Dia 3 3.5 4 4.5 5 5.5 6 7 8 10 12 - 60mm Length 305 mm (aliexpress.com) (I have used these springs in all of my projects, just cut them down to the appropriate size.) Operating Instructions: Pull back the pump until the striker is securely latched. While holding the pump back, insert the magazine and make sure the magazine latch is securely in the corresponding groove on the magazine. Quickly push the pump all the way forward so that it is flush with the back of the front plate. Aim, and pull the trigger to fire. Tilt the barrel upwards to a 30-45 degree angle, and pull the pump back until the striker is latched again. This should eject the shell casing out of the port in front of the trigger guard. If the shell becomes stuck in the barrel, gently shake or tap the sides while keeping the barrel tilted upwards. Once the casing has been ejected, push the pump forward to load the next round. Repeat steps 4, 5 & 6 until the magazine is empty, the lift table in the magazine will prevent the pump from moving to the forward. To remove the magazine, pull the pump to the rear position and press the magazine latch. Pull out the magazine.