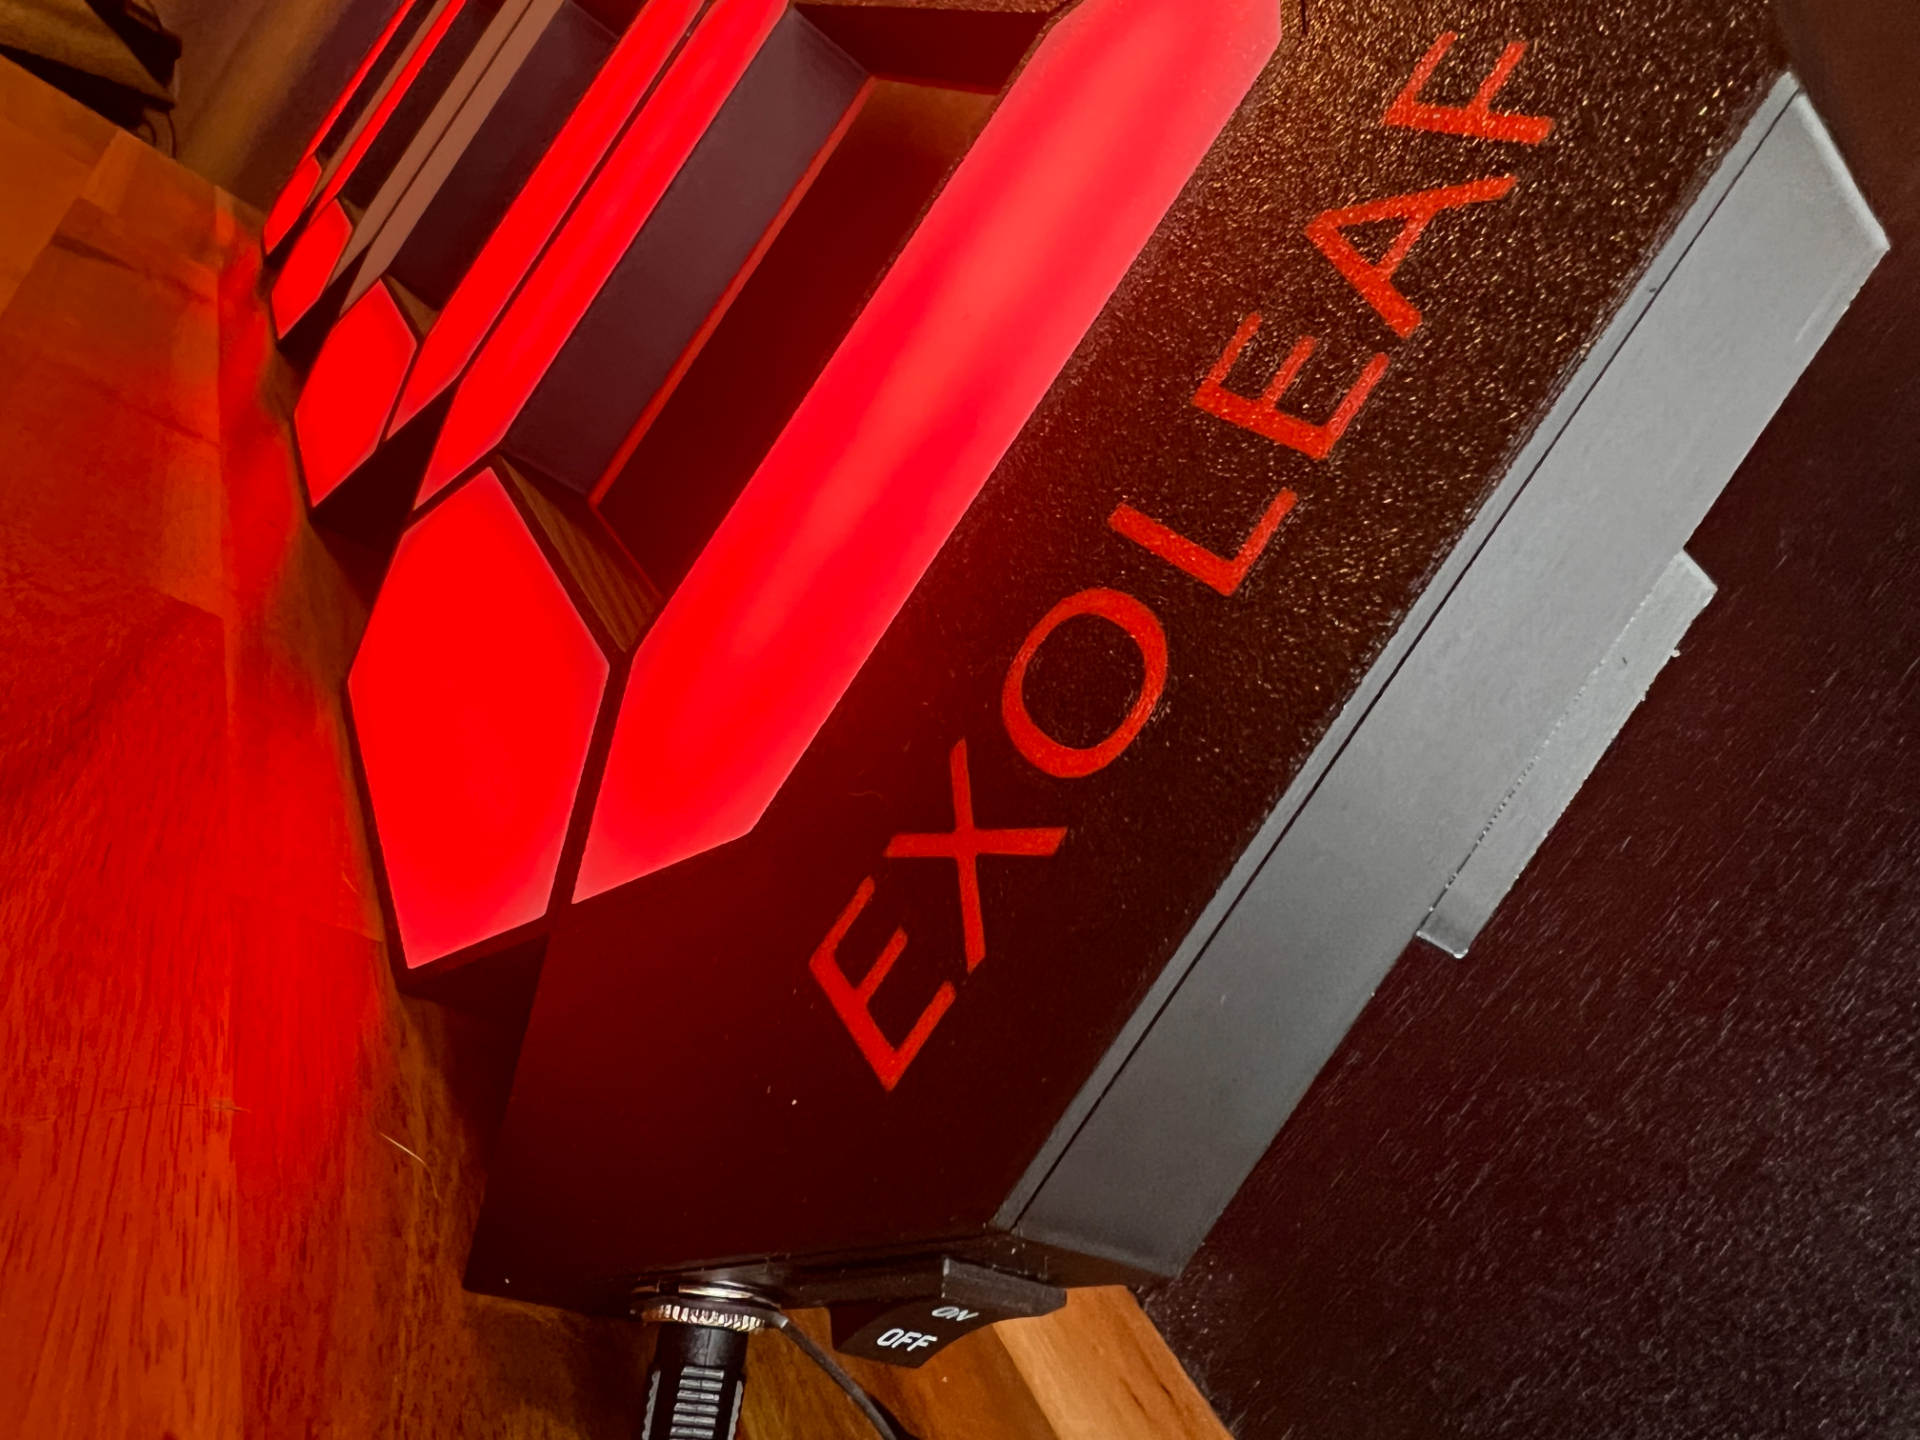
About this 3D model
Want to sell the printed version of this clock, please visit store.limedexx.com. The license for the version on Makerworld does not allow commercial purposes. ExoLeaf Clock Based on the NanoLeaf wall clock by “Projects with Red” we made a stronger and easier to handle version. Watch that video to see how wiring and coding is done. Video Please note, in the video (time: 13:37) I go through and show the exact steps on how to upload and use the code for the 4-digit display. Below is just a short text version. Install VSCode . In VSCode, install the PlatformIO IDE extension. Clone/download this repo. Open the /WLED directory in VSCode. There are two changes you need to make before uploading the code: In WLED/platformio.ini, under the [env:esp32dev] environment, change the upload_port to your micro-controller port. In WLED/usermods/NanoLeaf_Display/usermod_nanoleaf_display.h, change the ADDR_LEDS_PER_SEG variable to the number of addressable LED om this setup, with WS2812B leds I used it was 7 LEDs per digit so 7 is the variable. Now you can upload the code. For the setup you need to do on the phone and how to use the usermod settings to control the 4-digit display, refer to the video (time: 14:42). Components ESP32 , for the micro-controller. 5V 4A power supply minimum. Higher Amps is not a problem. LED strip , the specific one used in this project is the WS2812B LED strip. Each segment has a strip with 7 leds. For the 4-digit display, you will need at least 5 meters. DHT11 (optional), used to get the temperature and humidity when using the 4-digit display. Power switch , to turn on and off. M2 bolts, to attach the lid to the main housing part. They can be from 8mm to 12mm long. 22 AWG flexible silicon wires , for connecting segments together. DC Power Jack mount plugs 3D models Please refer to the downloads on Makerworld Print the parts according to this image. Wiring