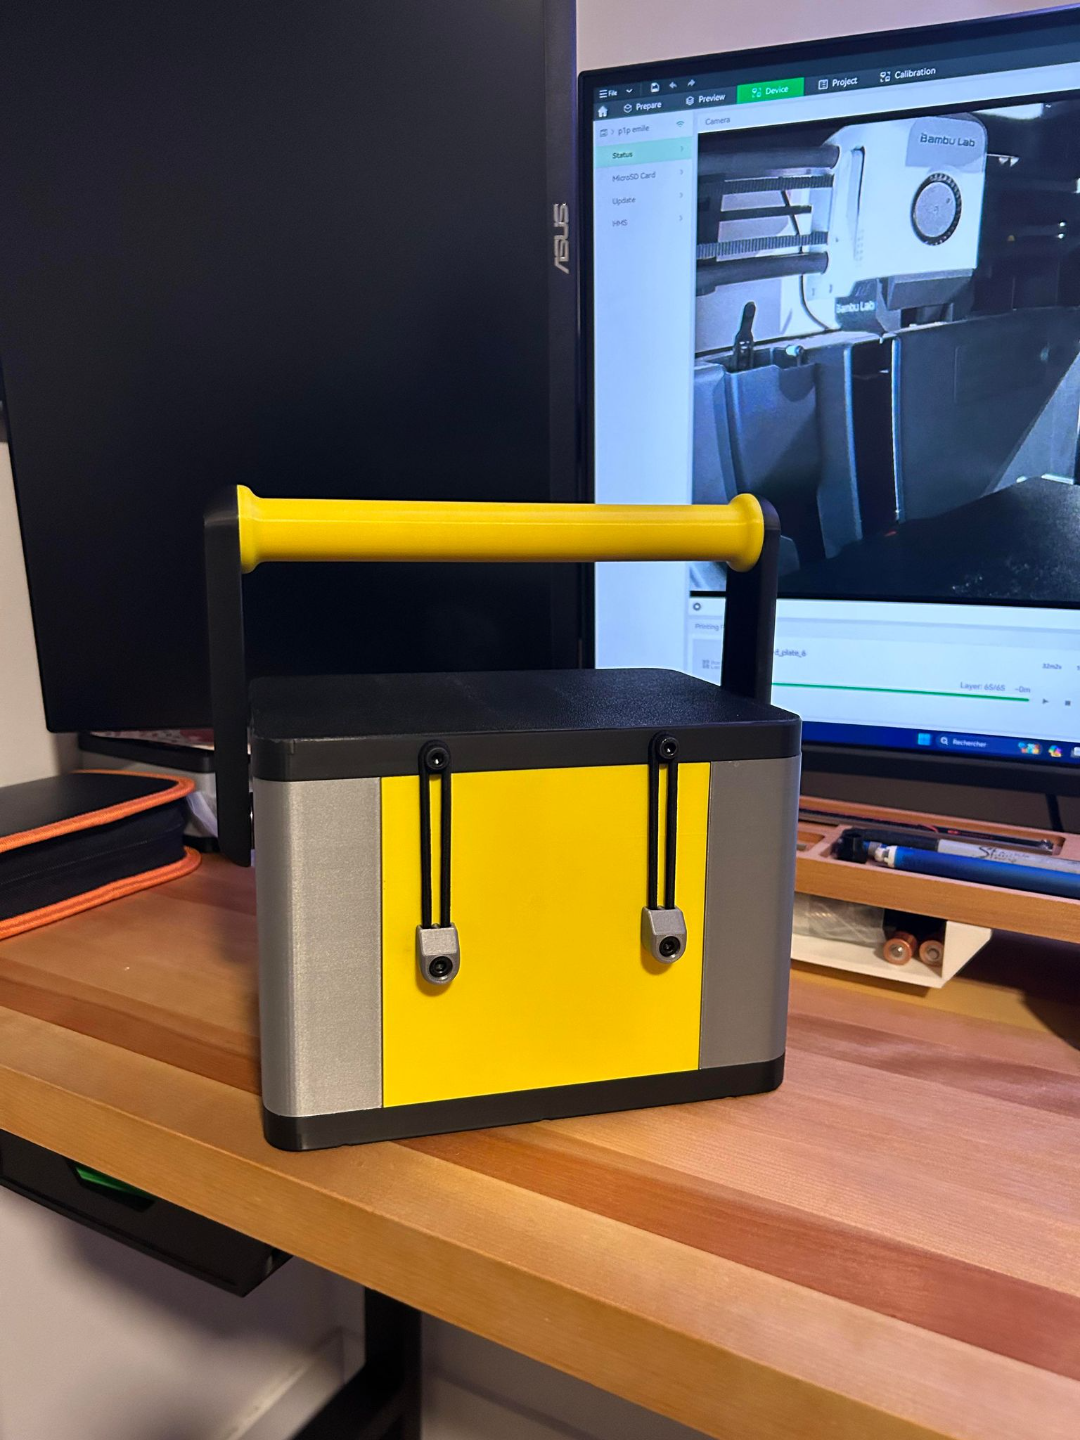
About this 3D model
outside measurement: 220 mm x 160mm x 160 mm inside measurement: 200 mm x 140 mm x 140 mm Multi part print to reduce adhesion problem 8 mm brim is recommended for the top, the bottom and the side parts You will need: 14 x m5 x 40 mm screw https://www.amazon.ca/dp/B097NWFQ8G?ref=ppx_yo2ov_dt_b_product_details&th=1 6 x m5 x 16 mm screw and 4 x 12 mm screw https://www.amazon.ca/dp/B09LH81WB8?ref=ppx_yo2ov_dt_b_product_details&th=1 2 x 25 mm x 1.5 mm https://www.amazon.ca/gp/product/B0B3M4621S/ref=ppx_yo_dt_b_asin_title_o06_s00?ie=UTF8&psc=1 epoxy to glue the side part to the corner https://www.amazon.ca/gp/product/B077ZN8QBQ/ref=ox_sc_act_title_1?smid=AU8F11C75QMXL&psc=1 or you can buy it in every dollar store for cheaper 4 hair band https://www.amazon.ca/-/fr/gp/product/B00DFSHD5O/ref=ox_sc_act_title_1?smid=A3DWYIK6Y9EEQB&th=1 Assembly guide: Print the bottom first Print the 4 corners Screw the 4 corners to the bottom plate with the m5 x 40 mm Print the 4 sides Put glue in the female side of the joint Screw them to the bottom plate with the m5 x40 mm and hold it tight untill the glue is strong enough to hold the panel Print all the handle parts (2 x handle side part and 1 handle center) Assemble the top part of the handle first with the m5 x 40 mm Use the 2 washer (one for each side of the handle) and screw the handle on both side with the 2 x m5 x 16 mm Print the top part Screw the 4 x m5 x 16 mm on the front and back side of the top Print the 4 pins Place 1 hair band inside each of the 4 pins Screw the 4 pins (2 on the front 2 on the back) with the 4 x m5 x 12 mm