About this 3D model
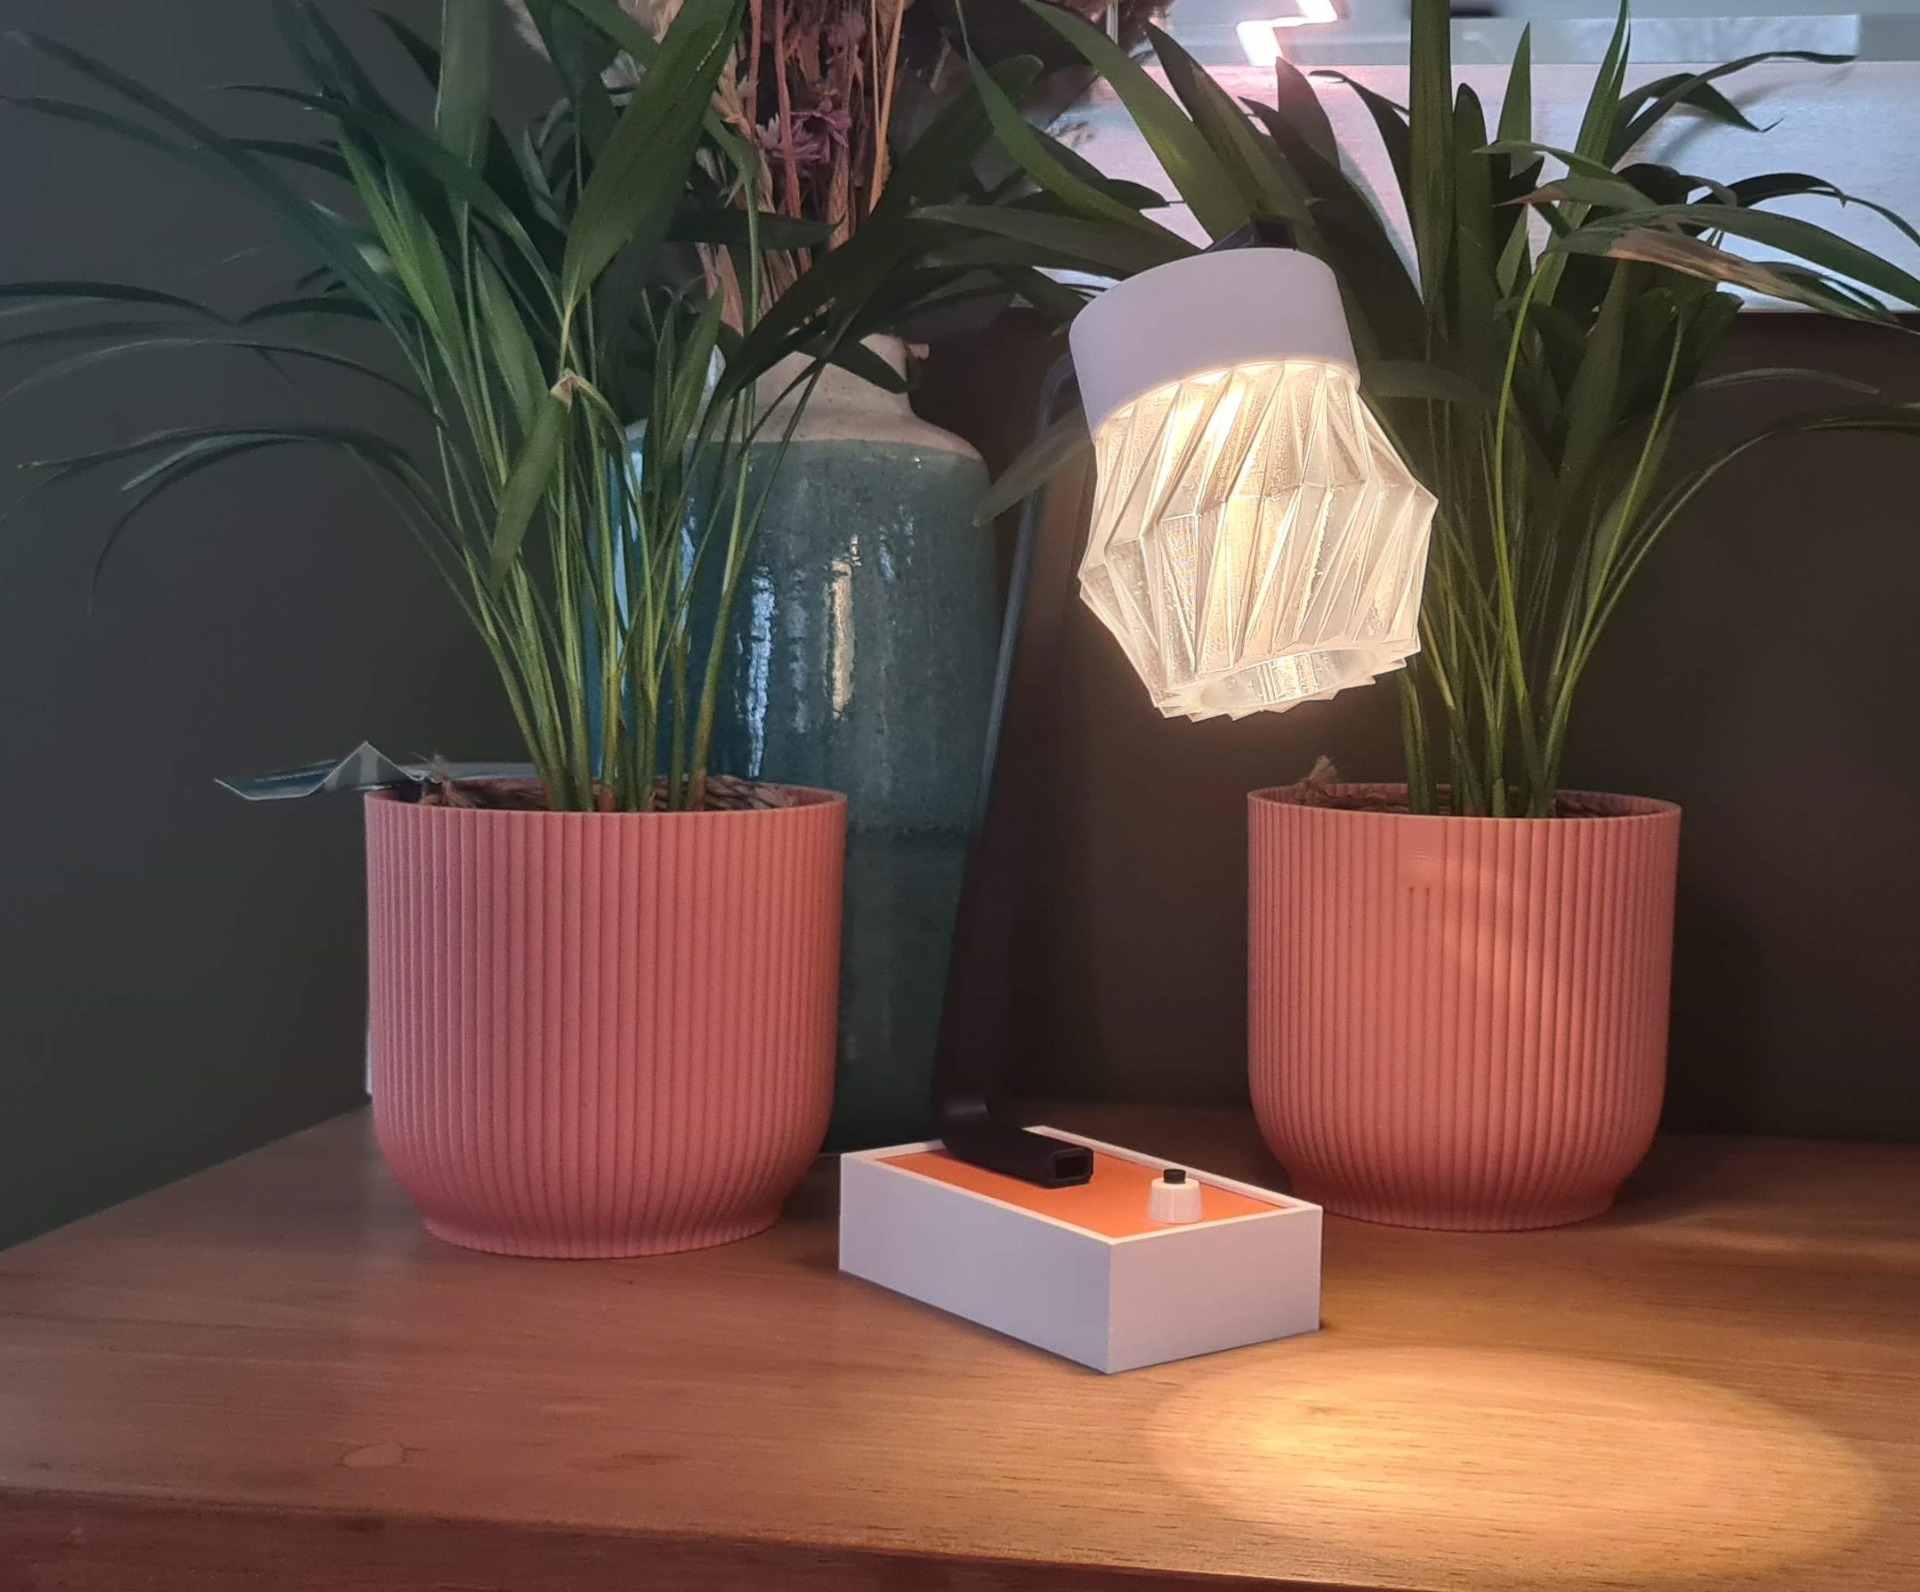
Vintage Desk or Bedside Lamp LED lamp, USB-C connector for charging 18650 battery See this nice Vintage RETRO LED lamp! Illuminate your Workspace or Bedside with this great Vintage Retro looking lamp featuring a USB-C connector for convenient charging of the 18650 battery. This lamp can be used without a cable and illuminates your desk space for more than 12 hours on 1 battery charge . When the battery is empty, simply charge it using a USB-C cable and adapter or let the cable connected during the use. Key Features: LED Light: Low consumption, high brightness USB-C Charging: Say goodbye to cumbersome charging cables. The lamp comes equipped with a USB-C connector, providing a fast and efficient way to charge the build in 18650 battery. Enjoy the convenience of charging your lamp with the same cable you use for your modern devices. 18650 Rechargeable Battery: The lamp is powered by a rechargeable 18650 battery, ensuring long-lasting illumination without the need of a cable. Materials Needed: Light Board Round 5V: Link USB-C charging module - 18650 Type-C: Link 18650 battery holder: Link 18650 rechargeable battery: Link Switch button round (10mm shaft) from your local hardware store Wires, soldering iron, hot glue gun, 8 x M3 bolts Step-by-Step Guide: Please check the assembly guide in PDF format for detailed information Print the 2 print-profiles: Print profile 1 is for the base, Arm an Socket, LED clamp. Print profile 2 is for the lamp shade - Poly Carbonate filament (PC) Print profile 3 is an alternative for the lamp shade - PLA Components: Gather all the necessary materials for the project. Take the top base plate and insert it into the base frame, fix it with some superglue Insert 2 wires into the arm Slide the socket over the wires Solder the cables (socket side) to the LED board Connect the socket to the arm with 2 x M3 (8mm) bolts and 2 x LED clamps Connect the arm to the top base part with 2 x M3 (6-8mm) bolts Connect 1 cable from the LED to the switch and connect a second cable to the other part of the switch Insert the switch into the base plate Solder the battery holder to the pins of the charger module Solder the cables from the LED to the charging module ( interrupted by the switch) At this time you can insert the battery and test if the lamp is working Fix the battery holder and charging module to the bottom base part with some hot glue Fix the bottom base part to the base using 4 x M3 (6-8mm) bolts Insert the 2 arm end caps using some super glue Put the lamp shade on top of the base and enjoy your own printed LED lamp Dimensions Length: 180mm Width: 100mm Height: 290mm How to print Please use the predefined print profiles. There are different settings for each item on the buildplates to ensure the look and strength. All parts are printed by object. Everything from print profile 1 is printed in PLA+. Choose between print profile 2 and 3 for the lamp shade. The lamp shade can be printed in a translucent material, PLA or PC. In the pictures I have 1 printed in regular PLA+ and 1 in PC. Buildplates Print profile 1: Buildplate 1: Socket and 2 arm caps Buildplate 2: Base part and bottom base plate Buildplate 3: Top base part Buildplate 4: Arm Print profile 2: Buildplate 1: Lamp shade, printed with a modifier Poly Carbonate filament (PC) Optional (if you don't have PC filament) Print profile 3: Buildplate 1: Lamp shade, printed with a modifier PLA Print time and used material Print profile 1: Buildplate 1 to 4: Filament: 138gr Print time: 3 hour 45 minutes I used PLA+ white for the base part, the bottom base part, socket and arm caps. For the top base part I used PLA+ dark orange. The arm is printed in PL+ black. Print profile 2: Buildplate 1: Filament: 25,5gr Print time: 1 hour 45 minutes I used PC+ black tranlucent There is a modifier to generate 1 wall loop and no infill for the bottom part, the connector has 2 walls and 15% infill Print profile 3 : Buildplate 1: Filament: 35gr Print time: 1 hour 45 minutes Print profile for PLA+ There is a modifier to generate 1 wall loop and no infill for the bottom part, the connector has 2 walls and 15% infill If you find my model useful, please like :-) My other models: https://makerworld.com/en/u/1830894672