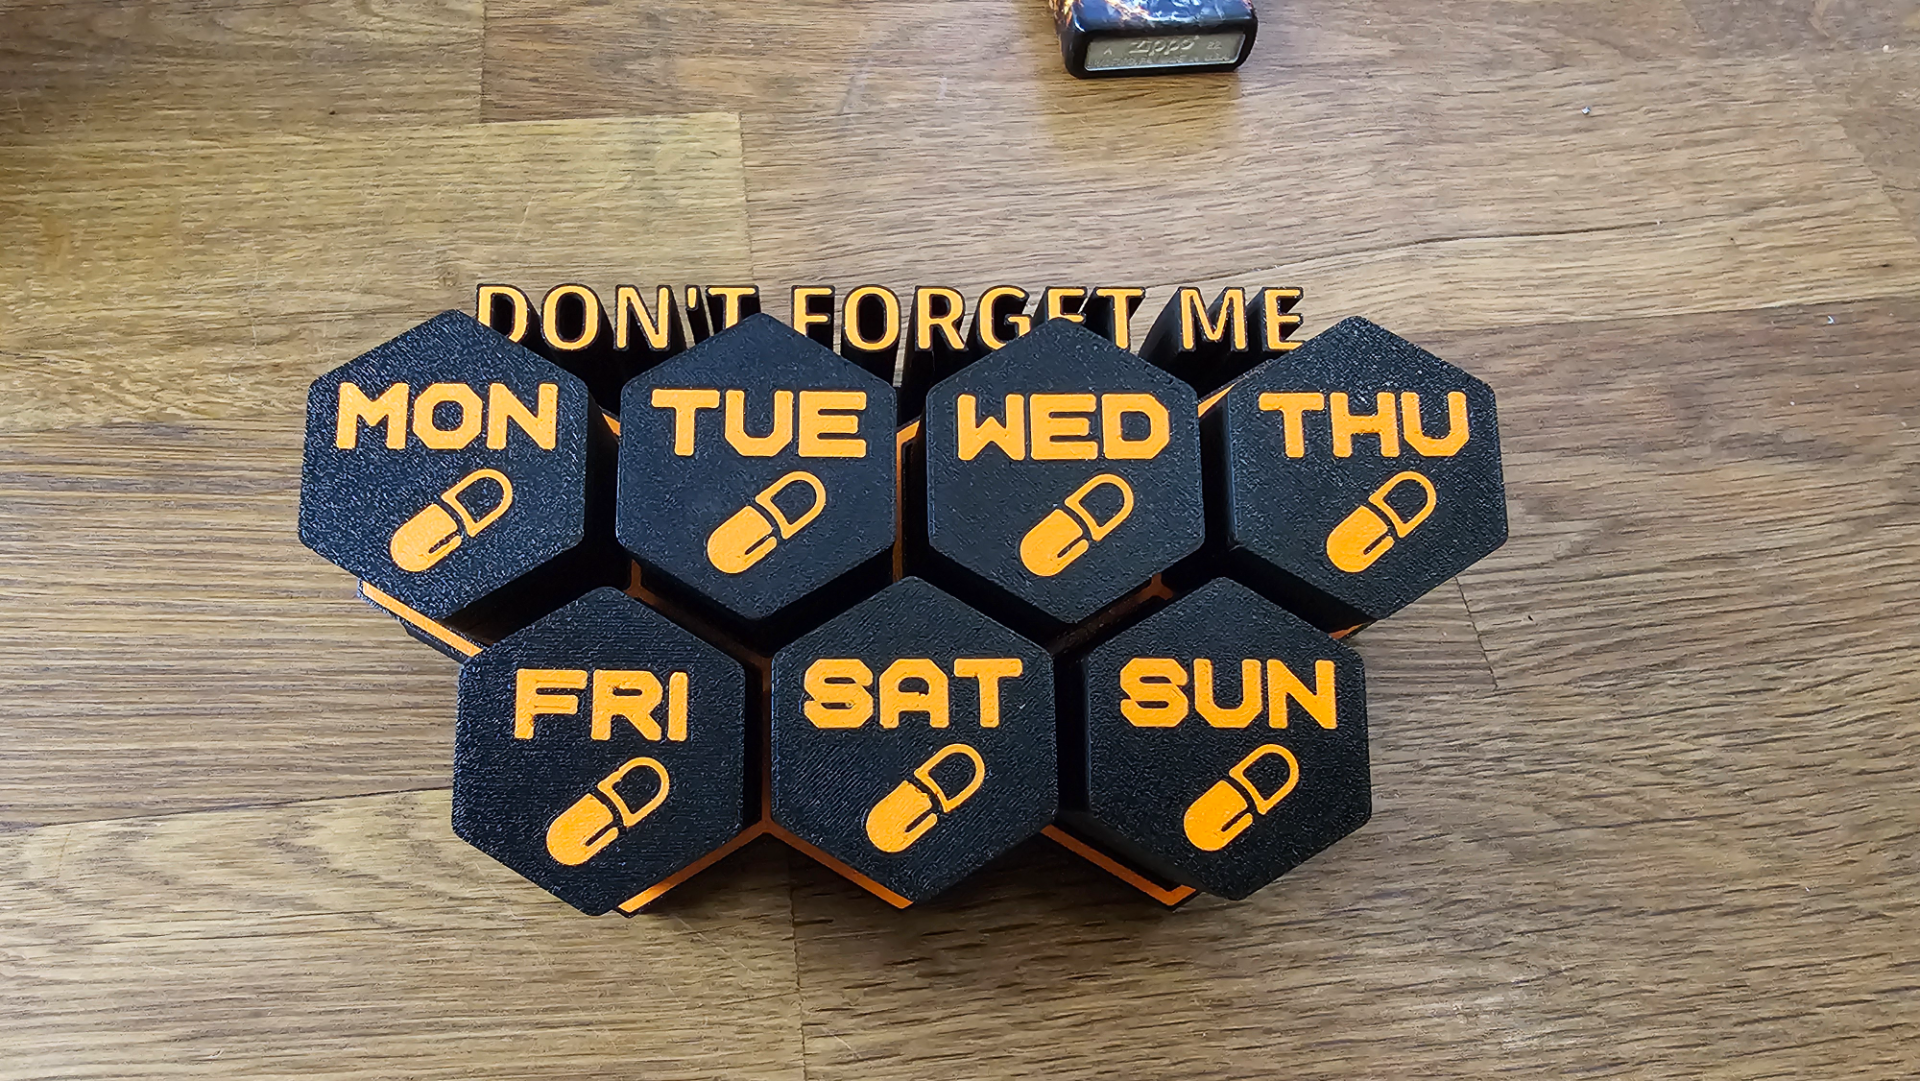
About this 3D model
PILLBOX 2024 Hi I would like to introduce you to my version of the Pillbox 2024 It contains 4 printing plates, which explains the "long" printing time. 1. the box itself 2. the lids 3. the magnetic placer 4. the holder Materials required: - Filament in your desired colour - 48x magnets with the size 5mmx3mm Let's get started. Printing the placers Print out the magnet placers first. This will save you a lot of work afterwards when placing the magnets. With a print layer setting of 0.2, printing pauses at the 18th layer. This is the case for all printing plates except for the holder. As soon as the 18th layer is reached, you now have the option of inserting magnets. Pay attention to the respective directions of the magnets, otherwise it will not work. Once you have inserted the magnets, you can click on continue printing and the process will continue. Don't worry, the magnets shouldn't stick to the nozzle as they are already attached to the print bed. Once the printing is complete, you can continue with the rest. Printing the box and the lid Finally, printing works in the same way as with the placers, as described above. Take the placer you need (box or lid) and place the magnets you need on it. This way you won't get confused as to which side has to go up or down. Once you have done this, press the magnets into the objects. Repeat this until you have fitted all the objects with magnets. Now click on continue. I have also left a groove below the thread so that you can insert a sealing ring if necessary. ATTENTION When screwing the parts together, it is a little more difficult the first time. So turn it back and forth a little ? and then it will move smoothly. The project is finished. Of course you can also print it without magnets, if the printer pauses, simply click on continue. If you choose the option with the magnets, you can place the boxes on all metallic surfaces afterwards or all or the desired boxes together. If you don't want to put the lid aside, simply place it underneath the box. I use the lid as a “Fidget Spinner” This article/post/text or the print profile as well as the finished print may not be used for commercial purposes. If you like my work/project, you can support me with these options: - leave a like - leave a comment - download the file - or buy me a coffee https://www.buymeacoffee.com/thebiggreek Have fun printing and building. TBG