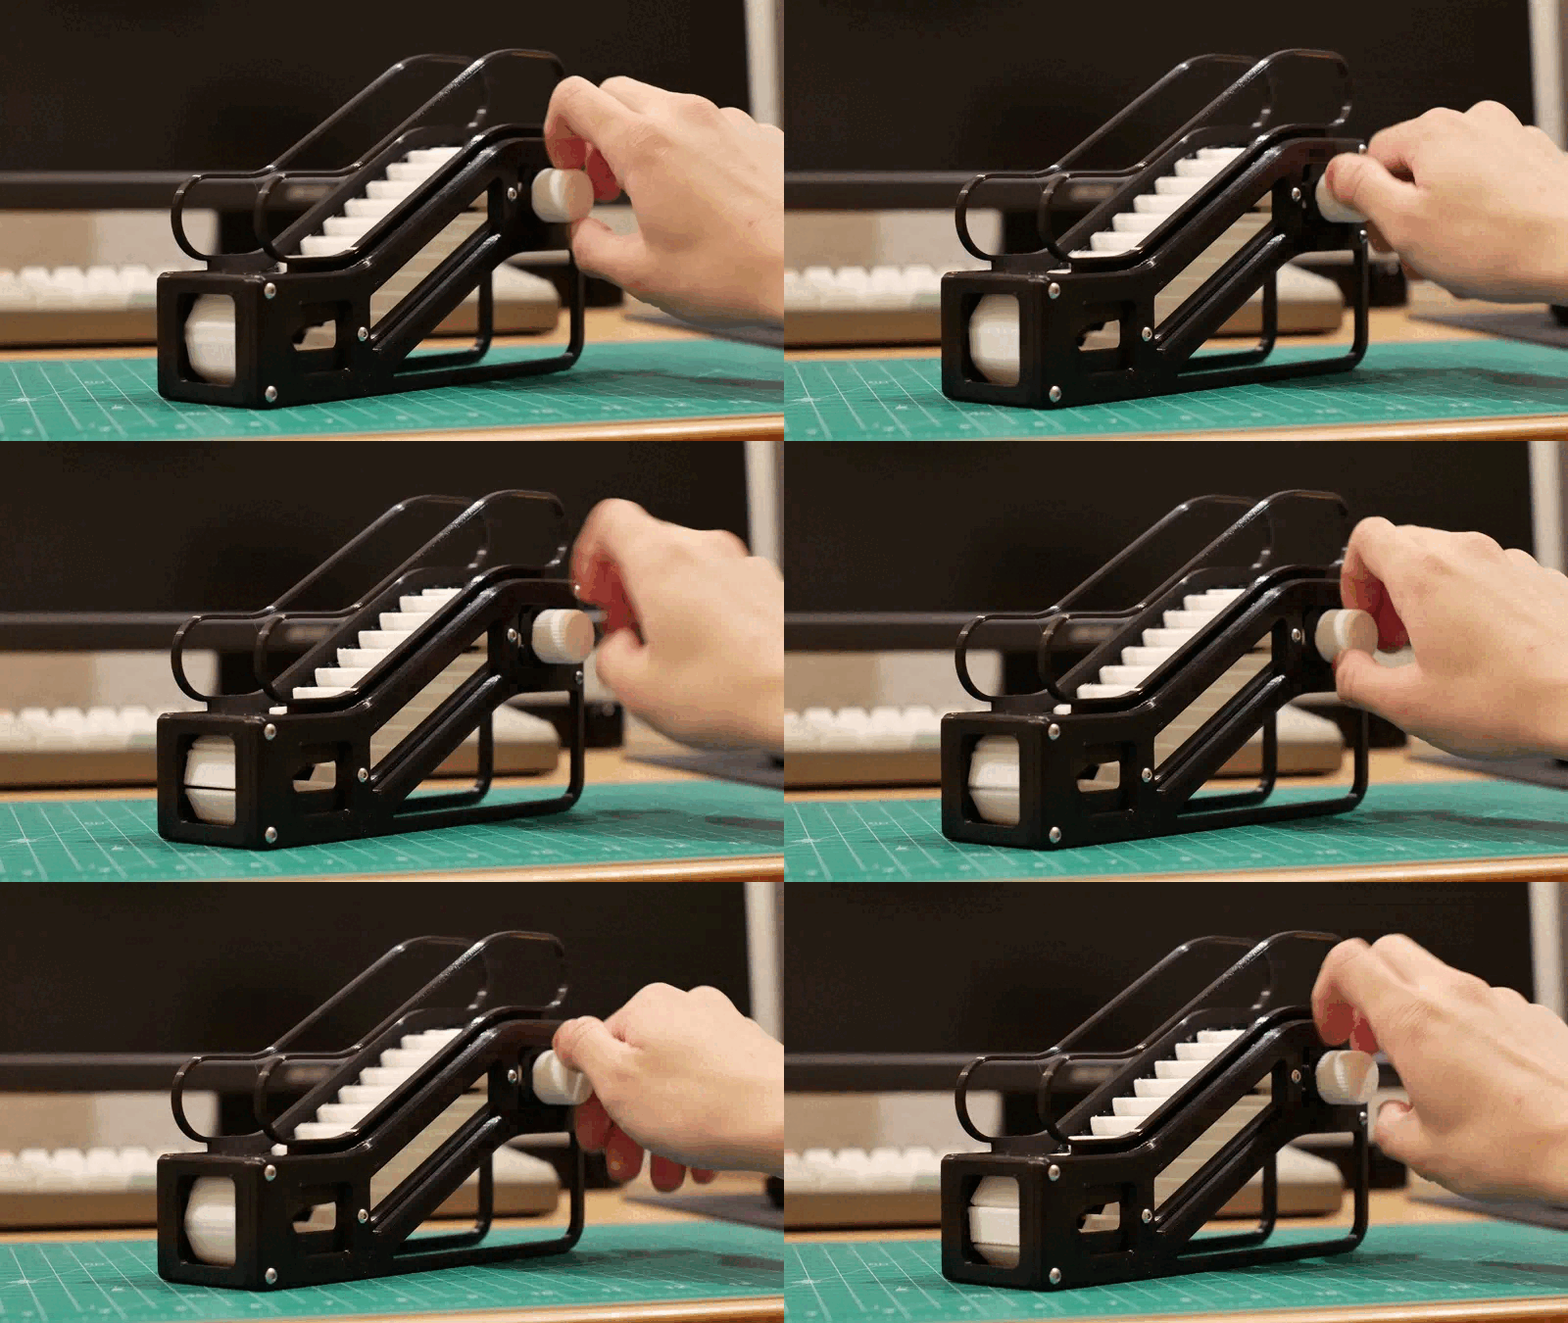
About this 3D model
Update: I've finally gotten around to finishing up the motorized version of this design. Check it out here: https://makerworld.com/en/models/495262 This is a complete rework of my functional escalator model from 2022. It is a ground-up redesign incorporating a bunch of significant changes, including the following: Chain links now sit directly against the escalator steps. This allows the entire chain and step assembly to be put together in 1 step and reduces the sliding friction experienced by the mechanism. An assembly jig is provided that holds the steps together when installing chain links, reducing assembly time and difficulty. No more partial disassembly to get the chain on both sides of the steps. Fine-tuned the sizing and geometry of the moving parts. The model incorporates larger and fewer steps resulting in a lower part count. Larger pins on the steps reduce friction and make the parts easier to print. Steps now have a realistic groove pattern. Variants of the parts are provided that eliminate all M3 nuts, with the bolts going directly into the plastic, reducing part count and simplifying assembly. Note that the hex nut version is still available if you're concerned about stripping out the holes in the plastic. This model comes in two variants: A standard size, containing 30 steps, which is slightly bigger than the 2022 design. A mini/short size, containing 22 steps. If you want to make an even smaller, palm sized fidget version, I've created a much smaller variant here: https://makerworld.com/en/models/447059#profileId-353657 If you'd prefer buying one assembled, I'm now selling these on Etsy! Visit my store here: https://www.etsy.com/shop/AYMakes/ Parts required Non-Printed 8 M3x14mm bolts (can substitute these for longer bolts, within reason) 5 M3x10mm bolts (can also substitute these for longer bolts) Printed The standard size and mini escalator share all parts except for the track guides and handrails. You will need: 30 steps for standard size, or 22 steps for mini size 60 chain links for standard size, or 44 chain links for mini size 2 end caps 1 left outer track guide and 1 right outer track guide 1 left inner track guide and 1 right inner track guide 1 left handrail and 1 right handrail 1 spindle 1 drive-side sprocket and 1 non-drive-side sprocket I recommend printing the steps, sprockets and spindle in a different color from the rest of the model to provide some contrast. Print settings and tips Although easier to print than the 2022 model, this design is still relatively challenging to print and works best with a well-calibrated printer. 0.15 layer height or lower strongly recommended for steps and chain links. 0.2mm will work for the other parts, though lower layer heights may be smoother. Infill recommended to be 5% or higher. No need for supports, rafts, etc. The steps may be prone to warping due to the thin pins on the sides, so make sure your bed is very clean to give it its best chance of sticking. I only tested this model with PLA, but PETG and others may work too. It is critical that stringing and blobbing be kept to a minimum on all parts that slide against each other (chain links, steps, track guides), so tune your retraction and pressure advance values the best you can. Important note: Some filaments seem to have higher sliding friction than others, especially ones with metallic glitter added in, such as Prusament's Galaxy filament colors. For best results avoid printing the track guides in these materials. Make sure your bed leveling is dialed in very well when printing the steps and chain links. After printing, verify that the chain links are able to slip onto the steps without resistance. Any friction here will make it harder to move the mechanism in the assembled model. Assembly guide (Not shown in video) If applicable, press M3 nuts into the inner track guides (2 locations each) and end caps (4 locations each). If they don't fit tightly, dab on a small amount of glue to keep them in - hot glue or superglue should work. This will make assembly easier. Place all steps into the assembly jig. Ensure that the longer pins are closer to the outer edge of the jig, and that the flat sides of the steps are facing outward as well. Place chain links onto the longer (outer) pins. These should be placed such that the links alternate between being below or above its neighbors. Place the right inner track guide into the center of the steps. Make sure the circular hole (which will hold the spindle) is on the top (right) end and that the inner (shorter) pins all rest inside the inner groove, with the outer pins sitting against the outer edge of the guide. Place the right handrail guide on top of the assembly. The outer pins of the steps should all be contained within the guide. Place the drive (right) side sprocket onto the top right side of the right inner track guide. The sprocket teeth should mesh with the outer pins of the steps. Place the right outer track guide on top of the assembly.