About this 3D model
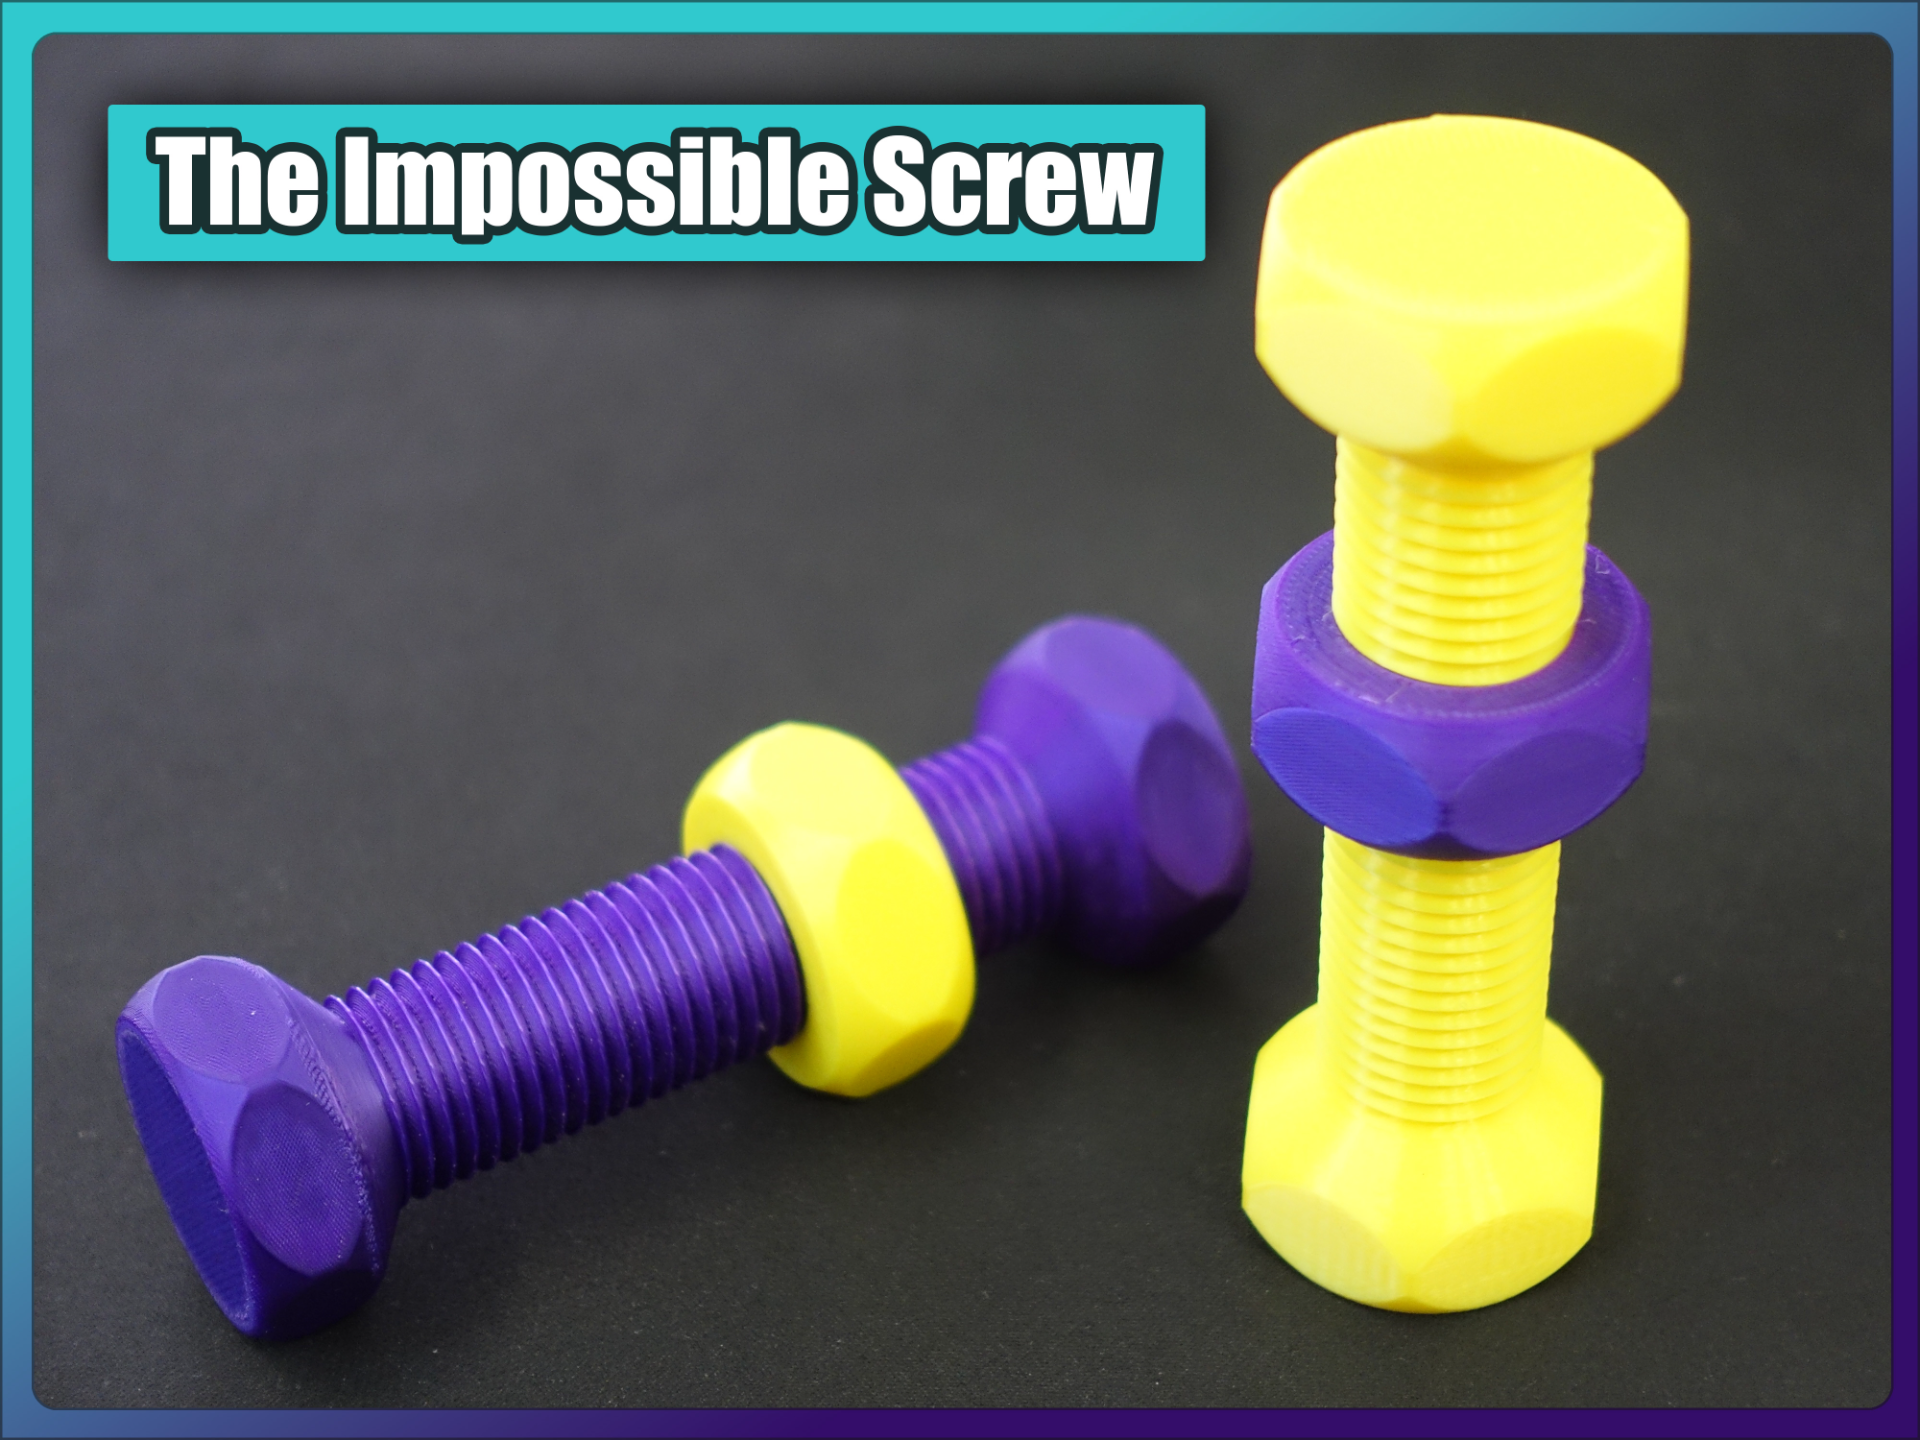
My children find joy in the simple act of screwing and unscrewing objects, but assembling bolts and nuts can sometimes lead to frustration. To tackle this challenge, I created a closed bolt design, which has become their absolute favorite. Although originally intended for young kids (age 18+ months), this model surprisingly captivates adults as well. Printing For an optimal printing experience, it is recommended to use minimal layer heights. Initially, I utilized a layer height of 0.12mm, which yielded satisfactory results and takes 1h less print time. However, upon further experimentation, I found that a layer height of 0.08mm provided superior outcomes, ultimately leading to the best overall quality. Begin by printing the nut component. Once the nut is fully printed, remove it from the printer. Start a separate print for the bolt. If you use my print profile, the printer will automatically pause when there is enough thread printed to insert the screw. During the pause, take the time to insert the nut into the threaded section of the bolt. To prevent any rotational force, stabilize the bolt with your second hand while inserting the nut. If your print bed adhesion is good, this step should be straightforward. However, exercise caution regardless. If your print bed adhesion is not ideal, consider using a print profile with brims to enhance stability and be extra careful. Before resuming the print, ensure that the nut is positioned below the last printed layer. Resume the print Post Processing During the initial one or two rounds of screwing, you’ll encounter a gentle resistance. However, fear not! This minor friction will swiftly dissipate, resulting in a remarkably satisfying experience.