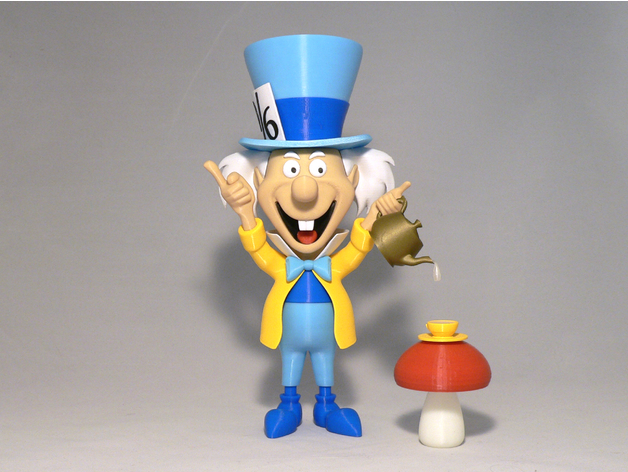
About this 3D model
Mad Hatter, a character from Lewis Carroll's Alice's Adventures in Wonderland. In the story, Hatter explains to Alice that he and the March Hare are always having tea because when he tried to sing for the foul-tempered Queen of Hearts, she sentenced him to death for "murdering the time". At the tea party, the Hatter is characterized by switching places on the table at any given time, making short, personal remarks, asking unanswerable riddles and reciting nonsensical poetry. No supports are required. If you have the proper filament colors, no painting is needed. The assembled model is 260mm tall. Enjoy! Print instructions Rafts: Doesn't Matter Supports: No Resolution: .2mm Infill: 10% Notes:** Refer to the notes below for helpful printing and assembly instructions. Building the Model Colors (there are no multiple printed pieces) Black: sign_letters eye_black_right eye_black_left mouth_black .. Red: tongue mushroom_top .. Dark Blue: shoes hat_middle shirt .. Light Blue: pants hat_top hat_brim_front hat_brim_back tie_left tie_right .. White: sign collar teeth hair_top hair_bottom eye_white_right eye_white_left eyebrow_right eyebrow_left .. Flesh or Beige: head hand_right hand_left .. Yellow: jacket tea_cup .. Transparent/Clear: tea tea_drop .. Bronze (eSun): teapot .. Natural: mushroom_bottom .. Any color (hidden pieces): pins Printing and assembly tips Printing tips 1-No supports are required. 2-I printed all the pieces without a brim or raft, however the hat_brim_front and hat_brim_back pieces need to adhere to the base extremely well to avoid lifting at the corners. You might want to consider a brim or raft on these pieces even if you normally do not print with a brim/raft. 3-The parts should fit nicely when printed cleanly or with a slight first layer squish. The only 'tight' parts are the eye_blacks if you have too much of a first layer squish. .. Assembly tips: 1-Some parts could accidentally be put in backwards, so be sure to double check against the diagram and my pictures. I find my areas that could be a bit better as I put my model together -The pants should be positioned to have the belly bulge facing front -The eye_whites should have the slightly larger bulge facing the nose. -The left/right feet are slightly different but fit either side and can rotate to any angle. 3-Take care when inserting the left hand into the jacket. It fits perfectly but it is an odd angle. Just keep rotating it until it fits into place. 4-The teeth fit into a slot in the head but with fat fingers like mine, I needed a pair of tweezers to place them in position. 5-The teapot handle should snap into the hand_left, no glue needed. I strongly suggest gluing the tea_drop to the teapot as the last item of the model. You want to ensure that it hangs straight down. 6-Refer to the assembly diagram in the pictures section for putting the model together. The model is meant to be glued.