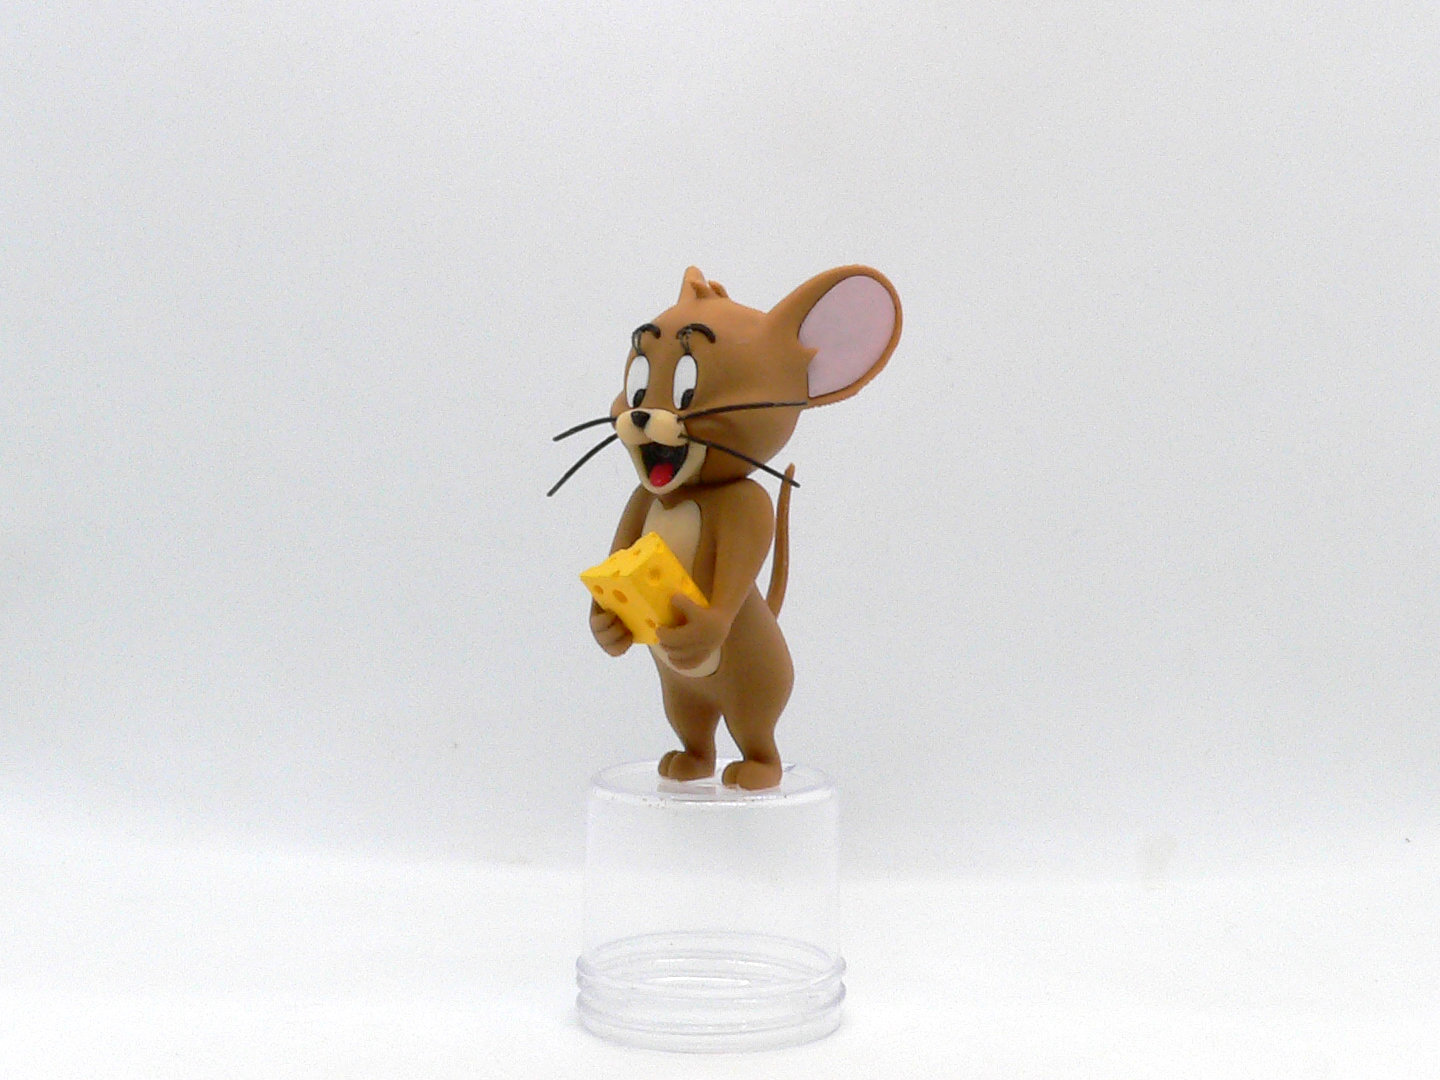
About this 3D model
Jerry Mouse, a cartoon character from the "Tom and Jerry" series of short films created by Hanna and Barbera for MGM. The series features comic fights between an iconic set of adversaries, a house cat (Tom) and a mouse (Jerry). The plots of each short usually center on Tom's numerous attempts to capture Jerry and the mayhem and destruction that follows. Except for the body, no other supports are required. See the notes section for where to place the supports in your slicer. If you have the proper filament colors, no painting is needed. The assembled model is 100mm tall. Jerry does not stand by himself without a base, which is included as a separate model The base for the Tom and Jerry models: https://www.printables.com/model/536761-base-for-tom-and-jerry The full Tom model: https://www.printables.com/model/518371-tom-cat Enjoy! ....................................................................................................... Special shoutout to maker Benoît Lussier for providing QA printing and quality feedback. ........................................................................................................... **Print Instructions:** Supports: Only body.stl requires some supports, see notes Resolution: .2mm Infill: 15% *************** For all my models: Do not enable 'Detect bridging perimeters'. This is a parameter that PrusaSlicer 2.6 enables by default. Do not enable 'thick bridges' Do not set 'arachne' for perimeter generation. PrusaSlice selects this option this by default Do not enable 'detect thin walls'. *************** .... Refer to the notes below for a few helpful printing and assembly instructions. ........................................................................................................... **Building the model** Colors Black: (Paramount3D PLA - Black) eye_black_right eye_black_left whiskers_right (contains two identical pieces) whiskers_left (contains two identical pieces) nose mouth_black eyebrow_right eyebrow_left eyelashes (contains two identical pieces) .. Red: (Hatchbox PLA - True Red) tongue .. White: (Overture PLA - White) eye_white_right eye_white_left .. Yellow: (Unknown PLA - Yellow) cheese .. Pink: (CookieCad PLA - Pale Pink) ear_right ear_left .. Brown: (Paramount3D PLA - Dark Complexion) body body_with_supports (optional part with built-in supports) .. Skin: (Paramount3D PLA - Universal Beige) chest face .. ........................................................................................................... **Printing and assembly tips** Printing tips: Due to slicers being continuously updated with new features and default profiles being changed over time, I've found some incompatibility with some new parameters that some slicers now enable by default. These parameters affect the printing quality of some parts of models that I post. To ensure continued ease of printing: **************************** 1- Do not enable 'Detect bridging perimeters'. This is a parameter that PrusaSlicer 2.6 enables by default which adversely affects built-in support separation. 2- Do not enable 'thick bridges'. This parameter also severely affects built-in support separation. 3- Do not enable 'detect thin walls'. This parameter affects some of the finer details of some parts. 4- Do not set 'arachne' for perimeter generation. PrusaSlicer selects this option by default which also affects some of the finer details of some parts. **************************** 1 - Only body.stl requires some supports. An optional part, body_with_supports, is supplied with build-in supports. 2 - There are some pieces that may need brims or rafts, use your discretion. When setting up my prints I prefer to be conservative to ensure the least chance of a print failure, especially since the base of many parts are hidden when inserted into another part. *I used a raft on: - face 3 - Most of the black parts are quite small. I purposely printed a full second set of the parts since they are easy to lose. The parts assemble easily enough with a pair of tweezers and a very tiny bit of sticky glue. 4 - It was noted during QA testing that the body part may benefit from printing at a lower print temp and higher infill. Filaments vary between manufacturers and personally I like to print at lower temperatures for many of my models as well. However, Benoit required a very low print temp and higher infill for his filament choice while printing the body. 5 - When removing parts from the printer bed, it's a **VERY** good idea to place left/right parts into separate containers to help with the assembly process. Sometimes the difference between the left and right parts is very small but it is still worth keeping track of them (especially if you size up the model significantly) and assembling them in their proper place. .. Assembly tips: 1 - Take your time gluing the model together and enjoy the process. Dry fit all the parts and give some thought into which parts to glue together as groups and then gluing the groups