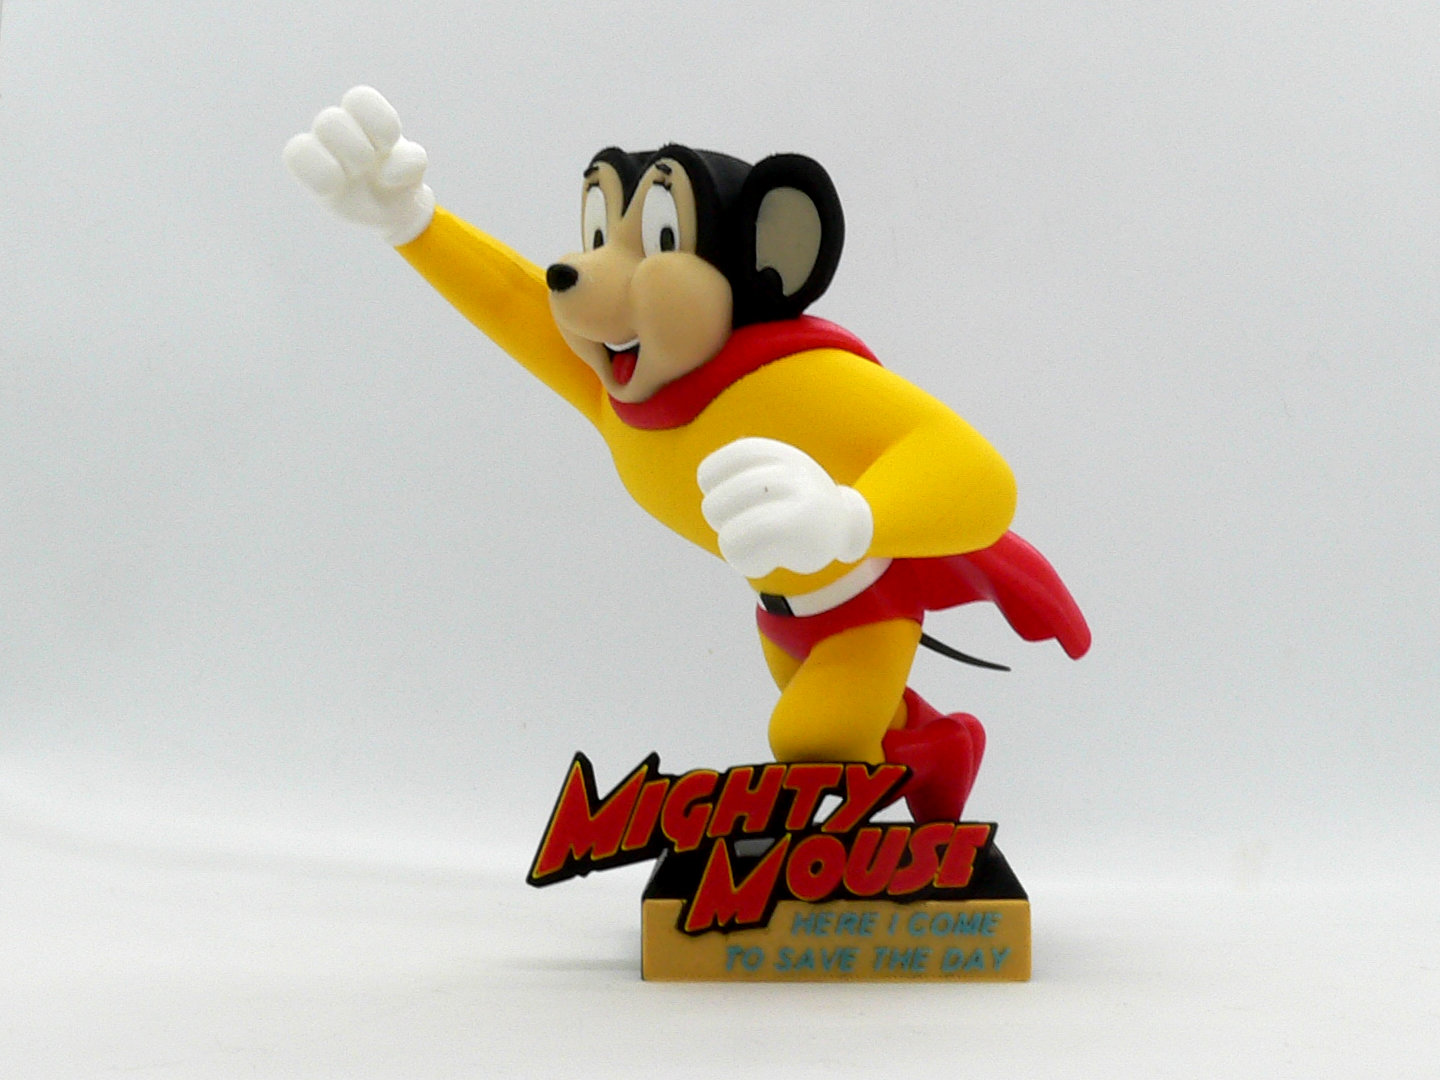
About this 3D model
Mighty Mouse, an American animated character created by the Terrytoons studio for 20th Century Fox. He is a superhero mouse, originally called Super Mouse, and made his debut in the 1942 short The Mouse of Tomorrow. The name was changed to Mighty Mouse in his eighth film, 1944's The Wreck of the Hesperus. Mighty Mouse is a parody/homage to the popular Superman character. No supports are required. One piece contains built-in supports. An optional part without the built-in supports is also supplied if you want to use your slicer supports (see notes below). If you have the proper filament colors, no painting is needed. Two parts require color changes (see notes in the filament color section below) The assembled model is 155mm tall. Enjoy! ........................................................................................................... Special shoutout to maker Benoît Lussier for providing QA printing and quality feedback. ........................................................................................................... **Print Instructions:** Supports: Only shirt.stl requires some supports, see notes Resolution: .2mm Infill: 15% *************** **Building the model** Colors Black: (Devil Designs PLA - Black) head_black eyebrow_right eyebrow_left eyeblack_right eyeblack_left eyelashes_right eyelashes_left nose mouth base (maker choice of color. Stone or marble would look good as well) tail buckle words_mighty_mouse (used as part of layer change, see below) .. Skin: (Paramount3D PLA - Universal Beige) face ear_left ear_right .. Yellow: (Devil Designs - Bright Yellow) shirt shirt_with_supports (optional part with built-in supports) leg_right leg_left words_mighty_mouse (used as part of layer change, see below) .. Red: (Hatchbox PLA - True Red) boot_right boot_left tongue cape pants words_mighty_mouse (used as part of layer change, see below) .. White: (Overture PLA - White) eyewhite_left eyewhite_right belt hand_right hand_left teeth .. Gold: (Unknown PLA - Silk Feeling Gold) base_front_plate (used as part of layer change, see below) .. Blue: (Devil Designs PLA - Ocean Blue) base_front_plate (used as part of layer change, see below) .. Any color: (hidden piece): pin_belt .. ************************************ Color Change Parts base_front_plate: start with gold at layer height 1.2mm change to blue words_mighty_mouse start with black at layer height 1.4mm change to yellow at layer height 2.0 change to red **************************************** ........................................................................................................... **Printing and assembly tips** Printing tips: Due to slicers being continuously updated with new features and default profiles being changed over time, I've found some potential incompatibility with some new parameters that some slicers now enable by default. These parameters affect the printing quality of some parts of models that I post. For this model, I printed this model with the perimeter generation set to 'arachne'. Some small parts are affected by the perimeter generation parameter and this worked best for me. 1 - Only shirt.stl requires some supports, only under the elbow. An optional part, shirt_with_supports, is supplied with built-in supports (defined for printing at .2mm layer height). With default slicer supports or the built-in supports, the elbow is rough. So use your discretion on printing this part. 2 - There are some pieces that may need brims or rafts, use your discretion. When setting up my prints I prefer to be conservative to ensure the least chance of a print failure, especially since the base of many parts are hidden when inserted into another part. *I used a brim on: - shirt - cape - hand_right - hand_left 3 - Most of the black parts are quite small. I purposely printed a full second set of the parts since they are easy to lose. Also, the eyelashes can break during installation, so having another pair handy will make the assembly go smoother. 4 - When removing parts from the printer bed, it's a **VERY** good idea to place left/right parts into separate containers to help with the assembly process. Sometimes the difference between the left and right parts is very small but it is still worth keeping track of them (especially if you size up the model significantly) and assembling them in their proper place. .. Assembly tips: 1 - Take your time gluing the model together and enjoy the process. Dry fit all the parts and give some thought into which parts to glue together as groups and then gluing the groups together. Let the glue for each group set completely before combining groups. 2 - I used 3D Gloop and E6000 to put this model together. I have experimented with different glues for my models and have found that these two glues are a great combination for my models. Each type of glue has different pros/cons and I found that fast drying 3D Gloop was far easier to use than superglue (for me). The E6000 sticky glue allows more t