About this 3D model
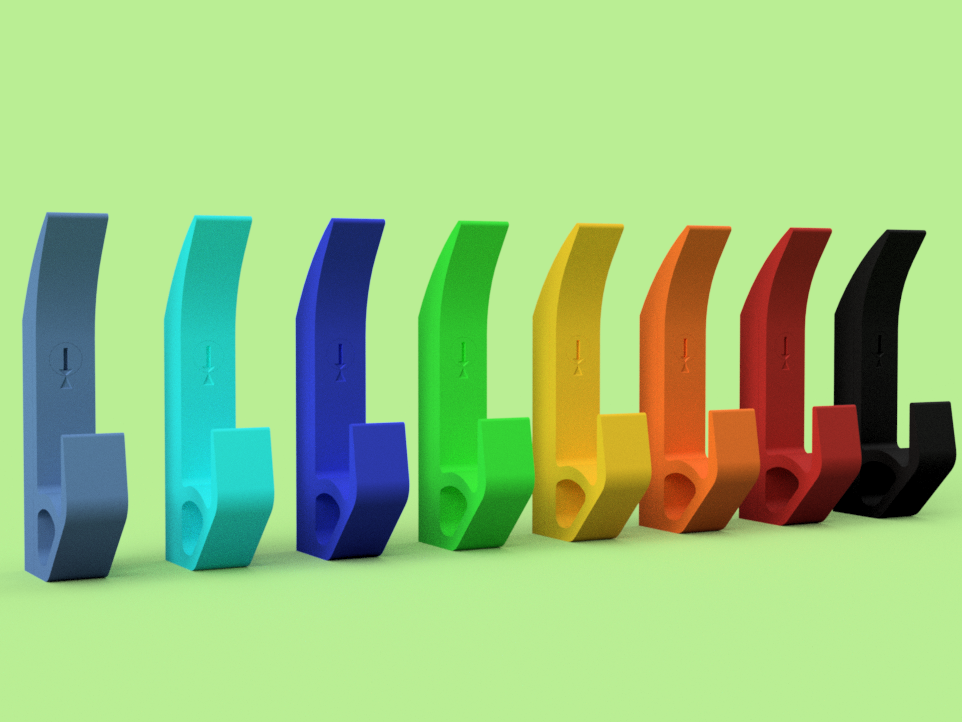
This is my version of a wall hook with invisible mounting system! Please note that due to the orientation of the print, this model is almost indestructible when used as intended for hanging clothes. In combination with my other settings for the print profile, the model is almost indestructible. The wall hook is a nice piece to blend in with your color theme at home. Create your own play of colors by using different colors for each hook. I were not satisfied with the most wall hooks because you allways see the screws, this is why i created my own ones. I designed another version with a round hook. The print profile and the stl.file is named “wall hook round”. The model consists of: 3 parts, wall mount, hook and peg Tools needed: screwdriver, 2 screws with 5mm diameter, 2 washers for the screws, if needed 2 wallplugs for the screws Assembly instructions: mount the wallmount to the wall with 2 screws with washers. The area where the holes for the screws are placed is reinforced with 100% infill. This way you don’t need to worry to break something when tightening the screws. Slide in the hook. Press the plug into the hole with the arrow facing sideways. Take a screwdriver and turn the plug by 90° untill th arrow meets the triangle of the hook. Now the system is secured and can’t be pulled off when taking your clothes of the hook. See below. Recommended filament: PLA Hotend: 0,40mm Print time: 0:55h assembly time: 2 minutes Print recommendations: layer height 0,20mm 3 wall loops top/bottom shells 4 layers top/bottom shell thickness 0,80mm sparse infill 25% for the hook; 100% for the peg; 25% for the wallmount; 100% for the area where the holes are placed sparse infill pattern “gyroid” enable support Support type “normal auto” Support style “default” Before printing , make sure your build plate is clean and apply some adhesive. Wash the build plate with oil free soap and wipe it off with some paper towels. For build plate adhesion, apply a thin, even coat of your preferred adhesive. I repeat the process every 5-6 prints. Before printing, make sure your build plate has a decent adhesion. Bad build plate adhesion is not related to the model. If you were satisfied with the model, i would appreciate it if you leave me a like and a decent rating. Thank you in advance!